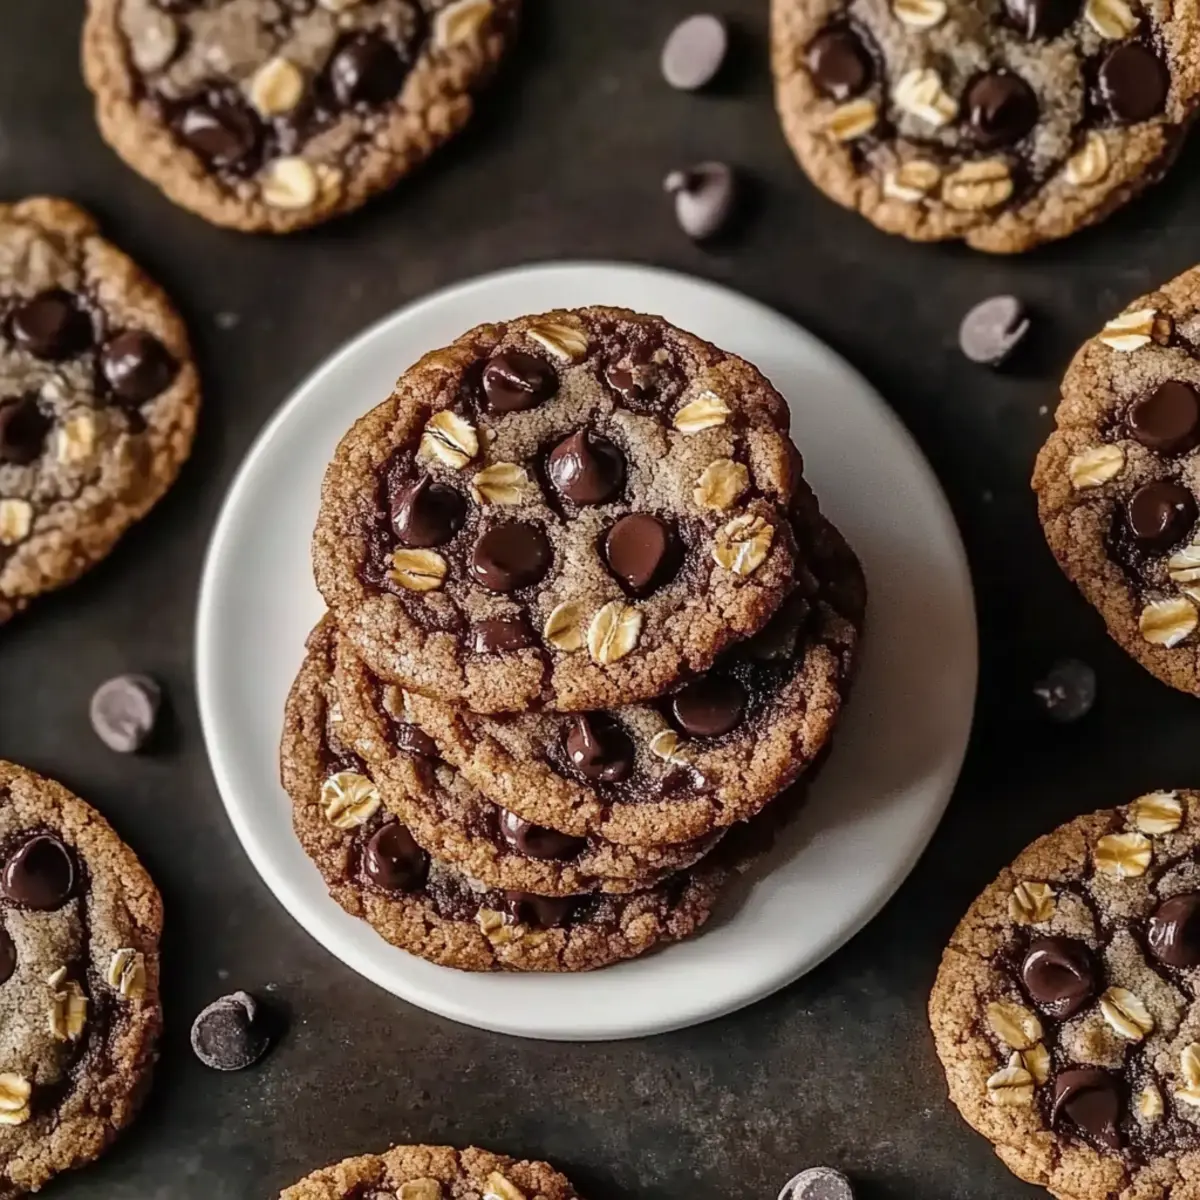
As I stood in my kitchen, the heavenly aroma of baked cookies wafted through the air, instantly transporting me back to my childhood. These 4-Ingredient Crispy Chocolate Oat Cookies are the perfect way to relive that blissful nostalgia, combining simplicity and indulgence in every bite. With just a handful of wholesome ingredients, they’re not only easy to whip up, but also cater to those seeking a delicious vegan-friendly treat. Whether you’re dealing with a snack attack or need a quick dessert, these cookies provide a crispy exterior and a chewy center that will leave you wanting more. Plus, they’re incredibly versatile, allowing for fun variations that can fit anyone’s taste buds. Ready to discover how these simple ingredients can create a delightful homemade snack? Let’s dive in!
Why are these cookies a must-try?
Simplicity at Its Finest: With only four ingredients, these cookies are a breeze to make, perfect for beginner bakers or anyone short on time.
Crispy Yet Chewy: Each cookie features a satisfying crunch on the outside while remaining delectably chewy on the inside, creating a delightful textural experience.
Vegan-Friendly Delight: No eggs or dairy means everyone can enjoy these treats guilt-free, making them ideal for all diets.
Customizable Flavors: Feel free to experiment by adding your favorite nuts, seeds, or even chocolate chips, just like in our Mint Chocolate Brownies recipe!
Quick Baking Time: You can whip up a batch in less than 20 minutes, making them perfect for spontaneous cravings or unexpected guests.
Health-Conscious Treat: Packed with wholesome oats, these cookies provide a nutritious boost—perfect for those who want to indulge without the guilt!
4-Ingredient Chocolate Oat Cookie Ingredients
Here’s what you need to create these scrumptious treats!
For the Cookies
- Oats – Adds structure and heartiness; use gluten-free oats for a gluten-free option.
- Nut Butter (e.g., peanut or almond) – Provides richness and binding; swap for sunflower seed butter for nut-free.
- Maple Syrup – Sweetens naturally and adds moisture; honey or agave syrup can also be used instead.
- Cocoa Powder – Delivers that rich chocolate flavor; try raw cocoa for depth or Dutch-processed for a lighter taste.
Feel free to mix in your favorite ingredients to make these 4-Ingredient Chocolate Oat Cookies even more delectable!
Step‑by‑Step Instructions for 4-Ingredient Crispy Chocolate Oat Cookies
Step 1: Preheat the Oven
Begin by preheating your oven to 350°F (175°C). This step ensures the cookies bake evenly and achieve that delightful crispy texture. While the oven heats up, gather your ingredients: oats, nut butter, maple syrup, and cocoa powder, and have a mixing bowl ready to combine them.
Step 2: Mix the Ingredients
In a medium mixing bowl, combine 2 cups of oats, 1 cup of your chosen nut butter, ½ cup of maple syrup, and ¼ cup of cocoa powder. Use a spatula or spoon to mix thoroughly until all the ingredients are fully incorporated and form a sticky dough. The mixture should hold together well, resembling a thick batter that will shape nicely on the baking sheet.
Step 3: Scoop the Dough
Using a tablespoon or cookie scoop, drop heaping mounds of the dough onto a lined baking sheet, leaving about 2 inches of space between each mound. Aim to create about 12 cookie mounds for this recipe. The cookies will spread slightly while baking, so arranging them with enough spacing is key for that perfect shape.
Step 4: Bake the Cookies
Place the baking sheet in your preheated oven and bake the cookies for 10 to 12 minutes. You’ll know they’re ready when the edges are firm yet the centers look slightly soft and moist. This contrast ensures that your chocolate oat cookies have that irresistible crispy exterior paired with a chewy center.
Step 5: Cool the Cookies
Once baked, remove the baking sheet from the oven and let the cookies cool on it for 5 minutes. This cooling time is essential, as it allows the cookies to firm up a bit while still being warm and soft. Afterward, gently transfer them to a wire rack to cool completely, enhancing their crispy texture as they finish setting.
Step 6: Storage Tips
After your 4-Ingredient Crispy Chocolate Oat Cookies have cooled, store them in an airtight container at room temperature. They can stay fresh for up to a week, though you might find them disappearing faster! If you want to enjoy them later, consider freezing your cookies, which helps preserve their delightful crunch and flavor.

Variations & Substitutions for Chocolate Oat Cookies
Feel free to explore these delightful twists that elevate your cookie experience and tailor them to your tastes!
- Dairy-Free: Substitute maple syrup with agave syrup for a vegan-friendly sweetener alternative.
- Nut-Free: Swap nut butter for sunflower seed butter to create a deliciously nut-free treat. Ideal for school lunches or gatherings!
- Flavor Boost: Adding a teaspoon of vanilla extract enhances the overall flavor, giving a deeper, aromatic profile to every bite.
- Texture Twist: Mix in crushed nuts or seeds for added crunch—walnuts or pumpkin seeds work beautifully! The contrasting textures truly take these cookies to the next level.
- Sweet & Chewy: Throw in a handful of dried cranberries or blueberries for a fruity variation that adds natural sweetness and chewy goodness.
- Chocolate Lovers: For an extra chocolaty experience, fold in vegan dark chocolate chips. You won’t believe how rich and indulgent these cookies can be!
- Salted Caramel Touch: Drizzle melted salted caramel over the top for a stunning presentation and an indulgent flavor boost. It brings a bit of lavishness to your cookie game!
- Spicy Kick: Add a pinch of cayenne pepper or chili powder into the mix for a surprising heat that beautifully complements the chocolate. It’s a daring twist that adventurous eaters will adore!
With these creatively delicious variations, you can customize your 4-Ingredient Crispy Chocolate Oat Cookies to satisfy any craving! If you’re looking for more fun recipes, check out Chocolate Churro Cookies or try White Chocolate Cranberry for an enticing sweetness!
Expert Tips for the Best Chocolate Oat Cookies
-
Well-Stirred Butter: Make sure your nut butter is thoroughly stirred to ensure an even texture in your chocolate oat cookies.
-
Adjust Consistency: If the dough feels too runny, simply add a little more oats. Achieving the right thickness is key for perfect cookies.
-
Mind the Time: Avoid over-baking! Pull them out when the edges are firm but the centers look slightly soft for a chewy finish.
-
Chill for Flavor: For a richer flavor, let the cookie dough sit for 10-20 minutes after mixing before baking.
-
Add Some Salt: A pinch of sea salt on top before baking enhances the flavors and boosts the deliciousness of these cookies.
-
Mix it Up: Feel free to include your favorite add-ins, like nuts or chocolate chips, to make these chocolate oat cookies uniquely yours!
Make Ahead Options
These 4-Ingredient Crispy Chocolate Oat Cookies are perfect for meal prep! You can prepare the cookie dough up to 24 hours in advance by mixing all the ingredients and storing them in an airtight container in the refrigerator. This not only saves you time on busy days but also allows the flavors to meld beautifully. When you’re ready to bake, simply scoop the chilled dough onto a baking sheet and bake as directed. If you prefer, you can also form the mounds and freeze them on a baking sheet; transfer to an airtight container after freezing for up to 3 months. Just pop them in the oven directly from the freezer, and you’ll enjoy fresh, delectable cookies with minimal effort!
What to Serve with 4-Ingredient Crispy Chocolate Oat Cookies
Rich, warm cookies bring joy to your kitchen! Let’s explore delightful pairings that elevate your snacking experience.
- Creamy Almond Milk: A refreshing, nutty drink that complements the chocolate richness, perfect for dipping your cookies.
- Fresh Berries: Sweet and tart, they provide a bright contrast to the cookies’ dense texture while adding a pop of color.
- Coconut Yogurt: Smooth and creamy, this dairy-free option brings a lightness to balance the cookies’ sweetness and crunch.
- Chili Chocolate Ice Cream: For an indulgent treat, this ice cream offers a daring blend of flavors that pairs beautifully with the cookies.
Pairing with fruits or a dollop of yogurt will lighten your dessert experience, creating a satisfying balance of rich and refreshing.
- Espresso: A robust coffee that enhances the chocolate flavor and offers an energizing lift.
Sipping a warm espresso with your cookies creates a delightful moment of indulgence reminiscent of a cozy café atmosphere.
- Cranberry Orange Salad: A zesty salad provides a refreshing element that cuts through the sweetness while adding a crunchy texture.
- Nutty Trail Mix: A handful of homemade granola or trail mix adds chewiness and pops of flavors for a satisfying snack combination.
Explore these pairings to transform your 4-Ingredient Crispy Chocolate Oat Cookies into a full sensory experience that delights the senses!
Storage Tips for 4-Ingredient Chocolate Oat Cookies
Room Temperature: Keep your cookies in an airtight container at room temperature for up to 7 days for optimal freshness.
Freezer: For longer storage, freeze the cookies in a single layer on a baking sheet, then transfer to an airtight container. They’ll maintain quality for up to 3 months.
Reheating: To enjoy the cookies warm, reheat in the microwave for about 10-15 seconds or in a preheated oven at 350°F (175°C) for a few minutes.
Airtight Guidance: Always ensure cookies are completely cooled before storing to prevent moisture buildup, preserving that crispy fun characteristic of these delightful chocolate oat cookies.
4-Ingredient Chocolate Oat Cookies Recipe FAQs
What kind of oats should I use for these cookies?
Absolutely! Regular rolled oats work wonderfully, but if you need a gluten-free option, choose certified gluten-free rolled oats. They both provide the same heartiness and texture, so you won’t miss out on any deliciousness!
How should I store the cookies, and how long will they last?
For the best flavor and texture, store your cookies in an airtight container at room temperature for up to 7 days. If you want to keep them for longer, they can be frozen for up to 3 months. Just make sure to cool them completely before sealing to prevent moisture buildup.
Can I freeze the cookie dough before baking?
Very! To freeze the dough, scoop mounds of dough onto a baking sheet lined with parchment paper and freeze them until firm—about 1-2 hours. Once frozen, transfer the dough mounds to an airtight container or freezer bag. Whenever you’re ready to bake, just pop the frozen mounds straight into the oven, adding an extra minute or two to the baking time.
What should I do if my cookie dough is too runny?
If you find the dough a bit too runny, no worries at all! Simply add a tablespoon of oats at a time until you reach a thicker consistency. The dough should be sticky but moldable, allowing you to shape it into mounds easily.
Are there any dietary considerations I should be aware of?
Yes! These cookies are naturally vegan-friendly since they do not contain eggs or dairy. However, if you or someone you’re making them for has nut allergies, you can substitute the nut butter with sunflower seed butter. It works wonderfully! Always be sure to check the labels of the ingredients you use, as some products may contain allergens.
What if I want to add extra ingredients like nuts or chocolate chips?
The more the merrier! If you want to mix in extras, go ahead! You can add about ½ cup of your favorite nuts, seeds, or dairy-free chocolate chips into the dough before scooping them onto the baking sheet. Just remember that adding too many mix-ins might slightly affect the texture, so adjusting the main ingredients a bit might help!
Decadent Espresso Chocolate Chip Cookies You Can't Resist
Ingredients
Equipment
Method
- Preheat your oven to 350°F (175°C). Gather your ingredients: oats, nut butter, maple syrup, and cocoa powder.
- In a medium mixing bowl, combine 2 cups of oats, 1 cup of nut butter, ½ cup of maple syrup, and ¼ cup of cocoa powder. Mix thoroughly until a sticky dough forms.
- Drop heaping mounds of dough onto a lined baking sheet, leaving about 2 inches of space between each mound.
- Bake for 10 to 12 minutes until the edges are firm and the centers look slightly soft.
- Allow cookies to cool on the baking sheet for 5 minutes, then transfer to a wire rack to cool completely.
- Store in an airtight container at room temperature for up to a week, or freeze for longer storage.
Leave a Reply