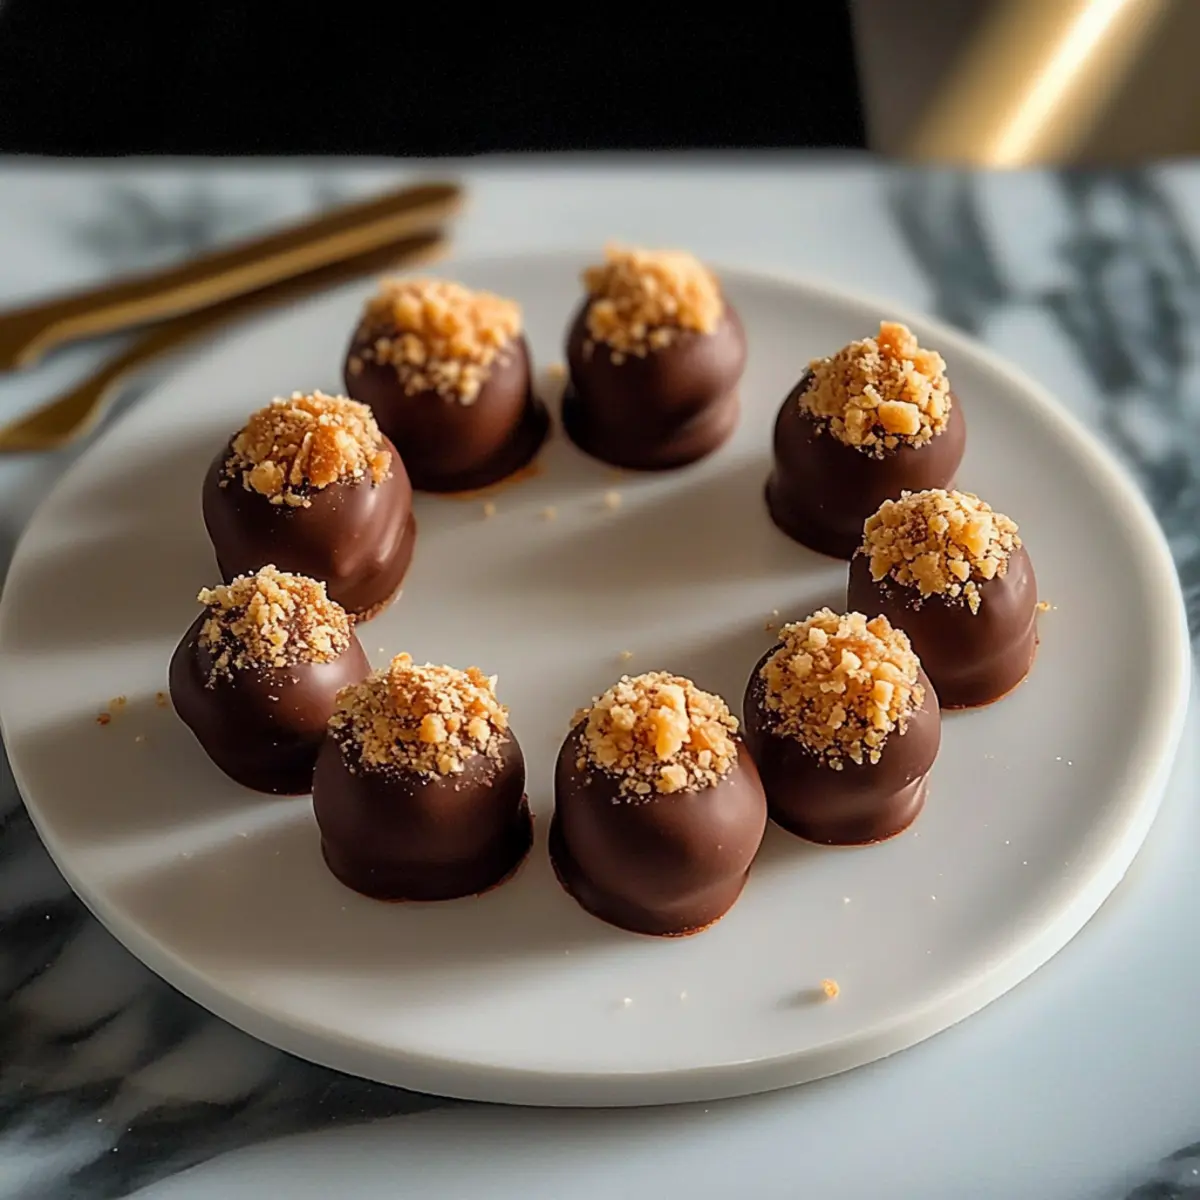
The first time I made Biscoff Cookie Butter Truffles, I was mesmerized by how something so simple could be so indulgent. With just a handful of ingredients, these creamy no-bake delights transform everyday moments into something special. Featuring a luscious blend of Biscoff cookie butter and rich cream cheese, these truffles are not only incredibly easy to whip up, but they also make for a stunning dessert that’s guaranteed to impress at any gathering. Whether you’re planning a cozy night in or a festive celebration, these bites offer the perfect sweet escape. And if you’re looking for a dairy-free option, I’ve got you covered! So, are you ready to treat yourself to a little homemade bliss with these delightful Biscoff Cookie Butter Truffles? Let’s dive in!
Why Are Biscoff Cookie Butter Truffles Irresistible?
Decadent Delight: These Biscoff Cookie Butter Truffles are a heavenly fusion of rich flavors and creamy textures that will leave you craving more.
No-Bake Simplicity: Enjoy the ease of whipping these up without turning on the oven—perfect for busy days!
Versatile Treat: These truffles not only make a splendid dessert for parties but also serve as a wonderful treat for movie nights.
Dairy-Free Option: With a simple swap for dairy-free cream cheese, everyone can indulge!
Crowd-Pleasing Appeal: Whether you’re serving them at a gathering or gifting them to friends, their unique flavor combo is sure to impress, much like my Bake Biscoff Cheesecake.
Get ready to create delightful, melt-in-your-mouth moments with these irresistible bites!
Biscoff Cookie Butter Truffles Ingredients
Indulge in this creamy no-bake treat!
For the Truffles
• Biscoff Cookie Butter – Adds a sweet, spiced flavor and creamy texture; it’s recommended for its unique taste.
• Biscoff Cookies – Provides structure and crunch; substitute with similar flavored cookies if needed.
• Cream Cheese – Adds creaminess and richness; for a dairy-free option, swap with dairy-free cream cheese.
For the Coating
• Chocolate Chips – Coats the truffles for a sweet outer layer; can also be replaced with cocoa powder for a different finish.
• Coconut Oil (optional) – Used to thin the chocolate for easier coating; can be omitted if preferred.
Get ready to whip up some delicious Biscoff Cookie Butter Truffles!
Step‑by‑Step Instructions for Biscoff Cookie Butter Truffles
Step 1: Prep Crumbs
Start by crushing your Biscoff cookies into fine crumbs. Use a food processor for a quick option, or place the cookies in a zip-top bag and crush them with a rolling pin until you achieve a sandy texture. This will give your Biscoff Cookie Butter Truffles the perfect base. Set the crumbs aside for later use.
Step 2: Mix Base
In a mixing bowl, combine the softened cream cheese and Biscoff cookie butter. Using a hand mixer or a spatula, blend them together until the mixture is smooth and creamy. The consistency should be similar to a dense frosting. This step is crucial for achieving the rich taste of your truffles, so take your time mixing thoroughly.
Step 3: Incorporate Cookies
Add the cookie crumbs to your creamy mixture and stir until a thick dough forms. The dough should hold together without crumbling apart. If it feels too loose, you can mix in additional cookie crumbs until you reach the desired consistency. This dough will become the filling for your delightful Biscoff Cookie Butter Truffles.
Step 4: Form Truffles
Scoop about 1 tablespoon of the mixture and roll it into a ball between your palms. Place each formed ball on a parchment-lined baking sheet. Continue this process, spacing the truffles about an inch apart. You should yield approximately 20 to 24 truffles. Once all the mixture is rolled, it’s time to move on to the chilling step.
Step 5: Chill
Transfer the baking sheet with truffles to the freezer and chill them for 20 to 30 minutes. This will firm up your Biscoff Cookie Butter Truffles, making them easier to coat in chocolate later. Keep an eye on them, ensuring they are firm to the touch before proceeding to the next step.
Step 6: Melt Chocolate
In a microwave-safe bowl, combine the chocolate chips and, if desired, coconut oil for easier coating. Microwave in 30-second intervals, stirring between each, until the chocolate is melted and smooth. Be careful to avoid overheating—it should be glossy and fluid, perfect for coating your chilled truffles.
Step 7: Coat Truffles
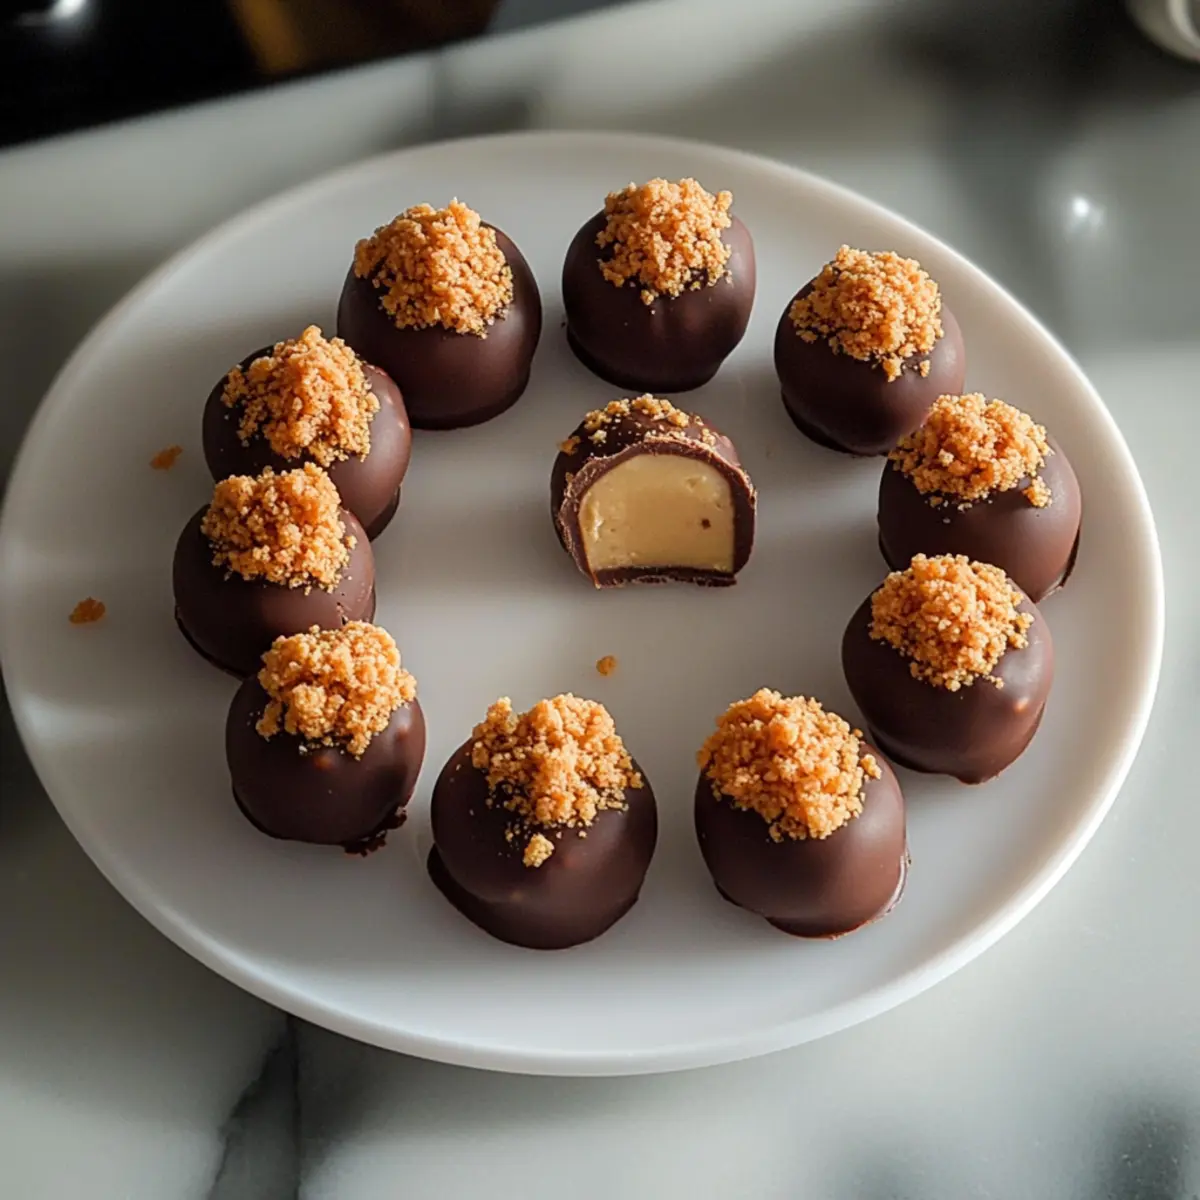
Using a fork or dipping tool, dip each chilled truffle into the melted chocolate, allowing any excess to drip off back into the bowl. Place the coated truffles back onto the parchment paper. Take your time to ensure an even coating; the chocolate shell will provide a delightful contrast to the creamy center of the Biscoff Cookie Butter Truffles.
Step 8: Garnish
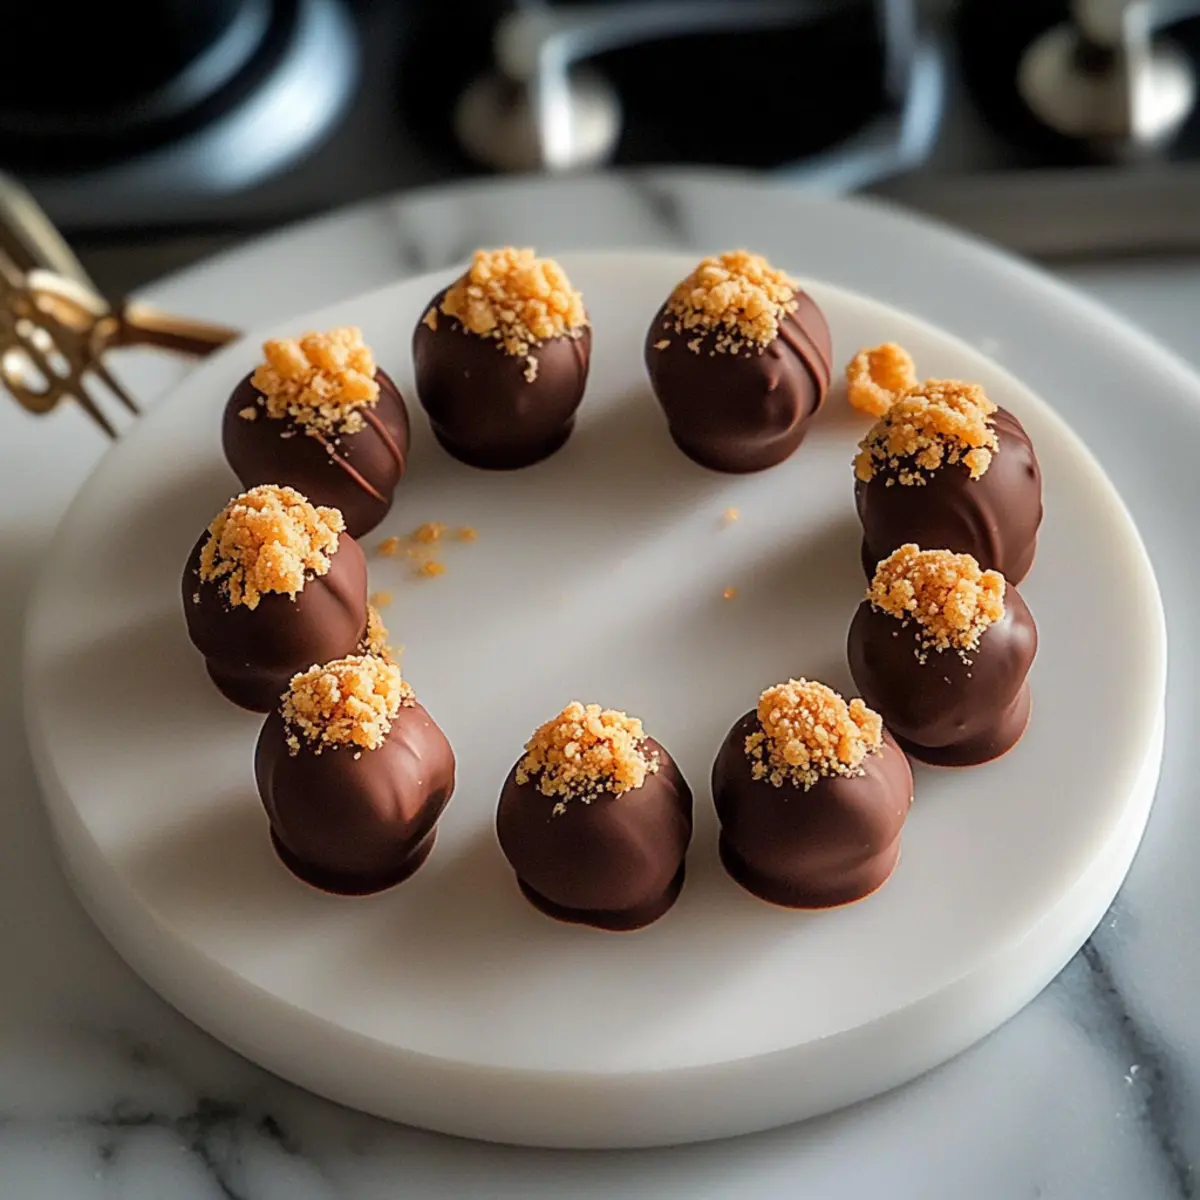
Before the chocolate sets, you can garnish your truffles by sprinkling them with crushed Biscoff cookies or a pinch of sea salt for an extra flavor boost. This adds a decorative touch and enhances the overall taste of your Biscoff Cookie Butter Truffles.
Step 9: Set
Finally, place the coated truffles back into the fridge for an additional 15 to 20 minutes, allowing the chocolate to harden completely. Once set, your creamy, indulgent Biscoff Cookie Butter Truffles are ready to be enjoyed, whether for a special occasion or a sweet treat at home.
Expert Tips for Biscoff Cookie Butter Truffles
-
Soften Cream Cheese: Make sure your cream cheese is at room temperature before mixing. It ensures a silky-smooth texture for your truffles.
-
Choose Quality Chocolate: Use high-quality chocolate chips for coating to achieve a glossy finish and rich flavor in your Biscoff Cookie Butter Truffles.
-
Avoid Chocolate Scorching: Melt chocolate in short intervals to prevent scorching; stirring each time will help maintain smoothness.
-
Chill Thoroughly: Don’t skip the chilling step! Properly chilling the truffles helps them hold their shape when coated in chocolate.
-
Experiment with Coatings: Feel free to roll your truffles in crushed cookies or cocoa powder instead of chocolate for a lighter, different twist.
Make Ahead Options
These Biscoff Cookie Butter Truffles are ideal for meal prep, making your life easier while delivering a delicious treat whenever you need it! You can prepare the cookie and cream cheese mixture up to 24 hours in advance; simply cover and refrigerate it. Form the truffles and chill them as outlined in the original recipe before freezing. If stored properly in an airtight container, they can remain fresh for up to 3 months in the freezer. When you’re ready to serve, just pull them out, coat them in melted chocolate, let them set, and enjoy the same creamy, indulgent flavor that everyone loves. This way, you’ll have a delightful treat ready to satisfy cravings without the last-minute rush!
Biscoff Cookie Butter Truffles Variations
Feel free to personalize your Biscoff Cookie Butter Truffles with these delightful twists that will inspire your taste buds!
- Dairy-Free: Substitute cream cheese with dairy-free cream cheese for a luscious non-dairy option. You won’t lose any of the rich flavor!
- Nutty Crunch: Add 1/4 cup of chopped nuts, such as almonds or hazelnuts, to the truffle mixture for a satisfying crunch that complements the creamy texture beautifully.
- Cookie Swap: Experiment with flavored cookies like peanut butter or chocolate cookies instead of Biscoff for different flavor profiles that will surprise and delight your palate.
- Spiced Bliss: Incorporate 1 teaspoon of cinnamon or a dash of nutmeg into the batter for a cozy, spiced flavor that brings a wonderful warmth to each bite.
- Chocolate Lovers: Use dark chocolate for coating instead of milk chocolate to intensify the richness, creating a decadent contrast with the sweet filling.
- Minty Fresh: Add a few drops of peppermint extract to the mixture for a refreshing, minty twist that’s perfect for holiday gatherings!
- Cocoa Dusting: For a lighter touch, roll the chilled truffles in cocoa powder or powdered sugar instead of coating them in chocolate. This adds an elegant finish without the extra sweetness.
- Garnish Upgrade: Try garnishing with sea salt, crushed pretzels, or even toasted coconut for a delightful textural contrast and a burst of flavor that elevates your truffles.
Ready to take your Biscoff Cookie Butter Truffles to the next level? These variations are just a few ideas to get you started! And while you’re exploring flavors, you might also enjoy these festive Christmas Sugar Cookie recipes or perhaps try some delightful Marble Sugar Cookie variations!
How to Store and Freeze Biscoff Cookie Butter Truffles
Fridge: Store truffles in an airtight container in the refrigerator for up to one week. This keeps them fresh and creamy, perfect for snacking any day!
Freezer: For longer storage, freeze the truffles in a single layer on a baking sheet. Once firm, transfer them to a freezer bag or container for up to 2 months. Just thaw in the fridge before indulging.
Reheating: There’s no need to reheat these no-bake treats! Simply enjoy them chilled directly from the fridge or allow them to sit at room temperature for a few minutes before serving for a softer texture.
Wrapping: If stacking in a container, layer parchment paper between the truffles to prevent sticking and keep them looking lovely.
What to Serve with Biscoff Cookie Butter Truffles?
These creamy, sweet bites are perfect for elevating your dessert experiences and pair wonderfully with an array of delightful accompaniments.
-
Rich Coffee: The bold flavors of coffee beautifully balance the sweetness of truffles, making every bite a treat for your senses. Imagine sipping a warm cup while savoring these bites of bliss.
-
Fresh Berries: Juicy strawberries or tart raspberries provide a refreshing contrast to the rich truffles, adding a pop of color and flavor. Together, they create a light and uplifting dessert experience.
-
Chocolate Dipped Pretzels: The crunch and saltiness of these pretzels offset the creamy sweetness of the truffles, creating an irresistible sweet-and-salty combination. They make a wonderful snack alongside your treats!
-
Whipped Coconut Cream: For a lighter, dairy-free alternative, a dollop of whipped coconut cream alongside your truffles brings an airy texture to this indulgent dessert.
-
Vanilla Ice Cream: Enjoy the truffles atop a scoop of vanilla ice cream for an extra cool and creamy experience that harmonizes beautifully with the rich spice of Biscoff.
-
Sparkling Wine: Celebrate with a glass of sparkling wine; its effervescence beautifully cuts through the truffles’ density, creating an elegant pairing for any occasion.
-
Chocolate Fudge Brownies: Serve with a slice of rich brownie for a decadent dessert duo that satisfies any chocolate lover’s cravings. The fudgy texture complements the truffles splendidly!
-
Homemade Caramel Sauce: Drizzling warm caramel over the truffles can take their sweetness to another level. The gooey texture paired with the smooth chocolate creates a truly indulgent experience.
-
Peppermint Tea: Especially around the holidays, a calming cup of peppermint tea refreshes the palate and beautifully enhances the warm spices in the truffles.
Biscoff Cookie Butter Truffles Recipe FAQs
What kind of Biscoff cookies should I use?
For the best flavor and texture, I recommend using original Biscoff cookies. They provide a wonderful crunch and a uniquely spiced profile that perfectly complements the Biscoff cookie butter. If you don’t have them on hand, you can substitute with similar flavored cookies, but be mindful that the taste may vary slightly.
How should I store my Biscoff Cookie Butter Truffles?
Store your truffles in an airtight container in the fridge for up to one week. This will maintain their creamy texture and delectable flavor. If you prefer to keep them for longer, you can place them in the freezer, where they will stay fresh for up to 2 months. Just ensure they are in a single layer on a baking sheet until firm, then transfer them to a freezer-safe bag.
Can I freeze Biscoff Cookie Butter Truffles?
Absolutely! To freeze your truffles, follow these steps: First, place the formed truffles on a baking sheet lined with parchment paper and freeze them for about 1 hour until they are firm. Then, transfer the truffles to a freezer bag or a container with a tight seal, ensuring to separate layers with parchment paper to prevent sticking. They can be kept this way for up to 2 months, and you can thaw them overnight in the fridge before enjoying!
What should I do if my chocolate coating is too thick?
If your chocolate coating is too thick to properly coat the truffles, try adding a teaspoon of coconut oil or shortening to the melted chocolate. This will help thin it out and make for a smoother dipping process. Just be sure to stir the mixture until it’s fully blended; the goal is a velvety consistency that’s easy to dip while still providing a rich coat over your Biscoff Cookie Butter Truffles.
Are these truffles suitable for people with dairy allergies?
Yes! To make these truffles dairy-free, simply swap regular cream cheese for a dairy-free cream cheese alternative. Many brands offer excellent dairy-free options that maintain the creaminess without compromising on flavor. This way, everyone can indulge in these delicious Biscoff Cookie Butter Truffles!
How can I tell if my Biscoff truffles are ready to coat after chilling?
Check if the truffles have firmed up properly by gently pressing one. They should feel solid and not leave an imprint. If they are holding their shape well, it’s time to dip them into the melted chocolate. Typically, a chill time of 20-30 minutes in the freezer is just right for perfect truffle coating!

Biscoff Cookie Butter Truffles: Easy Indulgence for Everyone
Ingredients
Equipment
Method
- Start by crushing your Biscoff cookies into fine crumbs. Use a food processor for a quick option, or place the cookies in a zip-top bag and crush them with a rolling pin until you achieve a sandy texture. This will give your Biscoff Cookie Butter Truffles the perfect base. Set the crumbs aside for later use.
- In a mixing bowl, combine the softened cream cheese and Biscoff cookie butter. Using a hand mixer or a spatula, blend them together until the mixture is smooth and creamy. The consistency should be similar to a dense frosting.
- Add the cookie crumbs to your creamy mixture and stir until a thick dough forms. If it feels too loose, you can mix in additional cookie crumbs until you reach the desired consistency.
- Scoop about 1 tablespoon of the mixture and roll it into a ball between your palms. Place each formed ball on a parchment-lined baking sheet, spacing them about an inch apart. Continue until all mixture is rolled.
- Transfer the baking sheet with truffles to the freezer and chill them for 20 to 30 minutes. This will firm up your Biscoff Cookie Butter Truffles.
- In a microwave-safe bowl, combine the chocolate chips and coconut oil. Microwave in 30-second intervals, stirring between each, until the chocolate is melted and smooth.
- Using a fork or dipping tool, dip each chilled truffle into the melted chocolate, allowing any excess to drip off back into the bowl. Place the coated truffles back onto the parchment paper.
- Before the chocolate sets, garnish your truffles by sprinkling them with crushed Biscoff cookies or a pinch of sea salt for an extra flavor boost.
- Finally, place the coated truffles back into the fridge for an additional 15 to 20 minutes, allowing the chocolate to harden completely.
Leave a Reply