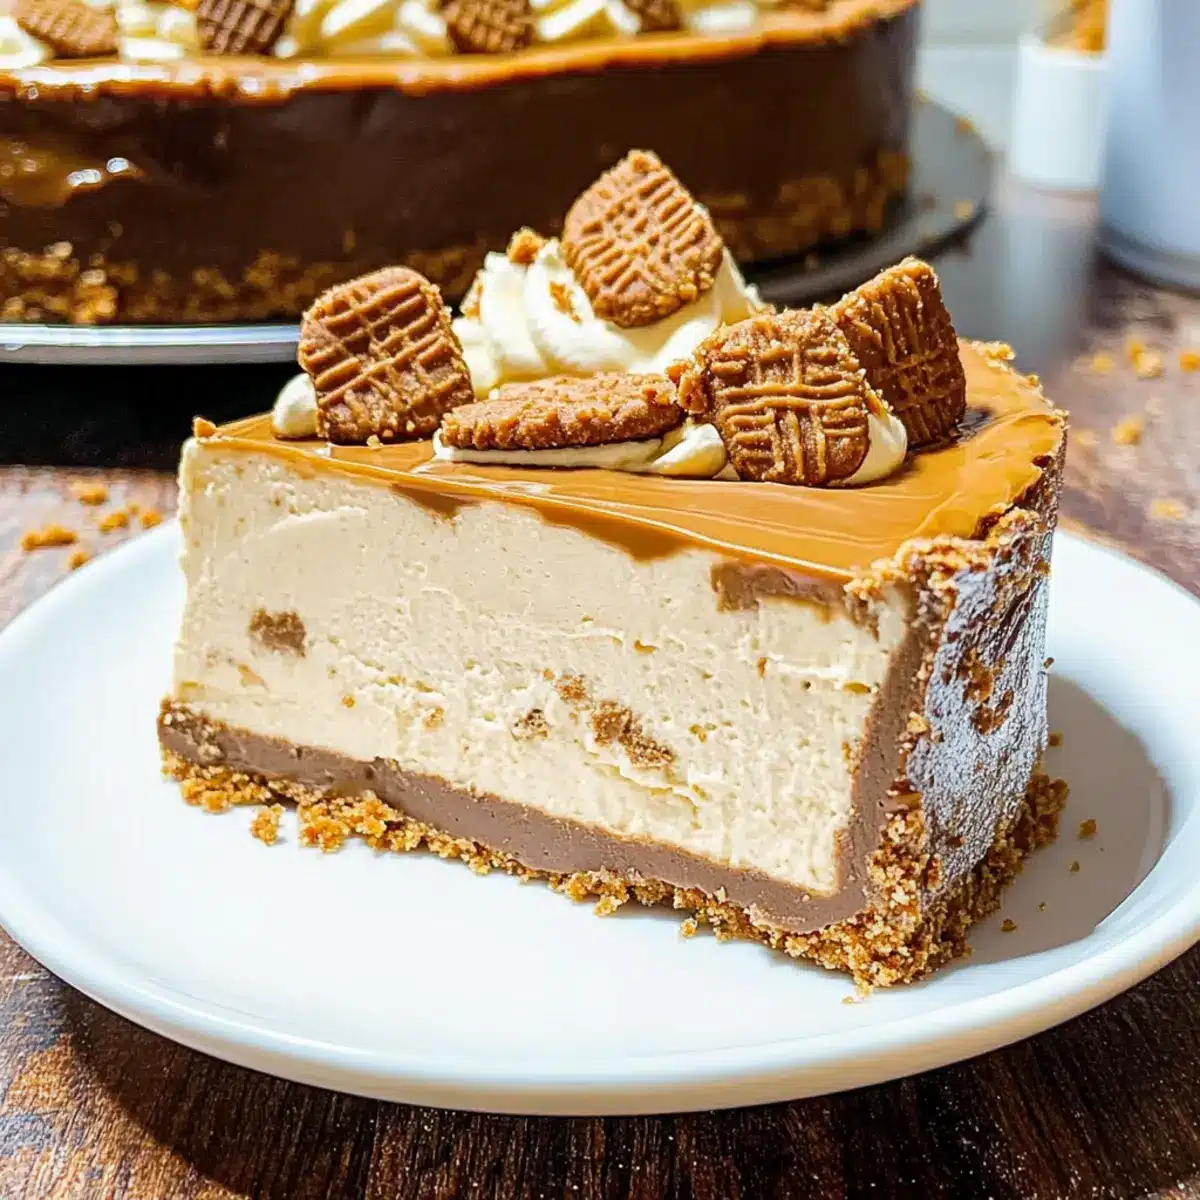
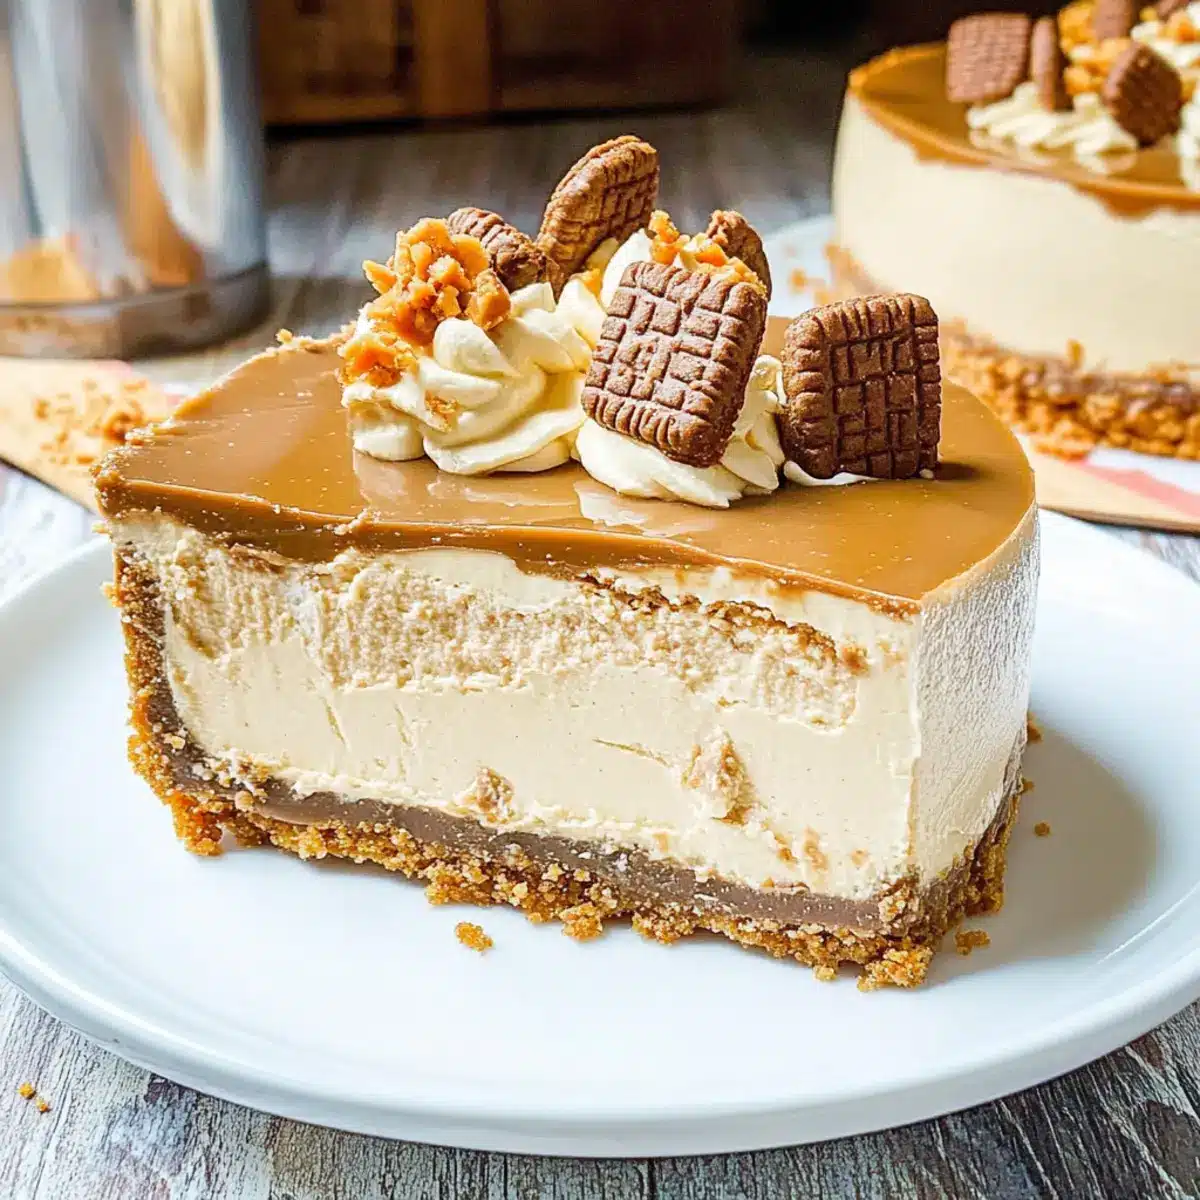
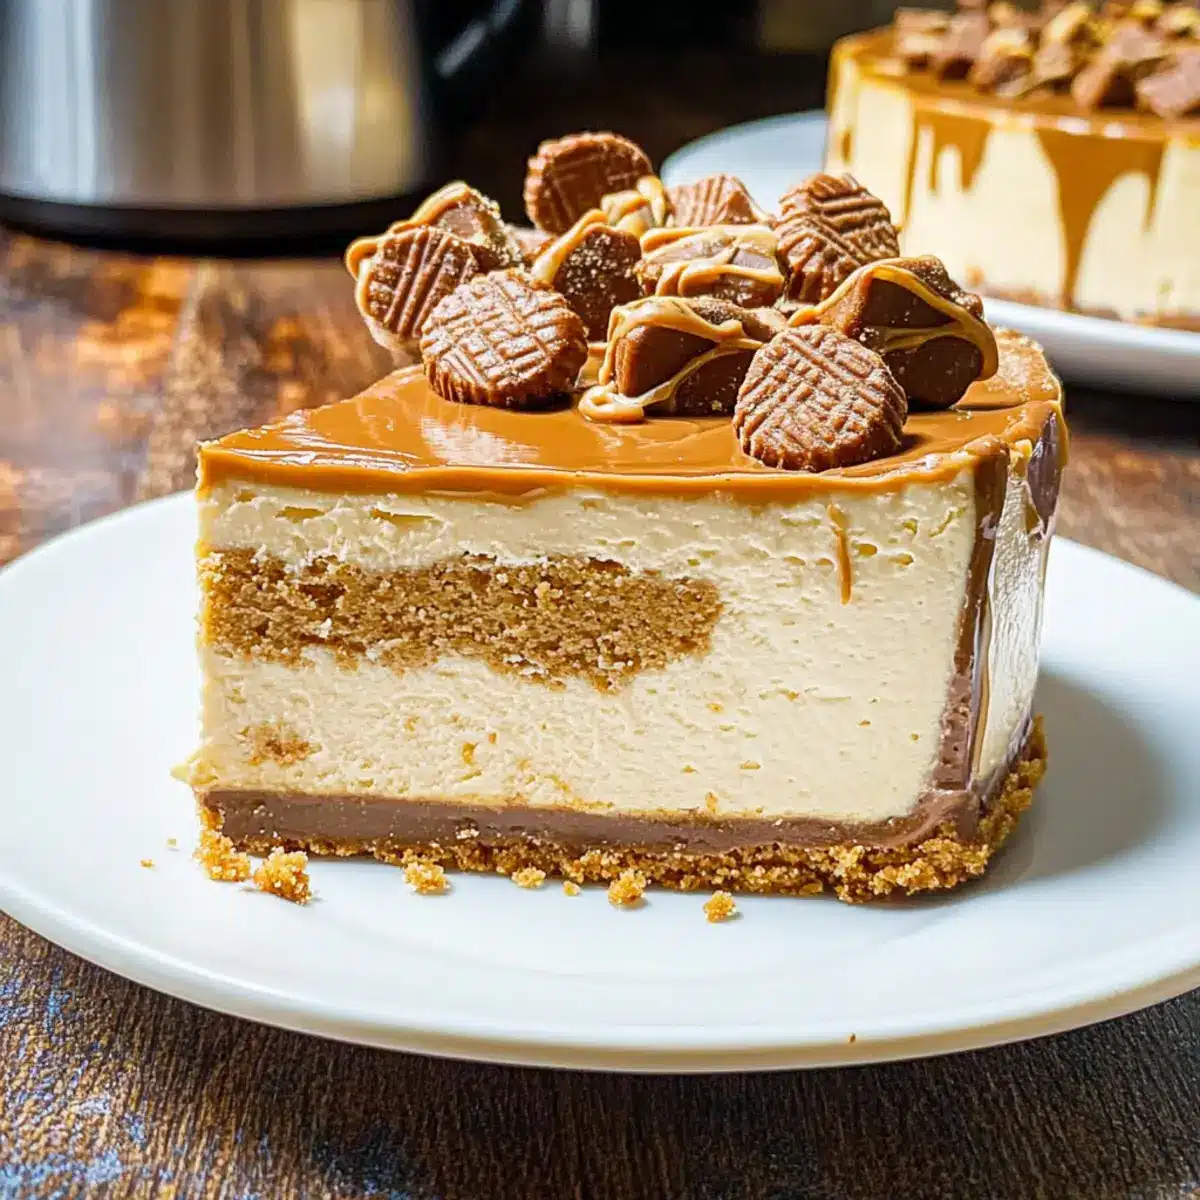
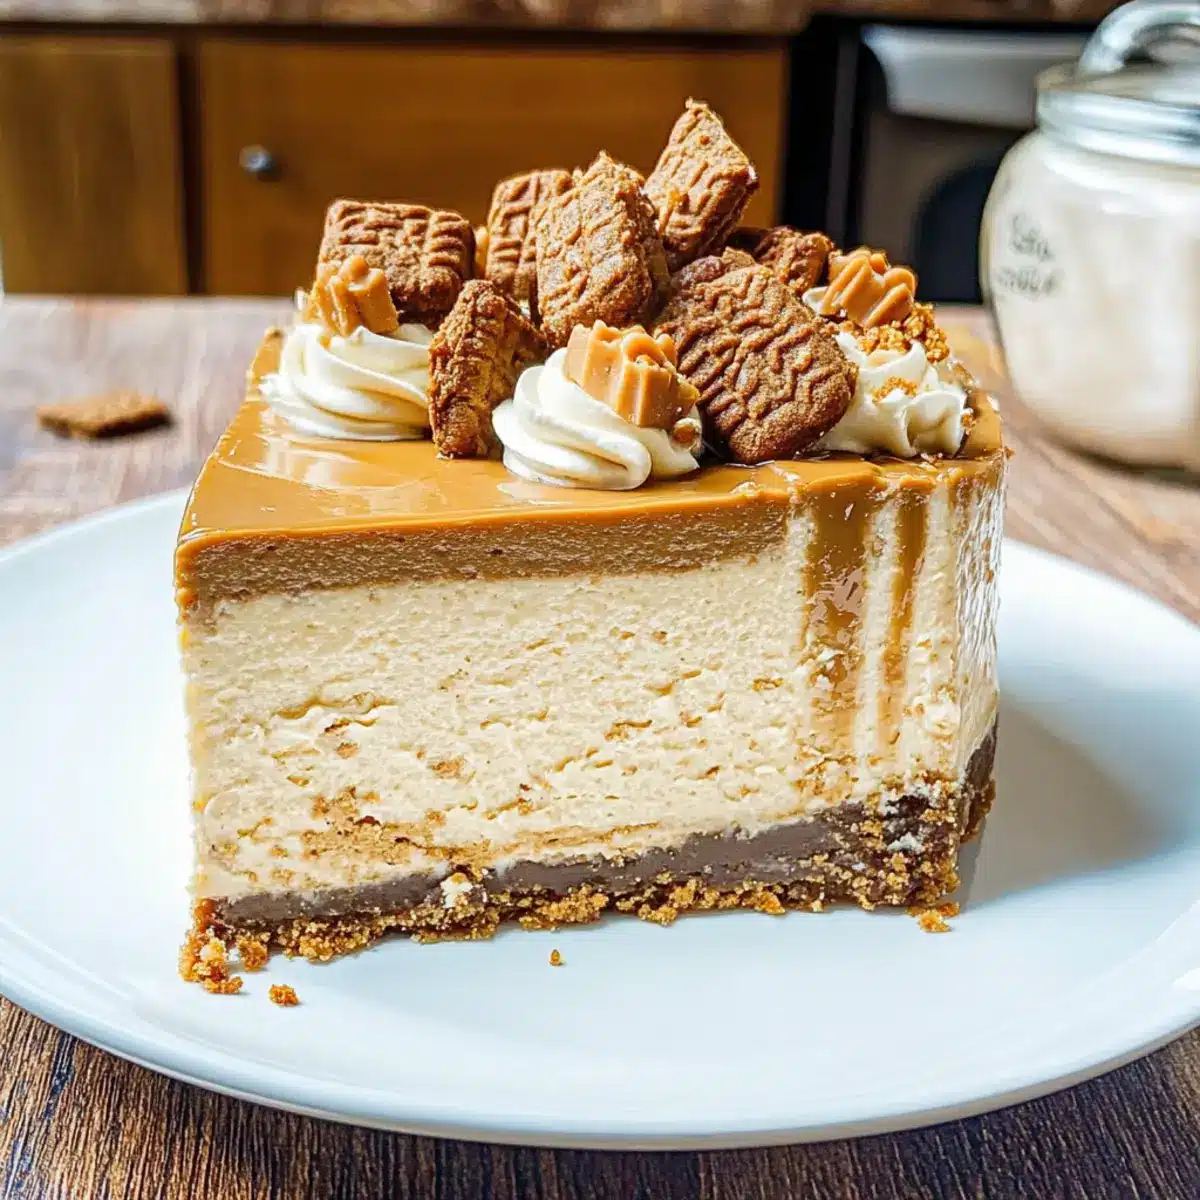
As I stumbled across a cozy cafe the other day, the air was thick with the irresistible aroma of peanut butter and sweet creaminess. It whisked me back to my childhood, where Nutter Butter cookies often reigned supreme in our snack cabinet. That’s when the idea for my Decadent Nutter Butter Cheesecake with Heath Bar Crunch came to life—a creamy dream that marries that nostalgic cookie flavor with a luxurious cheesecake filling. This no-bake wonder not only pleases the peanut butter lovers among us but also doubles as a showstopper for your next gathering with friends and family. With its quick prep time and delightful texture, it’s the perfect antidote to fast food fatigue. Are you ready to dive into this delicious journey of flavor and nostalgia?
Why is this cheesecake so special?
Nostalgic Flavor Explosion: The iconic taste of Nutter Butter cookies brings memories flooding back, making every bite a delightful experience.
Decadent Indulgence: Rich layers of creamy peanut butter cheesecake topped with crunchy Heath Bars create an irresistible dessert that feels luxurious.
Easy Preparation: This no-bake recipe streamlines the process, saving you time in the kitchen while still impressing your guests with a stunning presentation.
Versatile Appeal: Perfect for gatherings or a cozy night in, it’s a crowd-pleaser that satisfies both kids and adults alike.
Garnish to Impress: A simple drizzle of sour cream and a sprinkle of Heath Bar crumbs elevate this dish, making it worthy of any celebration. Consider pairing it with a classic like Buttermilk Pancakes Brighten for a fun brunch option!
Nutter Butter Cheesecake Ingredients
For the Crust
- Cooking Spray – Prevents sticking; optional if using a non-stick springform pan.
- Nutter Butter Cookies – Provides flavor and crunch as the crust base; try using Oreo cookies for a chocolate twist.
- Heath Bars (2.8 oz total) – Adds toffee flavor to the crust and topping; substitute with Skor bars if needed.
- Melted Butter – Binds the crust together; coconut oil offers a dairy-free option.
- Pinch Kosher Salt – Enhances the overall flavor; regular salt works just fine.
For the Cheesecake Filling
- Cream Cheese (3 (8-oz.) blocks) – Ensures a creamy texture; remember to soften for easy mixing.
- Creamy Peanut Butter (3/4 cup) – The star flavor component adds richness; almond butter can be used for a nutty twist.
- Granulated Sugar (3/4 cup) – Sweetens the filling nicely; reduce slightly if you prefer less sweetness.
- Large Eggs (3) – Helps bind the ingredients and adds structure; flax eggs (3 tbsp ground flaxseed + 9 tbsp water) are a fantastic alternative.
- Sour Cream (1/4 cup & 1 cup) – Adds moisture and tanginess; feel free to replace with Greek yogurt.
- Pure Vanilla Extract (1 tsp & 1/2 tsp) – Enhances the flavor profile; using homemade extract can elevate the taste.
- Heavy Cream (2 Tbsp) – Stabilizes the topping; incorporate whipped cream for an airy texture.
For the Topping
- Mini Nutter Butter Cookies (or 4 crushed) – Decorative element, adding playful crunch on top.
- Chopped Heath Bars (2.8 oz) – Offers an additional layer of flavor; crushed nuts are also a great substitute.
Step‑by‑Step Instructions for Nutter Butter Cheesecake
Step 1: Preheat and Prepare
Begin by preheating your oven to 325°F (162°C). As the oven warms, take a springform pan and lightly coat it with cooking spray to prevent sticking. This preparation ensures that your decadent Nutter Butter Cheesecake emerges smoothly after baking, ready for layering in all that creamy goodness.
Step 2: Create the Crust
In a food processor, combine the Nutter Butter cookies and chopped Heath Bars into fine crumbs. Mix in the melted butter and a pinch of kosher salt until everything is well-coated. Once mixed, pour this crumbly mixture into your prepared springform pan, pressing it firmly into an even layer at the bottom to form a solid crust.
Step 3: Bake the Crust
Place the springform pan in your preheated oven and bake the crust for 10 minutes. You’ll know it’s ready when it turns slightly golden and aromatic, filling your kitchen with inviting smells. Remove it from the oven and allow the crust to cool for a few moments as you prepare the cheesecake filling.
Step 4: Blend the Cream Cheese and Peanut Butter
In a large mixing bowl, beat the softened cream cheese and creamy peanut butter together until the mixture is smooth and creamy. This process should take about 2-3 minutes—look for a texture that’s lump-free and silky, inviting you to indulge in this irresistible Nutter Butter Cheesecake filling.
Step 5: Add Sugar and Mix
Gradually add the granulated sugar to the cream cheese mixture, continuing to beat on medium speed until well combined. This should take another 1-2 minutes. The mixture should be smooth and slightly airy, indicating that you’re on the right track to creating a rich, decadent filling.
Step 6: Incorporate the Eggs
Next, add the large eggs one at a time, mixing well after each addition until fully integrated. This will help bind the filling together. You want a luscious, creamy texture without any lumps, which can make your cheesecake dense instead of light and dreamy.
Step 7: Add the Sour Cream and Vanilla
Stir in the sour cream and vanilla extract, mixing until combined. The sour cream will add a delightful tanginess that balances the sweetness of your Nutter Butter Cheesecake filling. Ensure everything is blended seamlessly for that signature creamy cheesecake consistency.
Step 8: Pour the Filling
Pour the cheesecake filling over the cooled crust in the springform pan, spreading it evenly with a spatula. This layer of peanut butter goodness should look rich and creamy as you smooth it out, ready to transform into the heavenly dessert you’ve envisioned.
Step 9: Bake the Cheesecake
Return the cheesecake to the oven and bake for approximately 1 hour. Keep an eye on it toward the end of baking; the center should be set but may still have a slight jiggle, indicating it will firm up as it cools. This is the key to ensuring your Nutter Butter Cheesecake remains luscious and creamy.
Step 10: Cool and Chill
Once baked, remove the cheesecake from the oven and let it cool at room temperature for at least 30 minutes. After cooling, transfer it to the refrigerator to chill for a minimum of 2 hours—overnight is best—to help the flavors meld and enhance its creamy consistency.
Step 11: Prepare the Topping
For the topping, mix sour cream, sugar, and vanilla extract until smooth. Once your cheesecake is chilled, drizzle this mixture over the top to add an extra layer of tangy sweetness. Feel free to sprinkle chopped Heath Bars and mini Nutter Butter cookies on top for that delightful crunch.
Step 12: Serve and Enjoy
Slice your beautifully chilled Nutter Butter Cheesecake with a sharp knife, reveling in the rich layers and textures. Each piece will reveal that stunning crust and creamy filling, making it the star of your next gathering. Serve chilled and enjoy every bite of this decadent dessert!
Nutter Butter Cheesecake Variations & Substitutions
Feel free to explore these delightful twists on your Nutter Butter Cheesecake, adding personal touches that tantalize the taste buds!
-
Nut-Free: Substitute peanut butter with sunflower seed butter to keep it allergen-friendly while still achieving a creamy texture.
-
Chocolate Lovers: Fold in 1/2 cup of chocolate chips into the cheesecake filling for a rich, chocolatey surprise with each bite. Chocolate and peanut butter are a match made in heaven.
-
Mini Cheesecakes: Use this recipe to create mini cheesecakes in muffin tins for an adorable party treat. Perfectly portioned and easy to share!
-
Fruit Flavored: Add in 1 cup of crushed raspberries or strawberries to the cheesecake filling for a fruity punch that perfectly balances the rich peanut butter flavors.
-
Lighten Up: Swap cream cheese for a mix of Greek yogurt and cream cheese to cut down on calories while maintaining that creamy goodness.
-
Frozen Delights: Turn it into a frozen cheesecake by adding a layer of whipped cream and freezing for 2-3 hours. Slice it straight from the freezer for a refreshing dessert.
-
Caramel Drizzle: Drizzle some warm caramel sauce over the top before serving for an extra layer of indulgence. Sweet and salty is always a winner!
-
Gourmet Touch: Elevate your cheesecake by incorporating a hint of espresso powder into the filling; it deepens the flavor for a surprisingly sophisticated dessert.
If you’re feeling adventurous, consider pairing this cheesecake with some Biscoff Cookie Butter brownies or a delightful slice of No-Bake Biscoff Cheesecake for a true dessert feast that will impress everyone at your next gathering!
What to Serve with Nutter Butter Cheesecake
Indulging in the unique sweetness of this cheesecake creates an unforgettable moment, perfect for pairing with delightful side dishes and sips.
- Fresh Berries: Bright, tart berries like strawberries or raspberries cut through the richness and add a refreshing contrast.
- Chocolate Drizzle: A simple drizzle of warm chocolate sauce elevates the dessert with an extra layer of decadence and visual appeal.
- Coffee: The bold flavors of a rich cup of coffee provide a perfect balance to the sweet, creamy cheesecake.
Pairing options expand your culinary experience. Consider a silky vanilla ice cream—a delightful contrast against the cheesecake’s texture.
- Vanilla Ice Cream: Creamy ice cream adds a cool dimension to the cheesecake, making each bite even more indulgent and luscious.
Finish your meal with the warmth of a fine dessert wine, inviting vibrant conversations and laughter.
- Dessert Wine: A sweet dessert wine complements the peanut butter flavor beautifully, making your gathering feel extra special.
With these pairings, you’re set for a feast that tantalizes the taste buds and satisfies the soul!
Storage Tips for Nutter Butter Cheesecake
-
Fridge: Store the Nutter Butter Cheesecake in an airtight container in the fridge for up to 3 days. Ensure it’s covered to maintain freshness and prevent any unwanted odors from affecting the taste.
-
Freezer: If you want to save it for later, freeze the cheesecake wrapped in plastic wrap and aluminum foil for up to 2 months. Thaw in the fridge overnight before serving.
-
Reheating: Though typically enjoyed chilled, if serving slightly warm is preferred, gently reheat slices in the microwave for about 10-15 seconds.
-
Make-Ahead: Feel free to make this Nutter Butter Cheesecake a day or two ahead of your event; its flavor only improves with time as it chills in the refrigerator.
Make Ahead Options
These Nutter Butter Cheesecakes are perfect for meal prep enthusiasts! You can prepare the crust up to 3 days in advance by mixing the crushed Nutter Butter cookies with melted butter and pressing it into the springform pan, then keeping it covered in the refrigerator. The cheesecake filling can be made the night before and poured into the crust; simply bake and chill overnight for the best results. To maintain quality, ensure it’s well-covered to prevent drying out, and wait to add the sour cream topping until just before serving. This way, you’ll have a decadent dessert ready to impress with minimal effort!
Expert Tips for Nutter Butter Cheesecake
-
Room Temperature Ingredients: Ensure your cream cheese and eggs are at room temperature for a smoother filling, preventing lumps in your Nutter Butter Cheesecake.
-
Avoid Cracking: Keep an eye on the cheesecake towards the end of baking; if you notice any cracks forming, it may indicate overbaking.
-
Chill Overnight: For the best flavor and texture, chill the cheesecake overnight; this allows the flavors to develop and the filling to set perfectly.
-
Crust Consistency: Make sure your crust is well-pressed into the pan; a loose crust can crumble when slicing your beautiful cheesecake.
-
Garnishing Delight: Don’t skip the topping! A simple sour cream drizzle and some chopped Heath Bars not only add flavor but make your dessert visually stunning too.
Nutter Butter Cheesecake Recipe FAQs
How do I select ripe ingredients for my cheesecake?
Absolutely! When making your Nutter Butter Cheesecake, ensure your cream cheese is at room temperature for easy mixing. You want it soft and creamy, which prevents lumps in your filling. For the eggs, using room temperature eggs also helps create a smooth batter.
What are the best storage methods for leftover cheesecake?
Very effective! Store any leftover Nutter Butter Cheesecake in an airtight container in the refrigerator for up to 3 days. Be sure to cover it well to retain its freshness and avoid any fridge odors impacting the flavor. For longer storage, you can wrap your cheesecake tightly in plastic wrap, followed by aluminum foil, and freeze it for up to 2 months.
Can I freeze Nutter Butter Cheesecake?
Absolutely! To freeze your cheesecake, first, let it cool completely. Then, wrap it tightly in plastic wrap, followed by aluminum foil to prevent freezer burn. When you’re ready to enjoy it again, simply transfer it to the fridge to thaw overnight before serving. This way, you can savor that creamy delight anytime you crave it!
What should I do if my cheesecake cracks during baking?
Very! If you notice cracks forming, it usually means the cheesecake has been overbaked. To prevent this in the future, monitor it closely in the last 10-15 minutes of baking. The center should be set with a slight jiggle. If you do see cracks, you can hide them with a delicious sour cream topping or some whipped cream for an attractive finish!
Are there any dietary considerations for this cheesecake?
Definitely! If you’re making the Nutter Butter Cheesecake for someone with dietary restrictions, be sure to check the ingredient labels. The cheesecake contains gluten due to the Nutter Butter cookies; consider using gluten-free cookies for a variation. Additionally, for a dairy-free option, you can swap regular cream cheese with dairy-free cream cheese and use coconut oil as the binder for the crust. This way, everyone can enjoy a slice!
Irresistible Nutter Butter Cheesecake with Heath Bar Crunch
Ingredients
Equipment
Method
- Preheat your oven to 325°F (162°C) and coat a springform pan with cooking spray.
- In a food processor, combine Nutter Butter cookies and chopped Heath Bars into fine crumbs. Mix in melted butter and kosher salt.
- Press the mixture firmly into an even layer in your prepared springform pan to form a crust.
- Bake the crust for 10 minutes until slightly golden and aromatic. Allow to cool.
- In a large mixing bowl, beat softened cream cheese and creamy peanut butter until smooth and creamy.
- Gradually add granulated sugar, beating on medium speed until well combined.
- Add eggs one at a time, mixing well after each addition until fully integrated.
- Stir in sour cream and vanilla extract until fully mixed.
- Pour the cheesecake filling over the cooled crust and spread evenly.
- Bake for approximately 1 hour, until the center is set but still slightly jiggly.
- Let the cheesecake cool at room temperature for at least 30 minutes before transferring to the refrigerator to chill for at least 2 hours.
- Mix sour cream, sugar, and vanilla extract for the topping once chilled, drizzle over the cheesecake, and sprinkle with Heath Bars and mini Nutter Butter cookies.
- Slice and serve chilled, enjoying the rich layers and textures of this decadent dessert.
Leave a Reply