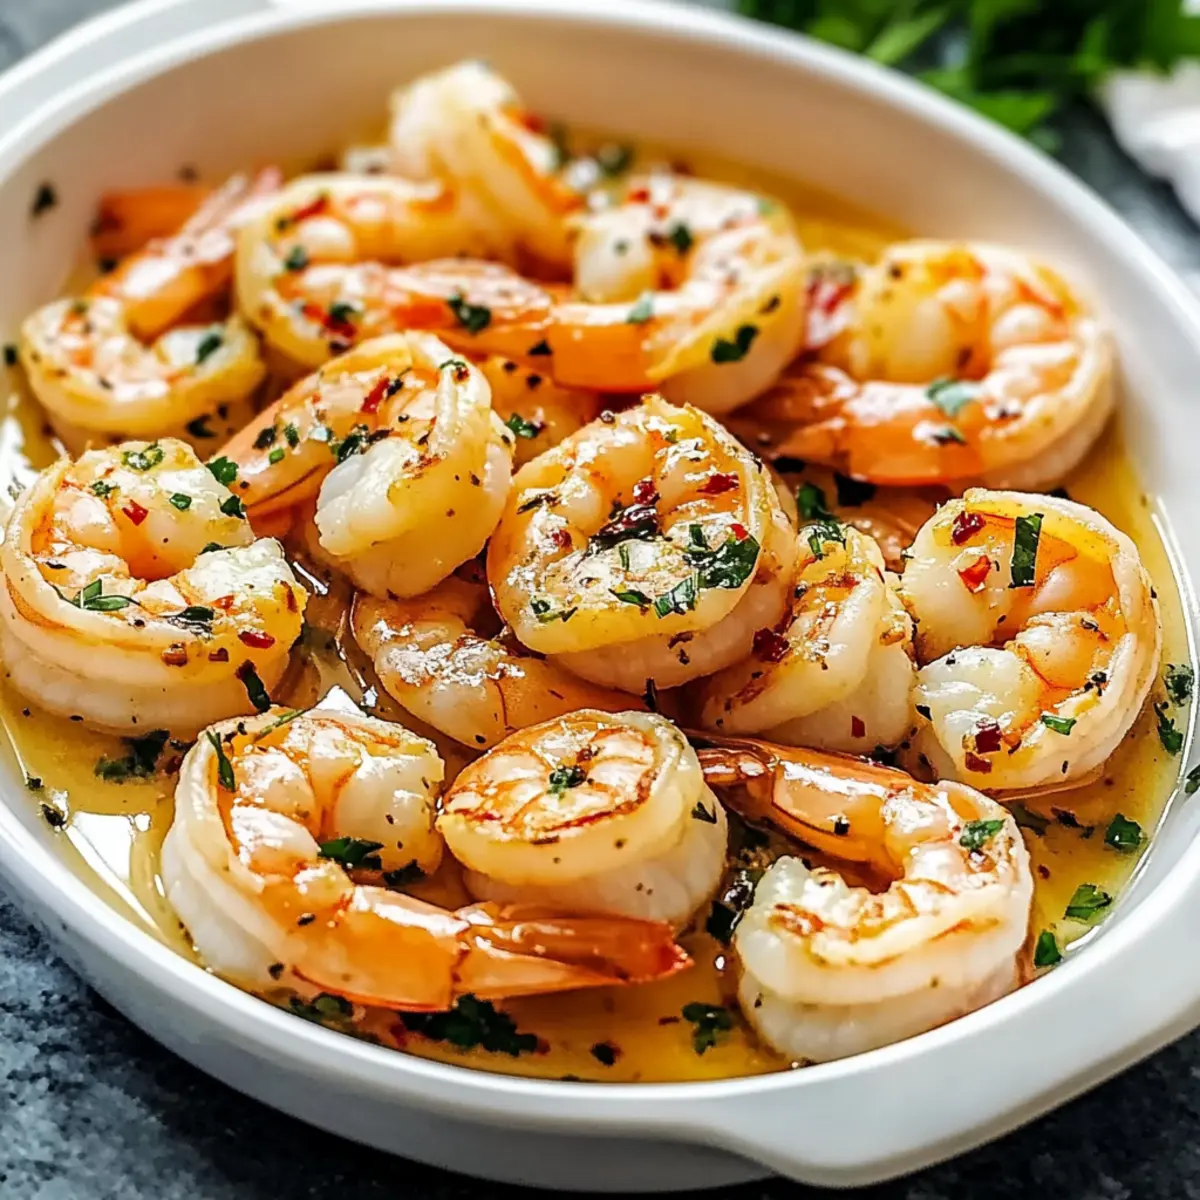
As I stood by the stove, a quick triumph unfolded before me: the aroma of sizzling garlic meeting melting butter filled my kitchen, hinting at the flavorful feast about to arrive. This Quick and Flavorful Garlic Butter Shrimp is a delightful union of buttery richness and tender shrimp, making it the ultimate solution for busy weeknight dinners or a stunning dish to impress guests. Ready in just 20 minutes, this recipe isn’t just quick and easy; it’s remarkably versatile too. Whether served over pasta, paired with a fresh garden salad, or enjoyed on its own, each bite is a celebration of flavor. Wouldn’t you love to elevate your dining experience right at home? Let’s dive into this scrumptious dish that promises to brighten any mealtime!
Why Is Garlic Butter Shrimp So Irresistible?
Quick cooking keeps weeknight dinners from feeling rushed, with this recipe ready in just 20 minutes. Flavorful explosions arise from the perfect harmony of garlic and butter, tantalizing your taste buds with every bite. Versatile serving options—from pasta to salads—let you mix it up easily. Gourmet appeal means your guests will think you slaved over a fancy dish, but in reality, it’s simple! Also, the easy-to-follow instructions mean anyone can whip this up; consider trying it alongside our Coconut Lime Shrimp for a seafood feast to remember.
Garlic Butter Shrimp Ingredients
For the Cooking Base
• Olive Oil – A great cooking base that provides flavor; substitute with vegetable oil for a lighter option.
• Unsalted Butter – Adds a rich, creamy flavor; using salted butter gives an extra salty kick.
For the Shrimp
• Shrimp (large or jumbo, shelled) – The star of the dish; fresh shrimp is best, but frozen shrimp can work if thawed properly.
• Salt – Essential for enhancing flavor; adjust according to taste with kosher salt for even seasoning.
For Flavor
• Garlic (minced) – A key flavoring ingredient that should be fresh for maximum aroma, though jarred can suffice in a pinch.
• Red Pepper Flakes – Adds a touch of heat; feel free to omit if you prefer a milder dish.
• Lemon Juice (freshly squeezed) – Brightens up the flavors; bottled lemon juice can work, but its taste is less vibrant.
For Garnishing
• Fresh Parsley (chopped) – Provides a fresh touch to the dish; substitute with cilantro if preferred or leave out entirely.
Elevate your Garlic Butter Shrimp experience by mixing in additional flavors or sides!
Step‑by‑Step Instructions for Garlic Butter Shrimp
Step 1: Heat Skillet
Begin by warming a large skillet over medium-high heat for about 2 minutes. Pour in 1 tablespoon of olive oil and add 2 tablespoons of unsalted butter to the pan, watching for it to shimmer. This bubbling indicates the perfect moment to add your shrimp. The aromatic foundation of olive oil and butter will set the stage for your flavorful Garlic Butter Shrimp.
Step 2: Cook Shrimp
Once the butter has melted completely, add the shelled shrimp in a single layer. Sauté for about 2-3 minutes until they turn pink and slightly opaque, showcasing their tenderness. Carefully sprinkle some salt over the shrimp to enhance their natural flavors. This initial cooking is crucial for achieving that perfect sear that adds depth to your dish.
Step 3: Add Garlic and Spices
After the shrimp have cooked through, flip them over and continue to cook for an additional 2 minutes. As they become beautifully caramelized, introduce the minced garlic and red pepper flakes to the skillet. Stir gently for about 30 seconds, allowing the garlic to release its fragrant aroma without burning. This step is vital for infusing each shrimp with a delightful flavor.
Step 4: Finish Dish
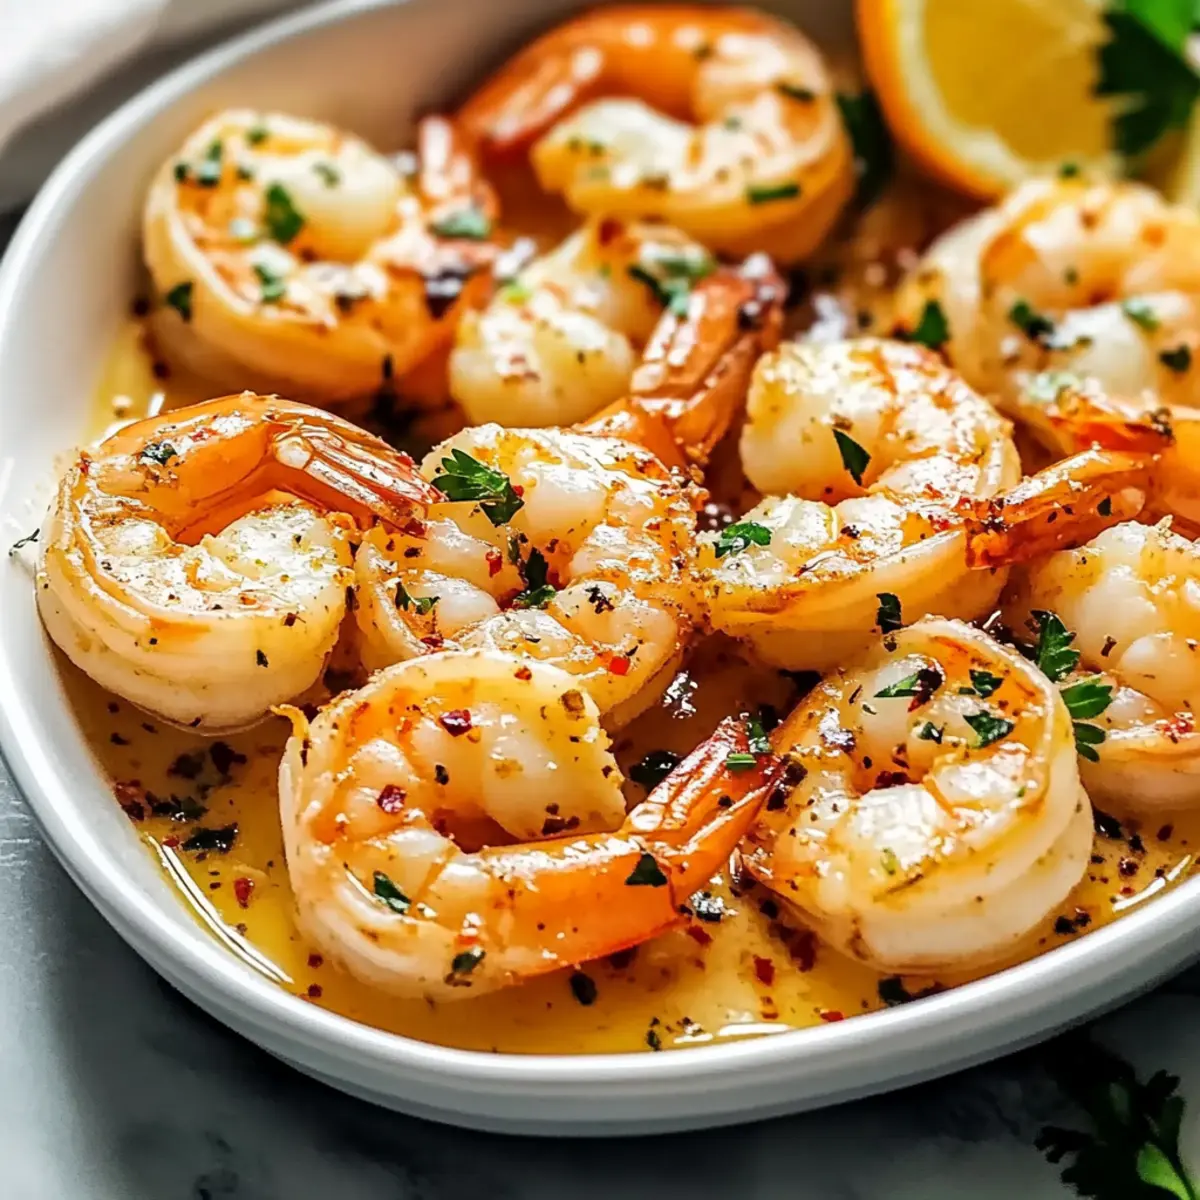
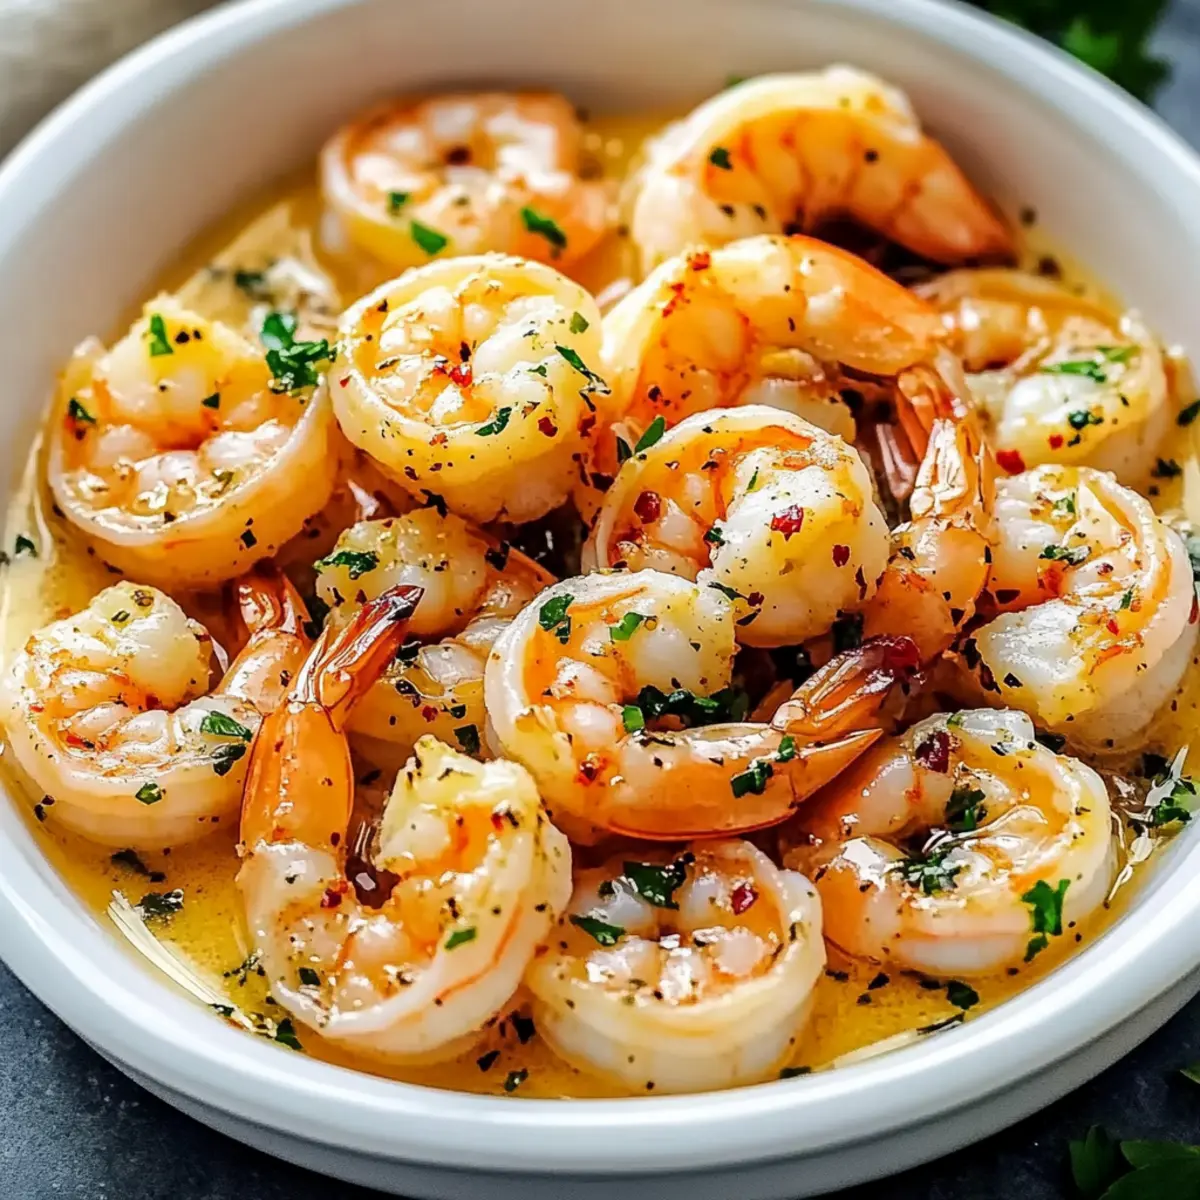
Stir in the remaining 2 tablespoons of butter, ensuring it melts and creates a luscious sauce. Next, squeeze the juice of half a lemon directly into the pan, brightening the dish. Gently toss in the chopped parsley, which adds a fresh touch to your Garlic Butter Shrimp. Serve immediately to savor the rich and vibrant flavors at their peak.

Garlic Butter Shrimp Variations & Substitutions
Feel inspired to make this dish your own with delectable twists and substitutions that can elevate your Garlic Butter Shrimp!
- Vegetable Boost: Incorporate cherry tomatoes or bell peppers for a burst of freshness and added nutrients. These colorful additions not only enhance the flavor but also make for a vibrant presentation.
- Citrus Twist: Swap lemon juice for orange or lime juice to give your shrimp an unexpected zing. The citrusy notes will brighten the dish and bring a whole new flavor experience.
- Herb Variations: Fresh herbs like dill or basil can add an aromatic touch that transforms the overall flavor profile. Consider a sprinkle of fresh tarragon for a lovely basil alternative.
- Pasta Dish: Combine your Garlic Butter Shrimp with cooked spaghetti or linguine for a satisfying pasta variation. This fusion makes for a delightful seafood pasta that feels like a gourmet treat.
- Gluten-Free Option: Serve over quinoa or cauliflower rice to keep it gluten-free while still enjoying all the flavors. Both options are nutritious choices that absorb the delicious buttery sauce.
- Dairy-Free Delight: Use coconut oil instead of butter for a dairy-free version that maintains a rich flavor. Supplement with a bit of nutritional yeast for that cheesy taste without the dairy.
- Spicy Kick: Add more red pepper flakes or a splash of hot sauce to turn up the heat for spice lovers. This can turn an already flavorful dish into a fiery experience that wakes up your taste buds.
- Sweet and Savory: Toss in a tablespoon of honey or maple syrup when adding lemon juice for a tantalizing sweet undertone. The sweetness balances the savory garlic butter beautifully, offering a unique twist.
For more delicious recipes, take a look at my Honey Garlic Chicken for another easy weeknight option or indulge in these delightful Biscoff Cookie Butter Brownies as a special treat!
How to Store and Freeze Garlic Butter Shrimp
Fridge: Store leftovers in an airtight container for up to 3 days. Make sure to let the dish cool before refrigerating to maintain its freshness.
Freezer: You can freeze Garlic Butter Shrimp for up to 3-4 months. Portion them in airtight freezer bags, removing as much air as possible.
Reheating: Thaw overnight in the fridge before reheating. Warm gently in a skillet over low heat, adding a splash of water or broth to revive the buttery sauce.
Meal Prep Tip: For even quicker meals, marinate shrimp in olive oil and spices before freezing; this enhances flavor and makes it easy to cook straight from the freezer.
Expert Tips for Garlic Butter Shrimp
• Perfect Cook Time: Aim for a total cook of 4-5 minutes to keep shrimp tender; overcooking makes them rubbery.
• Garlic Precision: Add garlic near the end of cooking to prevent burning and maintain that lovely aroma in your Garlic Butter Shrimp.
• Make Ahead: Marinate shrimp in olive oil, salt, and spices for up to 24 hours to enhance flavor and save time on busy nights.
• Skillet Size Matters: Use a large skillet to ensure shrimp cook evenly, preventing overcrowding and steaming.
• Freshness Counts: Fresh garlic makes a world of difference; always opt for it over jarred, if possible, for a vibrant flavor boost.
Make Ahead Options
These Garlic Butter Shrimp are perfect for meal prep enthusiasts! You can marinate the shrimp in olive oil, minced garlic, and red pepper flakes for up to 24 hours in advance, enhancing the flavor without losing quality. Simply place the seasoned shrimp in an airtight container and refrigerate until you’re ready to cook. Additionally, you can chop the parsley and squeeze the lemon juice ahead of time to save even more minutes when you’re ready to serve. When it’s time to feast, just sauté the shrimp in your hot skillet for a quick finish—simply add the butter and lemon juice, and toss in the parsley for a delectable, restaurant-quality dish with minimal effort!
What to Serve with Quick and Flavorful Garlic Butter Shrimp?
Indulge in the ultimate culinary experience with delightful sides that will elevate your Garlic Butter Shrimp to new heights.
-
Fluffy White Rice: The perfect canvas to soak up the rich garlic butter sauce, white rice keeps your meal light while providing a comforting texture.
-
Garlic Bread: Thick, toasted slices of garlic bread add a crunchy element to your meal, making it easy to savor every drop of the luscious sauce. Plus, who can resist the aroma?
-
Steamed Asparagus: This fresh, tender green complements the dish beautifully, adding a pop of color and a crisp bite that balances the richness. A dash of lemon on top could amplify the flavors further.
-
Crisp Garden Salad: A cool salad filled with greens, cucumbers, and a zesty vinaigrette refreshes your palate after the buttery shrimp, providing a delightful contrast.
-
Pasta: Serve your Garlic Butter Shrimp over al dente pasta like linguine or spaghetti. The combination turns your dish into a satisfying seafood pasta that’s likely to impress your guests.
-
Lemonade or White Wine: To drink, a chilled glass of fresh lemonade or a crisp white wine pairs perfectly with shrimp, enhancing the zesty flavors of your dish and creating a refreshing dining experience.
-
Roasted Vegetables: Add roasted veggies like zucchini, bell peppers, or cherry tomatoes for a colorful, nutrient-packed side that complements the shrimp’s buttery flavor, making the meal even more vibrant and wholesome.
Garlic Butter Shrimp Recipe FAQs
What type of shrimp should I use for Garlic Butter Shrimp?
Absolutely! For the best results, use large or jumbo shrimp that are shelled and deveined. Fresh shrimp is ideal as it provides a tender texture and robust flavor, but frozen shrimp can work beautifully as well. Just be sure to thaw them in the refrigerator overnight and pat them dry before cooking.
How do I store leftovers of Garlic Butter Shrimp?
After enjoying your delicious Garlic Butter Shrimp, store any leftovers in an airtight container. They will stay fresh in the refrigerator for up to 3 days. Let them cool completely before placing them in the fridge to help maintain their taste and texture.
Can I freeze Garlic Butter Shrimp?
Certainly! To freeze your Garlic Butter Shrimp, portion them out into airtight freezer bags and remove as much air as possible. They can be stored in the freezer for 3-4 months. When you’re ready to enjoy them, thaw the shrimp overnight in the refrigerator, then reheat gently in a skillet over low heat.
What should I do if my shrimp overcooks and turns rubbery?
Oh no! If your shrimp turns rubbery, it’s likely due to being cooked for too long. The key is to aim for a total cooking time of 4-5 minutes. If you want to avoid overcooking, keep a close eye on them as they cook. Remember to cook until they just turn pink and slightly opaque — that’s when they are perfectly tender!
Can I adjust this recipe to be dairy-free or gluten-free?
Very! For a dairy-free option, simply substitute the butter with a dairy-free alternative like coconut oil or a plant-based buttery spread. To keep it gluten-free, serve your Garlic Butter Shrimp over quinoa, cauliflower rice, or alongside a fresh garden salad instead of traditional pasta or bread.
How can I make my Garlic Butter Shrimp even more flavorful?
Enhance the flavor of your Garlic Butter Shrimp by marinating the shrimp in olive oil, garlic, and your favorite spices for up to 24 hours before cooking. You can also add in extras like cherry tomatoes or fresh herbs when cooking for that extra burst of flavor and color. Enjoy experimenting!
Quick and Easy Garlic Butter Shrimp with Flavor Boosts
Ingredients
Equipment
Method
- Begin by warming a large skillet over medium-high heat for about 2 minutes. Pour in 1 tablespoon of olive oil and add 2 tablespoons of unsalted butter, watching for it to shimmer.
- Once the butter has melted completely, add the shelled shrimp in a single layer. Sauté for about 2-3 minutes until they turn pink and slightly opaque, showcasing their tenderness.
- Carefully sprinkle some salt over the shrimp to enhance their natural flavors. This initial cooking is crucial for achieving that perfect sear that adds depth to your dish.
- After the shrimp have cooked through, flip them over and continue to cook for an additional 2 minutes. Introduce the minced garlic and red pepper flakes to the skillet and stir gently for about 30 seconds.
- Stir in the remaining 2 tablespoons of butter, ensuring it melts and creates a luscious sauce. Squeeze the juice of half a lemon directly into the pan and toss in the chopped parsley.
- Serve immediately to savor the rich and vibrant flavors at their peak.
Leave a Reply