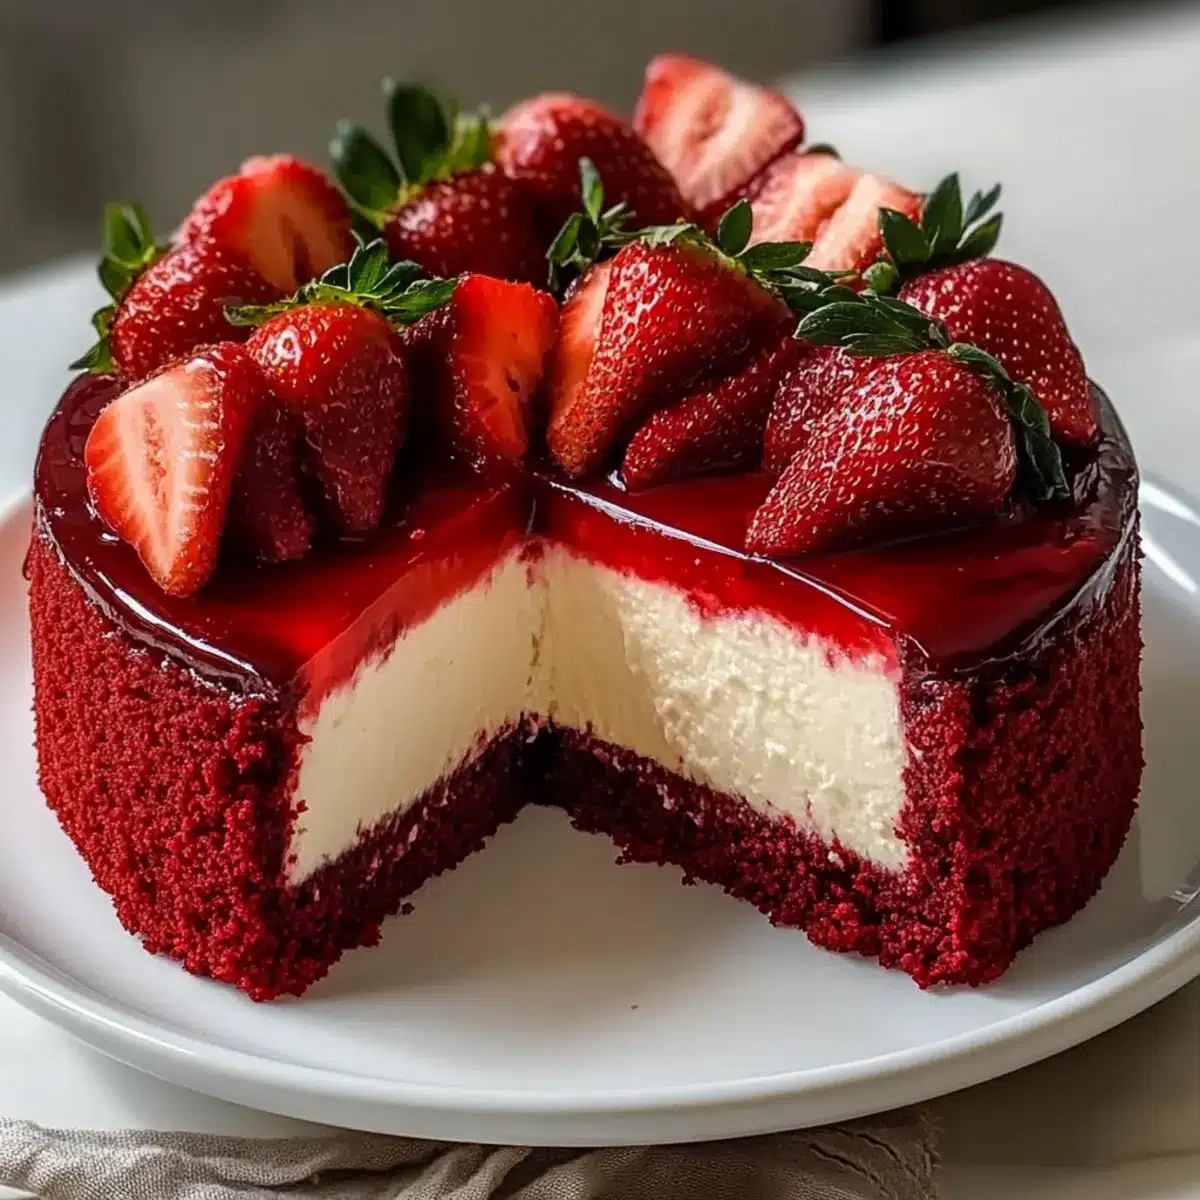
There’s nothing quite like that moment when you take your first bite of dessert and feel an instant rush of joy. With our Easy Red Velvet Strawberry Cheesecake, that bliss is right at your fingertips! This delightful cake artfully blends the rich, velvety allure of red velvet with a creamy and tangy cheesecake filling, making it a show-stopper for any celebration. Topped with fresh strawberries, each slice is a luscious harmony of flavors and textures that make it an absolute crowd-pleaser. Plus, with minimal prep time, you’ll be able to whip up this indulgent treat without sacrificing your precious weekend. So, are you ready to impress your friends and family with a dessert that’s stunning enough for the grandest occasion yet simple enough for an everyday treat? Let’s dive into making this unforgettable cake!
Why Is This Cheesecake So Irresistible?
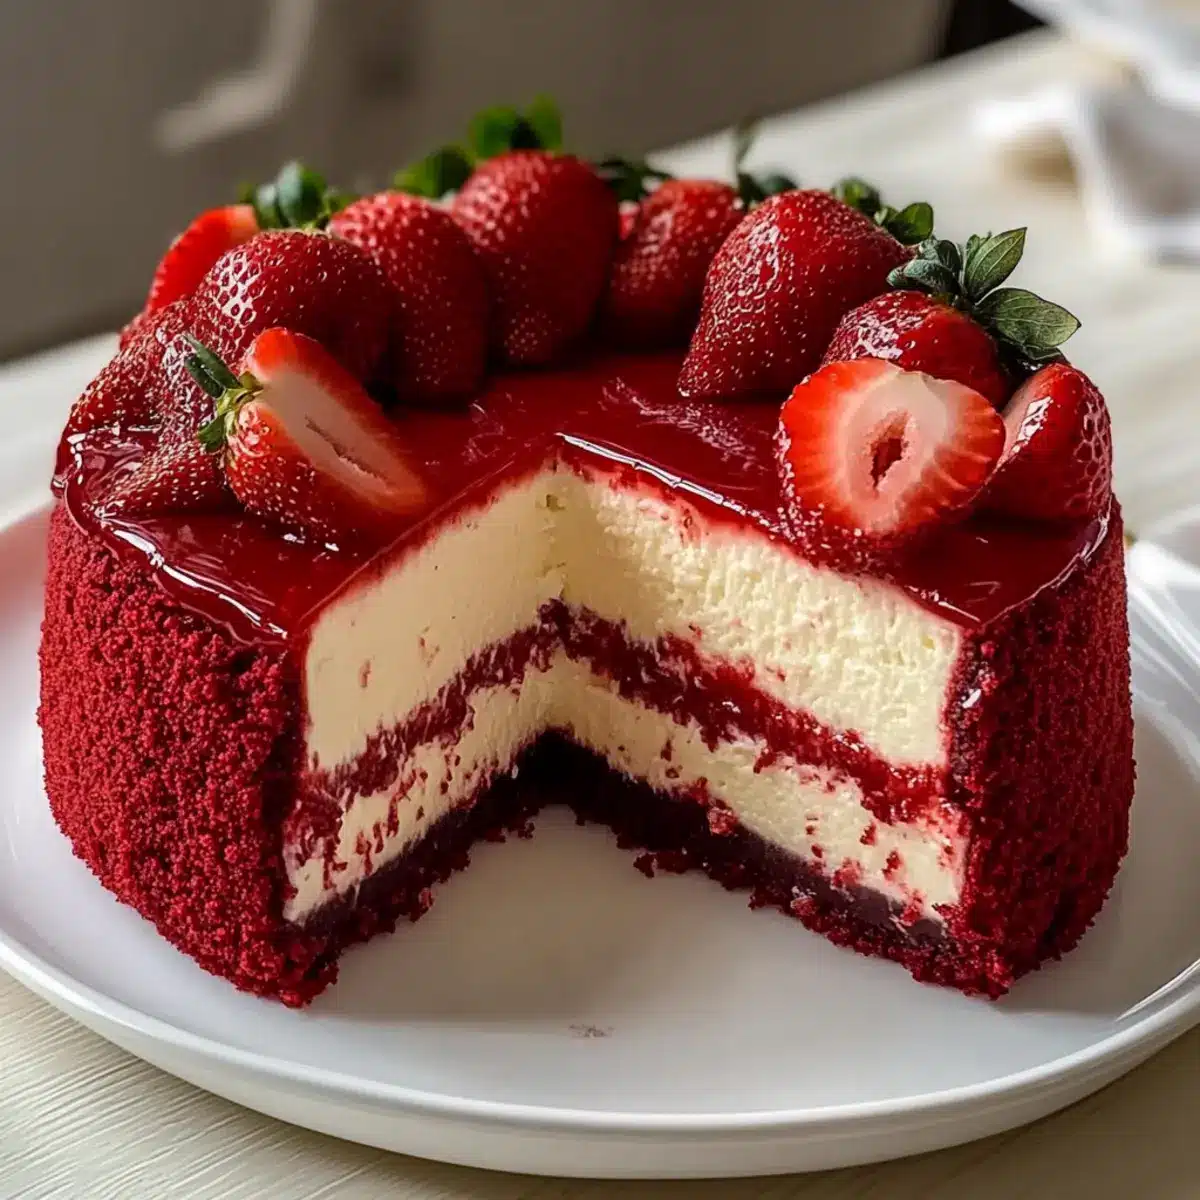
Velvety Texture: This Easy Red Velvet Strawberry Cheesecake combines the rich comfort of cake with the smoothness of cheesecake, creating an indulgent experience that will delight your taste buds.
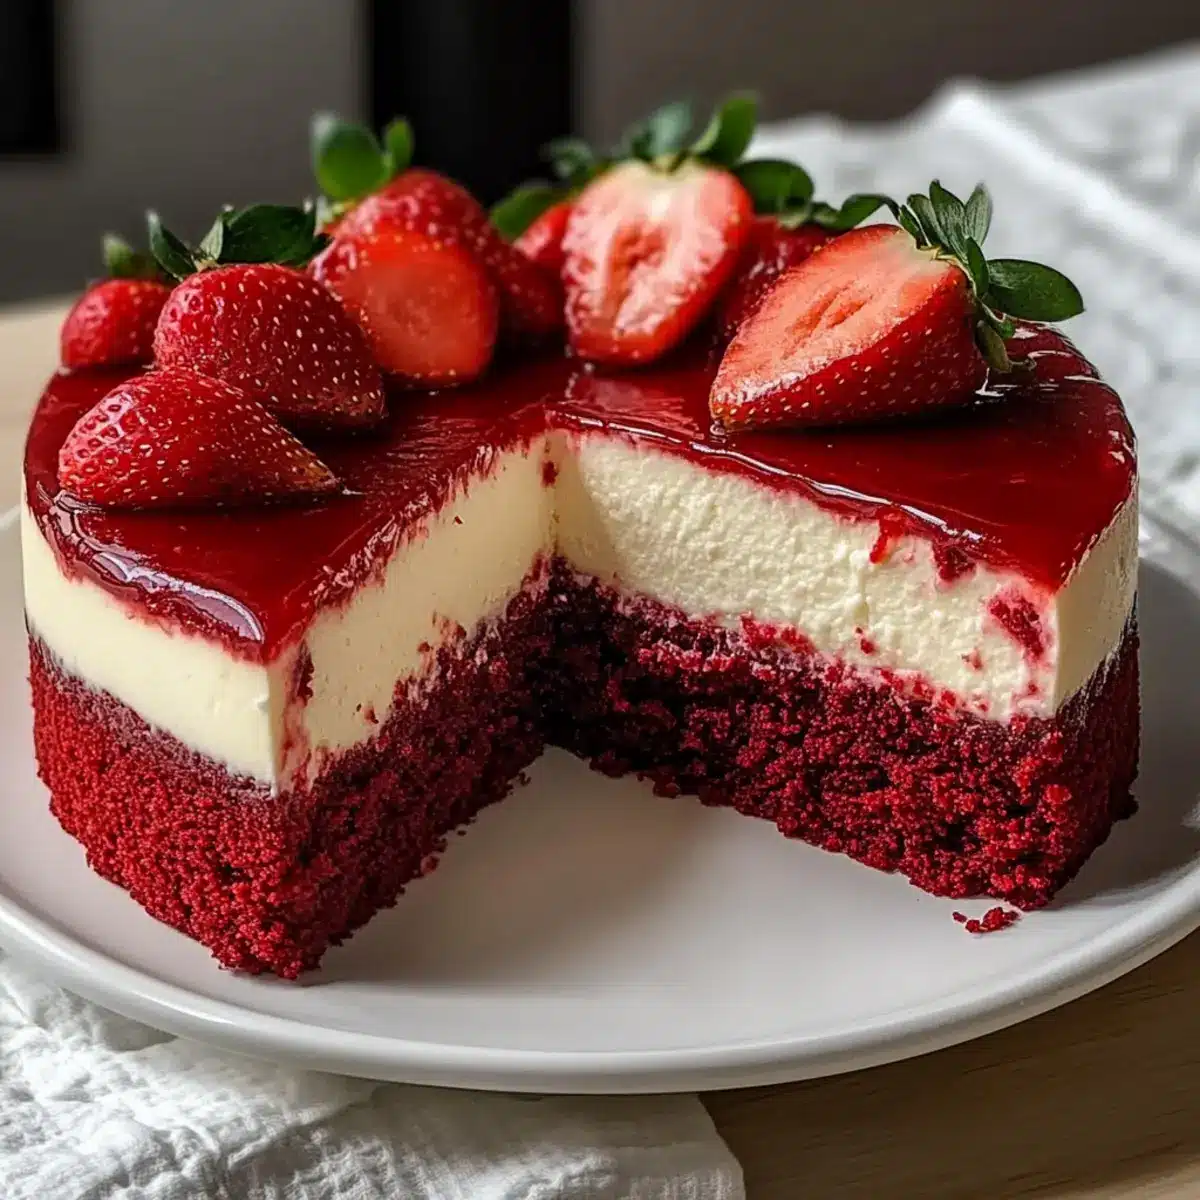
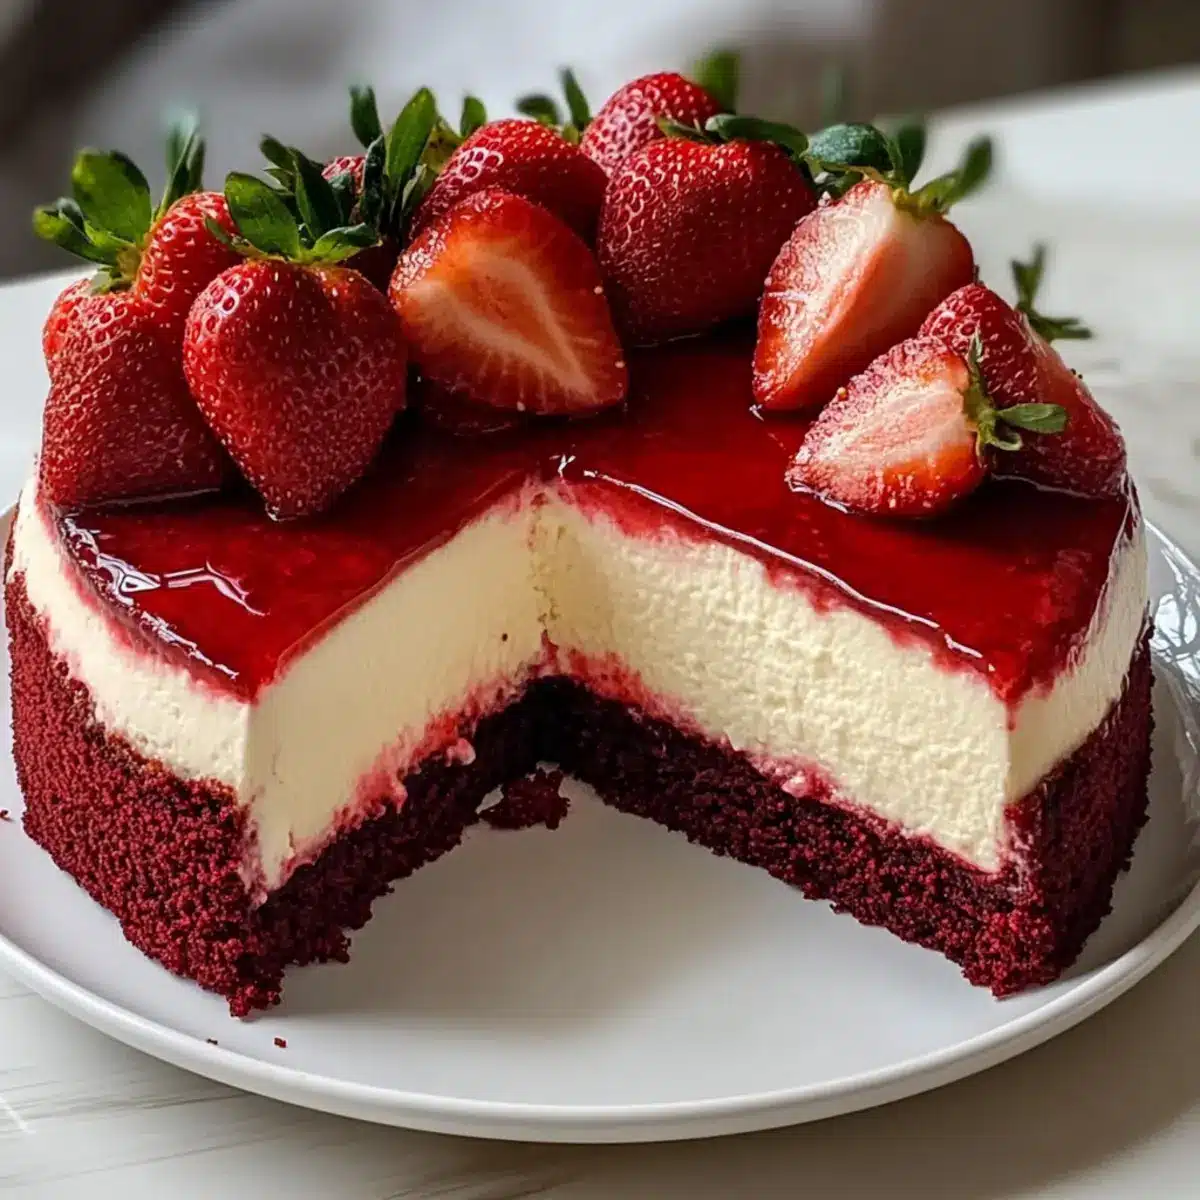
Stunning Presentation: Its vibrant red hue and fresh strawberry topping make it a show-stopper for every gathering, turning an ordinary dessert into a centerpiece!
Quick Preparation: With simple steps and minimal prep time, you can impress guests without spending all day in the kitchen. It’s perfect for both casual get-togethers and special occasions.
Crowd Favorite: The delightful blend of flavors appeals to everyone, making it an instant hit at parties or family celebrations. Want more strawberry inspiration? Try out our Strawberry Cream Cheesecake for an equally delicious twist!
Endless Variations: Feel free to customize the topping or even switch strawberries for other berries, allowing you to cater to every preference. With this recipe, sky’s the limit!
Easy Red Velvet Strawberry Cheesecake Ingredients
For the Cheesecake Base
• Red Velvet Cake Mix – Provides the vibrant red color and base structure; can substitute with homemade red velvet cake if preferred.
• Unsalted Butter – Adds richness and flavor to the crust; remember to melt for easy mixing.
For the Cheesecake Filling
• Full-Fat Cream Cheese – Essential for the creamy filling; ensure it’s at room temperature to avoid lumps.
• Granulated Sugar – Sweetens the filling while balancing the tartness of the cheesecake; feel free to use brown sugar for a deeper flavor.
• Sour Cream – Infuses tanginess and creamy texture; Greek yogurt can be a viable substitute for a lighter version.
• Eggs – Bind the cheesecake filling and provide structure; using room temperature eggs will guarantee smoother mixing.
• Vanilla Extract – Enhances overall flavor; use pure vanilla for the best results.
• Unsweetened Cocoa Powder – Contributes to the red velvet’s chocolate essence; make sure to use high-quality cocoa.
• Red Gel Food Coloring – Essential for achieving the signature red hue; alternatively, consider powdered beet juice for a natural option.
For the Strawberry Topping
• Strawberries – Fresh topping that adds brightness and a burst of flavor to the cheesecake; while you can use other berries, strawberries are the classic choice.
• Granulated Sugar – Used for sweetening the strawberry topping; adjust to taste based on the sweetness of the berries.
• Lemon Juice – Brightens the flavor of the strawberries; feel free to adjust the amount to your preference.
• Cornstarch – Thickens the strawberry mixture; ensure to mix it with water for a smooth incorporation.
This Easy Red Velvet Strawberry Cheesecake is truly a delight and a perfect treat for any occasion!
Step‑by‑Step Instructions for Easy Red Velvet Strawberry Cheesecake
Step 1: Preheat and Prepare Crust
Preheat your oven to 350°F (175°C) and gather a 9-inch springform pan. In a mixing bowl, combine the red velvet cake mix with melted unsalted butter until crumbly. Press this mixture firmly into the bottom of the pan and bake for 8-10 minutes, or until set and slightly firm to the touch. Allow it to cool while you prepare the cheesecake filling.
Step 2: Make Cheesecake Filling
Lower the oven temperature to 325°F (160°C). In a large bowl, beat the full-fat cream cheese until smooth, then gradually mix in granulated sugar, sour cream, and vanilla extract until well combined. Slowly add the room temperature eggs, one at a time, mixing gently to avoid overbeating. Finally, fold in the unsweetened cocoa powder and red gel food coloring, making sure everything is evenly blended to create a luscious filling for your Easy Red Velvet Strawberry Cheesecake.
Step 3: Bake Cheesecake
Wrap the springform pan tightly with aluminum foil to prevent water from seeping in. Carefully pour the creamy cheesecake filling over the cooled red velvet crust. Place the springform pan in a larger baking pan filled with hot water to create a water bath, and bake for 60-75 minutes. You’ll know it’s done when the edges are set, but the center has a slight jiggle.
Step 4: Cool Cheesecake
Once baked, turn off the oven and prop the door open slightly. Let the cheesecake cool slowly in the oven for 1 hour, which helps prevent cracks. Afterward, remove it from the oven and allow it to come to room temperature before transferring it to the refrigerator. Chill for at least 4 hours, but preferably overnight for the best flavor and texture of your Easy Red Velvet Strawberry Cheesecake.
Step 5: Prepare Strawberry Topping
While your cheesecake is chilling, prepare the strawberry topping. In a small saucepan, simmer sliced strawberries with granulated sugar and lemon juice until they release their juices, about 5-7 minutes. Mix cornstarch with a little water to create a slurry, then stir it into the strawberry mixture and cook for another minute until thickened. Remove from heat and let it cool completely before topping your cheesecake.
Step 6: Decorate and Serve
Once the cheesecake has chilled, carefully release it from the springform pan. Spoon the cooled strawberry mixture evenly over the top, allowing the sweet syrup to drizzle down the sides. For an extra touch, consider adding dollops of whipped cream or garnishing with fresh strawberries around the edges. Slice into generous pieces and serve this stunning Easy Red Velvet Strawberry Cheesecake to your delighted guests!
Expert Tips for Easy Red Velvet Strawberry Cheesecake
-
Room Temperature Essentials: Always use room temperature cream cheese and eggs for a smooth filling. Cold ingredients can lead to lumps in your Easy Red Velvet Strawberry Cheesecake.
-
Water Bath Wonder: Utilizing a water bath during baking helps keep the cheesecake moist and prevents cracks. Wrap your pan thoroughly to avoid water seeping in!
-
Chill for Flavor: Patience is key! Allow the cheesecake to chill overnight. This resting time enhances the flavors and allows it to set properly.
-
Avoid Overmixing: Take care not to overbeat the egg mixture. Mixing too much can introduce air bubbles, leading to cracks in your cheesecake during baking.
-
Foolproof Topping: For the perfect strawberry topping, ensure it cools entirely before adding it to the cheesecake. This prevents the topping from melting into the filling.
Storage Tips for Easy Red Velvet Strawberry Cheesecake
Fridge: Store leftover cheesecake in an airtight container in the refrigerator for up to 5 days to maintain its creamy texture and flavor.
Freezer: For longer storage, slice the cheesecake and wrap each piece securely in plastic wrap, then in foil. It can be frozen for up to 3 months.
Reheating: Thaw overnight in the fridge before serving any frozen slices. For a cozy touch, bring to room temperature before enjoying; the flavors will pop!
Wrapping: Always ensure your Easy Red Velvet Strawberry Cheesecake is well-wrapped to prevent freezer burn and to preserve its delicious taste.
Make Ahead Options
These Easy Red Velvet Strawberry Cheesecake are perfect for busy home cooks looking to save time during celebrations! You can prepare the cheesecake base and filling up to 24 hours in advance. Simply bake the crust, let it cool, and then refrigerate it along with the cheesecake filling (before pouring it over the crust) in an airtight container. For the strawberry topping, it can also be made and refrigerated for up to 3 days; just cool it completely before storing. When ready to serve, simply assemble by pouring the filling over the crust and chilling it overnight for maximum flavor. With these make-ahead steps, your dessert will be just as delicious and stress-free!
Easy Red Velvet Strawberry Cheesecake Variations
Feel free to explore these delightful twists and adjustments to make this cake uniquely yours!
- Berry Swap: Replace strawberries with blueberries or raspberries for a different fruity flavor. Each berry brings its own charm to the cheesecake!
- Choco-Boost: Fold in chopped chocolate or chocolate chips into the cheesecake filling for added richness and decadence. The chocolate complements the flavors beautifully!
- Mini Versions: Create mini cheesecakes by using muffin tins instead of a springform pan. Perfect for parties, these bite-sized treats are sure to delight!
- Citrus Zest: Add a splash of orange or lemon zest to the batter for a refreshing citrus twist. This brightens the flavor profile and lifts your spirits!
- Nutty Crunch: Toss in crushed walnuts or pecans into the crust for a delightful crunchy texture. It adds a delightful contrast to the creamy cheesecake.
- Spicy Kick: Sprinkle in a dash of cinnamon or nutmeg to the filling for a warm hint of spice. It transforms the cheesecake into a cozy, comforting dessert.
- Decadent Ganache: Drizzle a chocolate ganache over the top for an indulgent finishing touch. This extra layer adds sophistication for special gatherings.
- Flavor Infusions: Experiment with flavored extracts like almond or coconut instead of vanilla for a unique taste twist. It opens up a world of creative possibilities!
With endless variations, your Easy Red Velvet Strawberry Cheesecake can be a new creation every time you make it. For more inspired ideas, consider checking out our delicious Strawberry Cheesecake Protein or even a refreshing Summer Strawberry Banana treat!
What to Serve with Easy Red Velvet Strawberry Cheesecake
Indulging in a slice of velvety cheesecake is an experience best complemented with delightful sides that elevate your dessert game.
-
Whipped Cream: A dollop of freshly whipped cream adds a light, airy sweetness that beautifully contrasts the richness of the cheesecake.
-
Fresh Berries: Serve a medley of mixed berries alongside; their tartness balances out the creaminess while enhancing the cake’s fruity flavors.
-
Chocolate Ganache: Drizzle warm chocolate ganache over your slice for an extra layer of decadence; the rich chocolate pairs wonderfully with the strawberry topping.
-
Iced Coffee: A chilled iced coffee with a splash of milk complements the sweetness, providing a refreshing sip between bites, perfect for afternoon gatherings.
-
Mint Leaves: Fresh mint leaves on the side not only provide a pop of color but also introduce a refreshing contrast to the sweeter notes of the cheesecake.
-
Vanilla Ice Cream: A scoop of vanilla ice cream creates a delightful play of temperatures and textures, making every bite of cheesecake even more indulgent.
Pair these delightful additions with your Easy Red Velvet Strawberry Cheesecake for a truly memorable dessert experience!
Easy Red Velvet Strawberry Cheesecake Recipe FAQs
What type of strawberries should I use for the topping?
I recommend using fresh, ripe strawberries for the best flavor and texture. Look for berries that are bright red, firm, and free of dark spots. If strawberries are out of season, you can substitute with blueberries or raspberries for a different twist!
How long can I store the cheesecake?
You can store your Easy Red Velvet Strawberry Cheesecake in the refrigerator for up to 5 days in an airtight container. To preserve its creamy texture and flavor, make sure it’s well-wrapped.
Can I freeze the cheesecake?
Absolutely! To freeze, slice the cheesecake into individual pieces. Wrap each slice tightly in plastic wrap, followed by foil to prevent freezer burn. It can be stored in the freezer for up to 3 months. When you’re ready to enjoy, simply thaw overnight in the refrigerator.
What is the best way to prevent cracking in my cheesecake?
To prevent cracks, always use a water bath when baking. Wrap your springform pan securely in foil to avoid water seepage, and ensure your cream cheese and eggs are at room temperature before mixing. After baking, allow the cheesecake to cool slowly in the turned-off oven with the door ajar for about an hour.
Are there any dietary considerations I should keep in mind?
If you’re preparing this cheesecake for guests with dietary restrictions, be mindful of allergies to dairy and gluten due to the cream cheese and cake mix. For a gluten-free option, you can use gluten-free red velvet cake mix. Additionally, always check the labels of your ingredients for allergen warnings.
Easy Red Velvet Strawberry Cheesecake for Sweet Celebrations
Ingredients
Equipment
Method
- Preheat your oven to 350°F (175°C) and gather a 9-inch springform pan. In a mixing bowl, combine the red velvet cake mix with melted unsalted butter until crumbly. Press this mixture into the bottom of the pan and bake for 8-10 minutes, until set. Allow it to cool.
- Lower oven temperature to 325°F (160°C). Beat cream cheese until smooth; gradually mix in sugar, sour cream, and vanilla. Add eggs one at a time, mixing gently. Fold in cocoa and red food coloring until blended.
- Wrap the springform pan with aluminum foil to prevent water from seeping in. Pour cheesecake filling over the cooled crust. Place the pan in a larger baking pan filled with hot water and bake for 60-75 minutes.
- Turn off the oven and prop the door open slightly. Let the cheesecake cool for 1 hour in the oven, then refrigerate for at least 4 hours, preferably overnight.
- Simmer sliced strawberries with sugar and lemon juice until juices are released, about 5-7 minutes. Mix cornstarch with water, then stir into strawberries and cook until thickened. Let cool.
- Release cheesecake from the springform pan. Spoon cooled strawberry mixture over the top. Optionally add whipped cream or whole strawberries as garnish. Slice and serve.
Leave a Reply