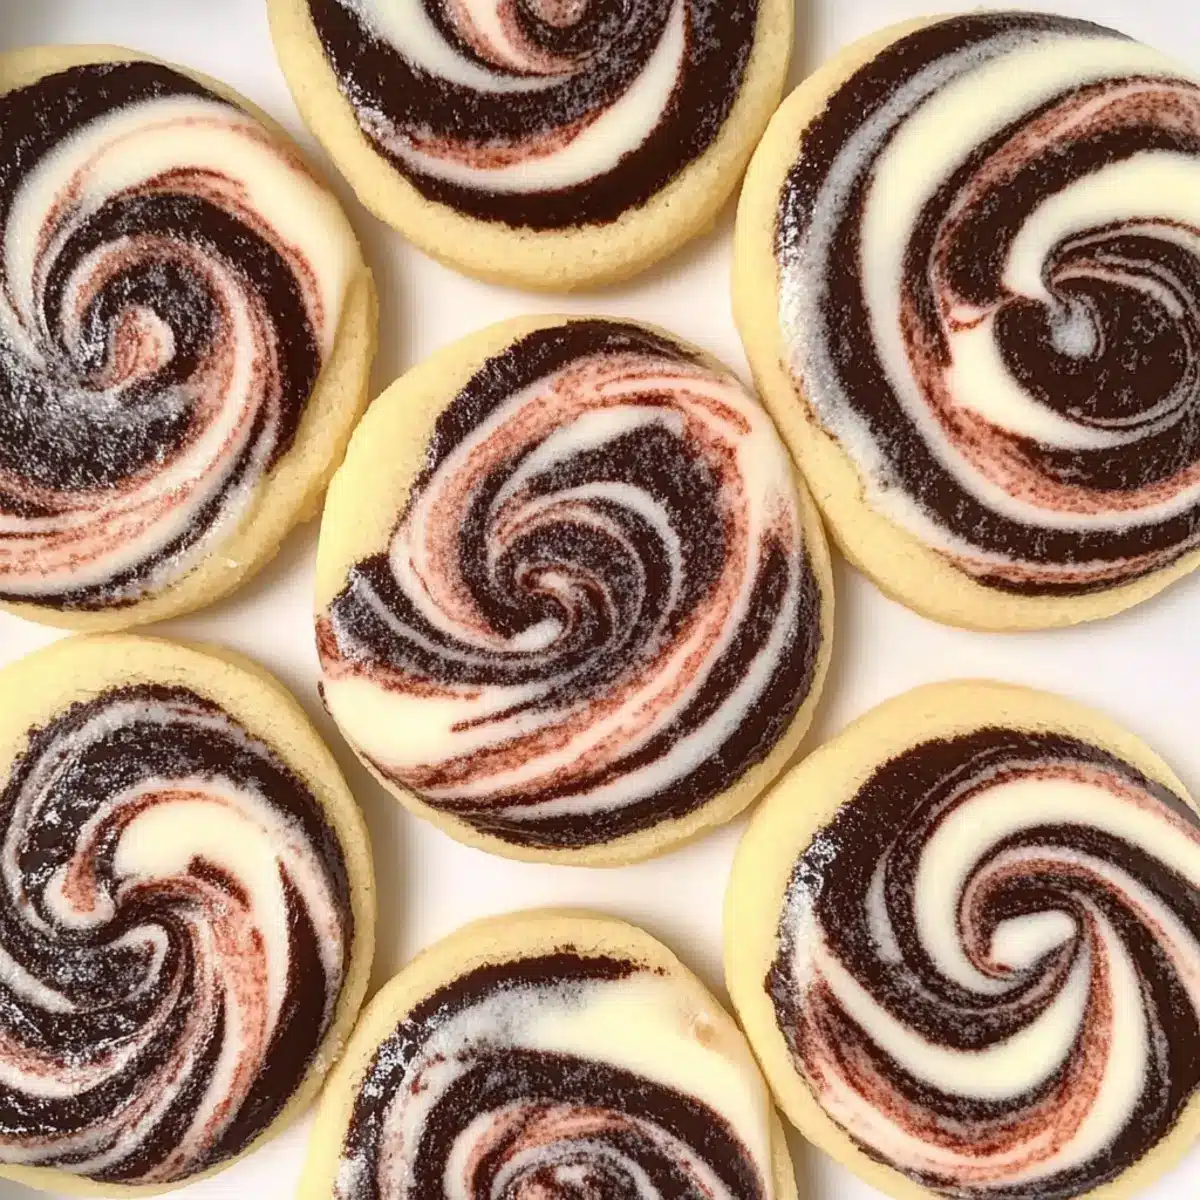
As I sifted through a kaleidoscope of holiday treats, I stumbled upon a delightful blend of flavors that instantly captured my heart—Chocolate Peppermint Marble Cookies. These striking cookies not only bring festive cheer to any gathering, but they also promise a melt-in-your-mouth experience that’s both rich and refreshing. The best part? They’re incredibly easy to prepare and make ahead, perfect for those busy days leading up to the holidays. With a delightful marbled look that will leave your guests in awe and a taste that evokes warm memories of the season, you’ll find yourself reaching for more (and more!). Ready to embark on this sweet adventure with me? Let’s dive in and create these delightful marble cookies that will undoubtedly elevate your holiday baking!
Why are Chocolate Peppermint Marble Cookies a must-try?
Irresistible Flavors: The delightful blend of rich chocolate and refreshing peppermint creates a festive treat that’s simply unbeatable.
Easy to Prepare: With straightforward steps, you can whip up these cookies quickly, making them perfect for even the busiest holiday schedules.
Make-Ahead Magic: Thanks to their icebox nature, just prep in advance, and you’ll have fresh cookies ready whenever a craving strikes!
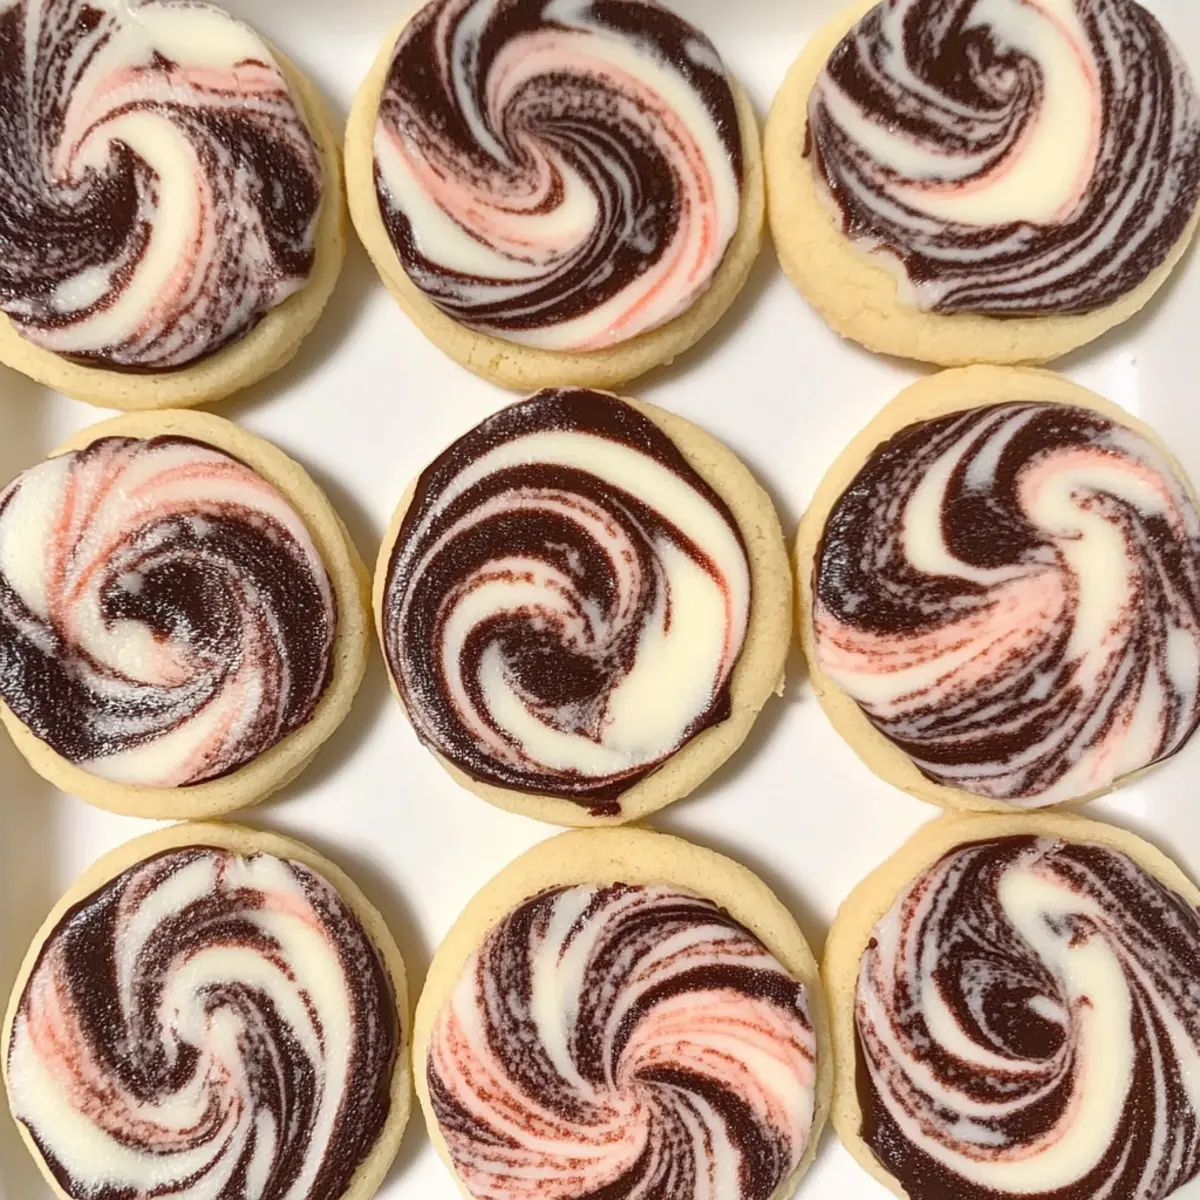
Stunning Presentation: Their marbled design not only looks impressive but also has your guests raving about your baking skills.
Versatile and Customizable: Feel free to swap peppermint for other flavors, like vanilla or almond, and even add in some nuts for crunch!
Once you try these cookies, you might want to check out my other fan favorites like the Tiramisu Christmas Cookies or Chocolate Churro Cookies. Your taste buds will thank you!
Chocolate Peppermint Marble Cookies Ingredients
These delightful Marble Cookies that Melt in Your Mouth require a few simple ingredients to create their magic.
For the Dough
- Salted Butter – Adds richness and moisture; you can substitute with unsalted butter and a pinch of salt if preferred.
- Powdered Sugar – Provides sweetness and a soft texture; granulated sugar can work in a pinch, though it may alter the final texture.
- Vanilla Extract – Enhances the overall flavor; opt for high-quality extract for the best results.
- All-Purpose Flour – Gives structure and body to the cookies; consider gluten-free flour for a different option, but note that the texture may change.
For the Flavor
- Peppermint Extract – Delivers that festive minty flavor; halve the quantity for a more subtle mint taste.
- Cocoa Powder – Introduces rich chocolate flavor and color; using Dutch-processed cocoa can lend a deeper flavor profile.
Prepare these ingredients to create a batch of dazzling chocolate peppermint marble cookies that’ll impress all your holiday guests!
Step‑by‑Step Instructions for Marble Cookies that Melt in Your Mouth: A Holiday Delight
Step 1: Prepare Doughs
In a stand mixer, cream 18 tablespoons of softened salted butter with ¾ cup of powdered sugar until the mixture is light and fluffy, about 3–5 minutes. Gradually blend in 2¼ cups of all-purpose flour until just combined. Divide the dough in half; mix ¾ teaspoon of peppermint extract into one half and 2 tablespoons of cocoa powder into the other, resulting in delightful marble cookies that melt in your mouth.
Step 2: Chill Doughs
Shape each dough into disks, wrapping them tightly in plastic wrap. Refrigerate the disks for at least 30 minutes to firm up, which makes rolling them out later much easier. This step is essential for achieving the right texture, so don’t skip it. You’ll know they’re ready when they feel set and are slightly firm to the touch.
Step 3: Roll Out
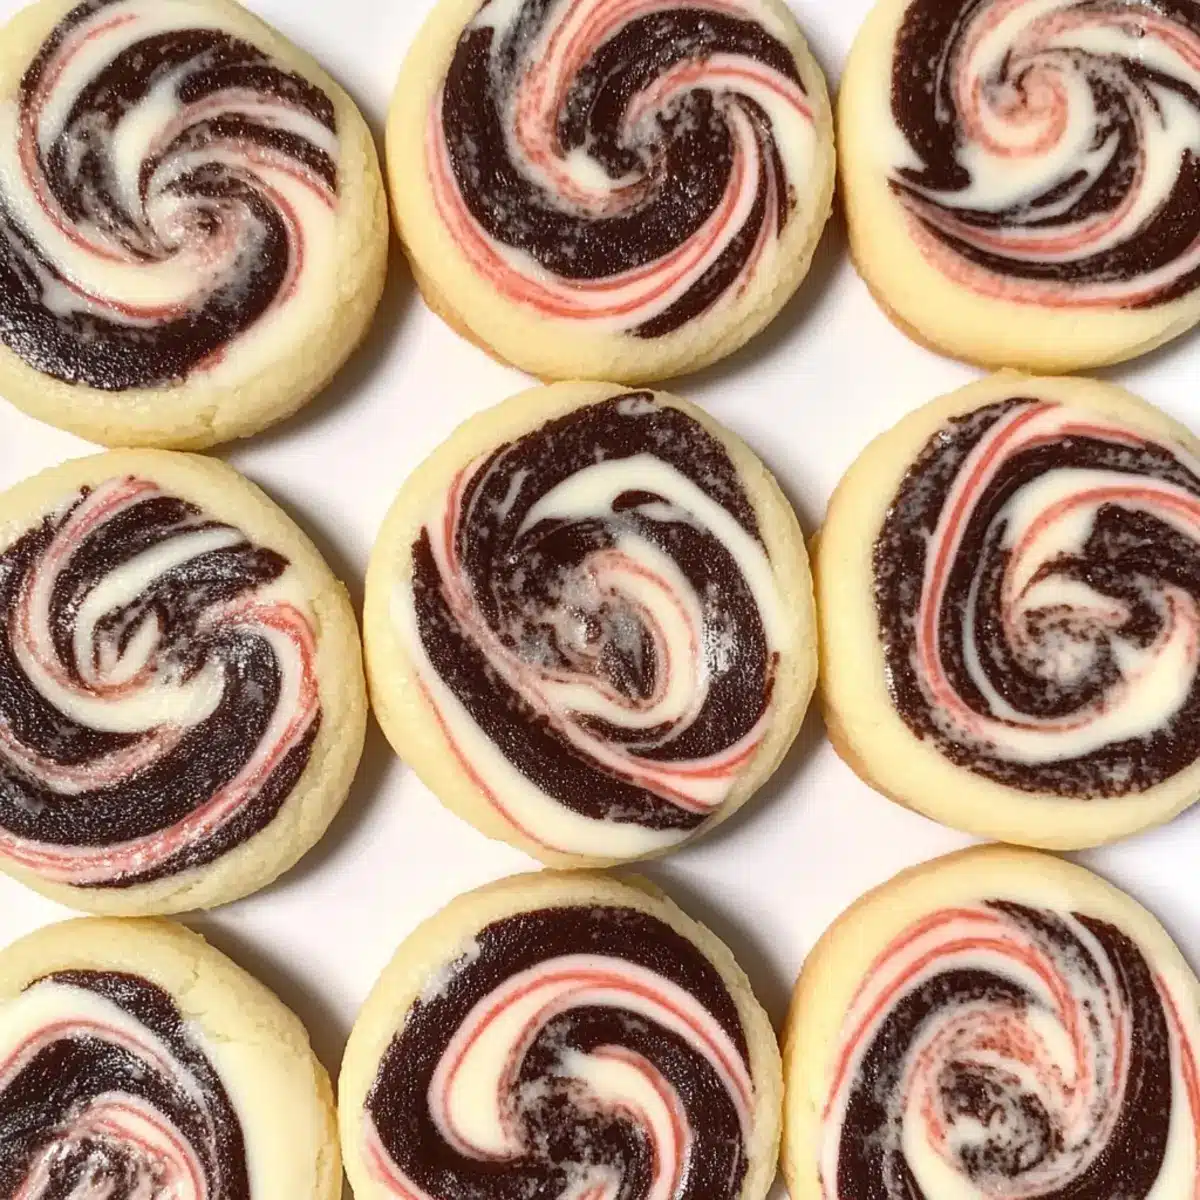
Lay each chilled dough between two sheets of parchment paper and roll them out to approximately 9×12 inches. The chocolate dough should be rolled slightly thinner than the vanilla dough to create visual contrast in your marble cookies. Aim for a thickness of about ¼ inch; this ensures even baking and a perfect melt-in-your-mouth experience.
Step 4: Create Marble Effect
Tear the rolled chocolate dough into smaller pieces and scatter them evenly over the rolled vanilla dough. Using a gentle folding technique, combine the two doughs without completely blending them together, allowing for beautiful swirls. Once marbled, wrap the dough tightly again and return it to the refrigerator for another 30 minutes to maintain the structure.
Step 5: Bake
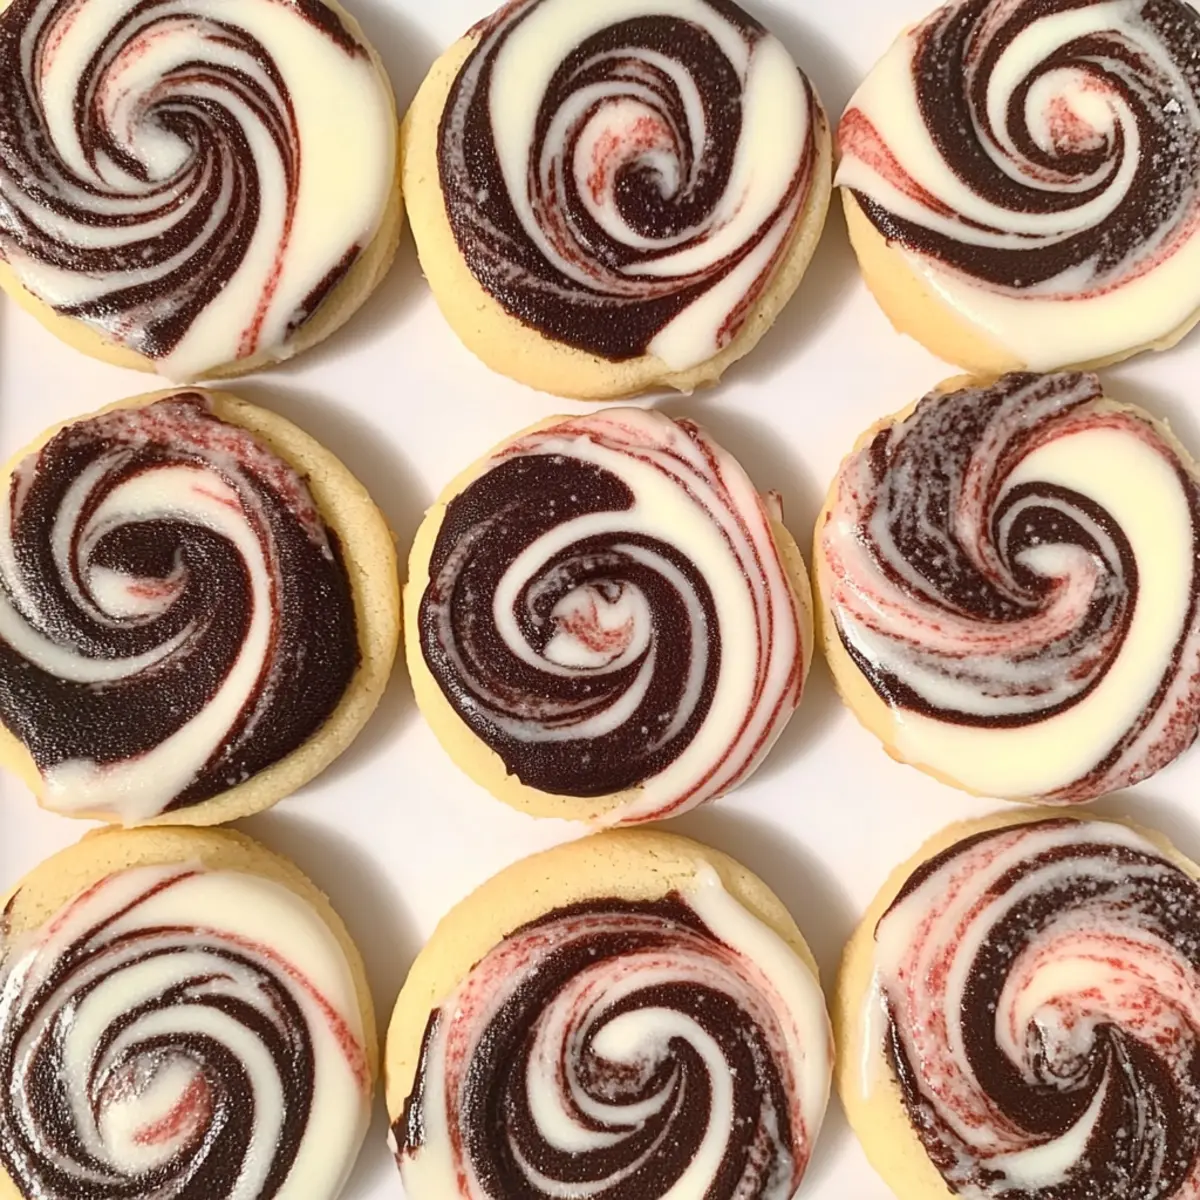
Preheat your oven to 350°F (175°C). Remove the chilled dough from the fridge and slice it into ¼-inch rounds with a sharp knife. Place the cookie slices on a parchment-lined baking sheet, making sure to leave some space in between. Bake for 16–20 minutes until the edges are lightly golden; keep an eye on them to avoid overbaking.
Step 6: Cool
After baking, allow the cookies to cool on the baking sheet for about 5 minutes; this helps them set. Carefully transfer the cookies to a wire rack to cool completely. You’ll want them to reach a soft room temperature, which enhances the delicious, melt-in-your-mouth experience of your Chocolate Peppermint Marble Cookies.
What to Serve with Chocolate Peppermint Marble Cookies
Indulge your senses and elevate your dessert experience with delightful pairings that complement the festive flavors of these marvelous cookies.
-
Creamy Hot Chocolate: A rich, velvety cup of hot chocolate matches beautifully with the cookies, enhancing the cocoa flavor for an ultimate winter treat. Picture yourself cuddled up on the couch, sipping this steaming cup by the fire.
-
Classic Vanilla Ice Cream: The cool creaminess offers a perfect contrast to the warm, melted chocolate in the cookies. Add a scoop on top for an irresistible dessert combination that’s sure to please everyone.
-
Peppermint Bark: Reinforce the peppermint goodness by serving these cookies alongside crunchy peppermint bark. The mix of textures and flavors creates a festive medley that will have guests celebrating the season.
-
Warm Spiced Tea: A cozy spiced chai or peppermint tea brings warmth and comfort, balancing the rich flavors of the cookies. As you sip, the aromatic spices will brighten your mood and invite conversation around the table.
-
Chocolate Dipped Fruit: Complement the cookies’ sweetness with fresh fruit dipped in chocolate. Strawberries or bananas add a refreshing twist that refreshes the palate while enhancing the cookie experience.
-
Chewy Gingerbread Cookies: For a nostalgic touch, serve these Marble Cookies with chewy gingerbread. The soft, spiced cookies create a delightful contrast to the minty freshness, making for a festive treat platter.
-
Festive Sparkling Cider: Host a charming holiday gathering with sparkling cider. Its bubbly nature and fruity sweetness brighten up the cookie plate, inviting everyone to share joyful moments together.
-
Mint Chocolate Chip Milkshake: This decadent shake adds a fun, nostalgic vibe and brings diners back to childhood. The chocolate and mint flavors complement your Marble Cookies perfectly, creating a whimsical dessert experience.
Storage Tips for Marble Cookies
Room Temperature: Store your Marble Cookies that Melt in Your Mouth in an airtight container at room temperature for up to 1 week to maintain freshness and texture.
Fridge: For extended freshness, refrigerate them in an airtight container, where they will stay good for up to 10 days.
Freezer: To enjoy these festive cookies later, freeze them wrapped individually in plastic wrap for up to 3 months. This way, they maintain their delightful flavors.
Reheating: When ready to indulge, simply thaw at room temperature or warm them in a preheated oven at 300°F (150°C) for a few minutes to revive that fresh-baked taste.
Make Ahead Options
These Chocolate Peppermint Marble Cookies are perfect for busy home cooks looking to save time during the hectic holiday season! You can prepare the dough up to 24 hours in advance; simply divide and chill the doughs as instructed. For even more convenience, you can also slice the cookies into rounds and freeze them on a baking sheet for up to 3 months. Once frozen solid, transfer them to a freezer bag for easy storage. Just remember to bake them straight from the freezer, adding a couple of extra minutes to the baking time for perfectly delicious results. With these make-ahead tips, you’ll have festive cookies ready whenever a craving strikes!
Expert Tips for Marble Cookies
-
Butter Temperature: Always use softened butter for optimal texture; cold butter won’t cream properly, leading to dense cookies that lack the melt-in-your-mouth quality.
-
Marbling Technique: Handle the dough gently while marbling to prevent toughness. Over-mixing will ruin the beautiful visual effect of your marble cookies.
-
Chill as Needed: If the dough sticks while rolling, chill it briefly again. A firm dough is essential for clean slices and an inviting presentation.
-
Quality Counts: Use high-quality cocoa powder and extracts to truly elevate the flavor of your marble cookies. Your taste buds will appreciate the difference!
-
Baking Time Awareness: Monitor your cookies while baking, checking for doneness at the 16-minute mark. Ovens vary, and overbaking can lead to dry cookies.
Marble Cookies that Melt in Your Mouth: Fun Variations
Feel free to let your creativity spark and customize these cookies for a truly personal touch!
- Flavor Swap: Replace peppermint extract with almond or vanilla for a different festive flair that still delivers on deliciousness.
- Rich Cocoa: Try using dark or Dutch-processed cocoa powder to intensify the chocolate flavor, creating an even deeper taste experience.
- Nutty Crunch: Toss in some chopped walnuts or pecans for a delightful crunch that complements the soft, melt-in-your-mouth center.
- Citrus Zing: Infuse your dough with some zesty orange or lemon zest for a surprising and refreshing twist that brightens the flavor profile.
- Dairy-Free Delight: Use coconut oil as a substitute for butter, crafting a vegan-friendly version that doesn’t compromise on flavor.
- Minty Indulgence: Incorporate mint chocolate chips into the dough for an extra layer of sweet minty goodness that will create layers of flavor.
- Spiced Surprise: Add a pinch of cinnamon or nutmeg to your dough for a warm spice note that adds holiday cheer to every cookie.
Once you’ve tried these variations, don’t forget to explore other festive recipes, like Harvest Marble Sugar or the decadent Christmas Mini Cookies. Your taste buds are in for a treat!
Chocolate Peppermint Marble Cookies Recipe FAQs
How do I select the best ingredients for my cookies?
Absolutely! The freshness of your ingredients matters, especially with butter and extracts. Choose salted butter or unsalted butter with a pinch of salt for richness. Look for powdered sugar that is lump-free for a smooth mix. When it comes to cocoa powder, opt for a high-quality Dutch-processed cocoa for a deeper flavor in your Chocolate Peppermint Marble Cookies.
What are the best storage methods for my marble cookies?
Very! To keep your Marble Cookies that Melt in Your Mouth fresh, store them in an airtight container at room temperature for up to 1 week. If you want them to last longer, refrigerate them for up to 10 days, especially in warmer climates where cookies can soften quickly.
Can I freeze these cookies for later?
You certainly can! To freeze your Chocolate Peppermint Marble Cookies, wrap them individually in plastic wrap, then place them in a freezer-safe bag or container. They can be frozen for up to 3 months. When you’re ready to enjoy, simply thaw them at room temperature, or warm them a bit in a preheated oven at 300°F (150°C) for a freshly baked taste.
What should I do if the dough is too sticky to roll out?
If you find your dough is too sticky while rolling, no worries! Just chill it briefly in the refrigerator for an extra 10-15 minutes. This helps it firm up, making it easier to roll out and ensures clean, beautiful slices for your marble cookies. Always remember, a little bit of patience goes a long way in baking!
Are there any dietary considerations I should keep in mind?
Definitely! If you’re baking for someone with dietary restrictions, you can substitute the salted butter with coconut oil or a dairy-free margarine for a vegan option. Also, if anyone has a gluten intolerance, using a gluten-free flour blend can work; just be aware that the texture might change a bit. It’s always best to check with your guests about allergies before baking!
How can I make the marbling look more pronounced?
Great question! To achieve a more pronounced marbled effect, make sure to roll your chocolate dough slightly thinner than the vanilla dough. When tearing the chocolate dough, try to keep the pieces larger and more uneven. This allows for a striking swirl when you gently fold them into the vanilla dough, enhancing the visual appeal of your Chocolate Peppermint Marble Cookies!
Marble Cookies that Melt in Your Mouth: Festive Holiday Joy
Ingredients
Equipment
Method
- In a stand mixer, cream 18 tablespoons of softened salted butter with ¾ cup of powdered sugar until light and fluffy, about 3–5 minutes.
- Gradually blend in 2¼ cups of all-purpose flour until just combined.
- Divide the dough in half; mix ¾ teaspoon of peppermint extract into one half and 2 tablespoons of cocoa powder into the other.
- Shape each dough into disks, wrap in plastic wrap and refrigerate for at least 30 minutes.
- Lay each chilled dough between two sheets of parchment paper and roll them out to approximately 9x12 inches.
- Tear the rolled chocolate dough into smaller pieces and scatter them over the rolled vanilla dough, gently folding to create marbling.
- Wrap the marbled dough in plastic wrap and return it to the refrigerator for another 30 minutes.
- Preheat oven to 350°F (175°C). Remove dough from fridge and slice it into ¼-inch rounds.
- Place cookie slices on a parchment-lined baking sheet and bake for 16–20 minutes until edges are lightly golden.
- Allow cookies to cool on the baking sheet for about 5 minutes before transferring them to a wire rack.
Leave a Reply