In the world of desserts, there’s a magic in simplicity that never fails to impress, and that’s exactly what you’ll find with this No-Bake Biscoff Cheesecake. The delightful creaminess of this cheesecake, paired with the warm, caramelized essence of Biscoff cookie butter, makes it a show-stopper at any gathering. I love how this easy dessert requires no oven, allowing you more time to savor moments with friends and family. Plus, it’s a fantastic make-ahead option—perfect for those busy days when you want a sweet treat ready to impress without the last-minute rush. Ready to dive into a dessert that’s as gratifying as it is effortless? Let’s whisk up some joy!
Why is No-Bake Biscoff Cheesecake a Must-Try?
Indulgent flavors meld seamlessly in each bite of this No-Bake Biscoff Cheesecake, making it a dessert that resonates with both kids and adults alike. No oven required means you can whip this up with minimal effort, leaving you more time for relaxation. Perfectly textured, the crunchy cookie base complements the silky filling, striking a delightful balance. Customizable and versatile, whether you prefer a drizzle of chocolate or a dollop of whipped cream, it adapts beautifully. Also, it’s a fantastic make-ahead treat that ensures your next gathering is stress-free. For more delicious variations, check out my Biscoff Cookie Butter Brownies for another scrumptious way to enjoy Biscoff!
No-Bake Biscoff Cheesecake Ingredients
For the Crust
- Biscoff Cookies – The crunchy foundation for your crust; crush them finely for a better texture.
- Butter – Binds the cookie crumbs together; use unsalted for perfect flavor balance.
For the Filling
- Cream Cheese – Provides the creamy base; full-fat ensures a luxuriously smooth texture.
- Biscoff Spread – Infuses the cheesecake with that signature flavor; other speculoos spreads can work too!
- Powdered Sugar – Sweetens the filling without grittiness; feel free to adjust for your sweetness preference.
- Vanilla Extract – Adds a lovely depth of flavor, enhancing the overall taste of the filling.
- Heavy Cream – Whips up to create that light, mousse-like texture; make sure it’s chilled for the best results.
This No-Bake Biscoff Cheesecake is a fantastic choice for dessert lovers looking for an easy yet indulgent treat!
Step‑by‑Step Instructions for No-Bake Biscoff Cheesecake
Step 1: Prepare the Crust
Begin by crushing approximately 24 Biscoff cookies into fine crumbs using a food processor or a plastic bag and rolling pin. Melt 1/2 cup unsalted butter and combine it with the cookie crumbs in a mixing bowl until they resemble wet sand. Firmly press this mixture into the bottom, and slightly up the sides of a 9-inch springform pan. Place the crust in the refrigerator for about 30 minutes to set.
Step 2: Make the Filling
In a large mixing bowl, beat 16 ounces of softened cream cheese with an electric mixer until smooth and creamy, about 2 minutes. Gradually blend in 1 cup of Biscoff spread, 1 cup of powdered sugar, and a splash of vanilla extract. Ensure the mixture is well combined, smooth, and fluffy, which usually takes another 2 to 3 minutes. This rich filling is the star of your No-Bake Biscoff Cheesecake.
Step 3: Whip the Cream
In a separate, chilled bowl, pour in 1 cup of heavy cream. Using an electric mixer, whip the cream on medium-high speed until stiff peaks form, which will take around 3 to 5 minutes. The whipped cream should hold its shape and have a light, airy texture. This step is crucial for achieving that lovely mousse-like consistency in your cheesecake filling.
Step 4: Combine Mixtures
Gently fold the whipped cream into the Biscoff cream cheese mixture using a spatula. Be careful not to deflate the whipped cream; you want your filling to remain light and fluffy. This folding should take place with gentle strokes until fully combined, with no visible streaks of cream left. The airy mixture will create the perfect filling for your No-Bake Biscoff Cheesecake.
Step 5: Assemble Cheesecake
Remove the crust from the refrigerator and pour the creamy filling over the chilled crust. Use a spatula to smooth the top, ensuring an even surface, and lightly tap the pan on the counter to release any trapped air bubbles. This step is essential for a beautifully finished cheesecake that slices neatly later on.
Step 6: Chill
Cover the assembled No-Bake Biscoff Cheesecake with plastic wrap and refrigerate it for at least 6 hours, or ideally overnight. This chilling time allows the cheesecake to set properly, so the flavors meld beautifully and the filling becomes firm. Patience is key; resist the urge to dig in too soon!
Step 7: Serve
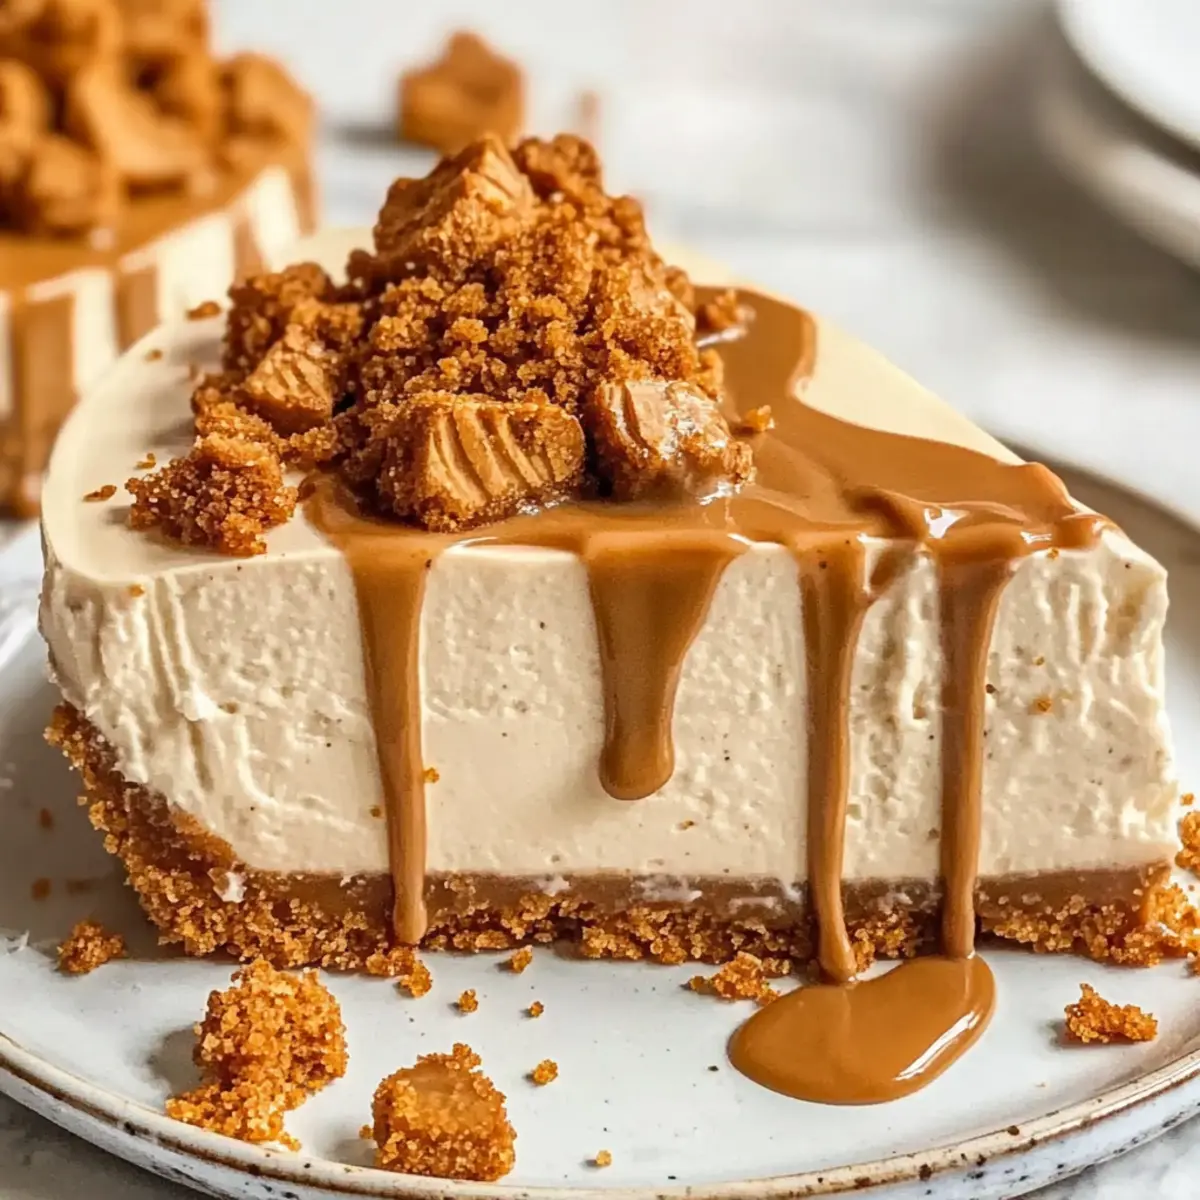
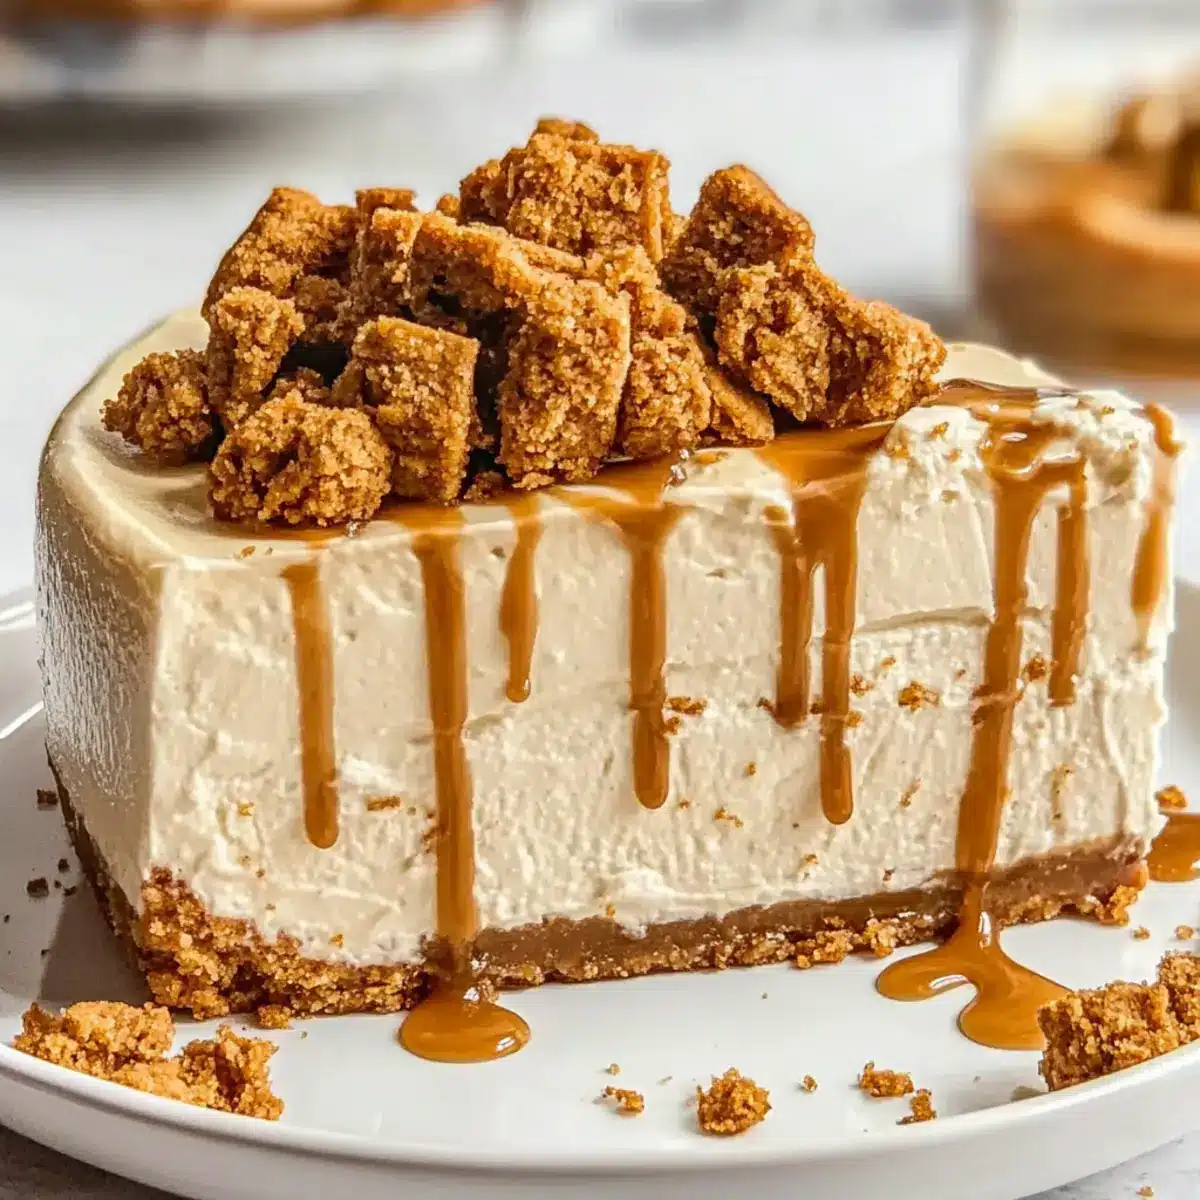
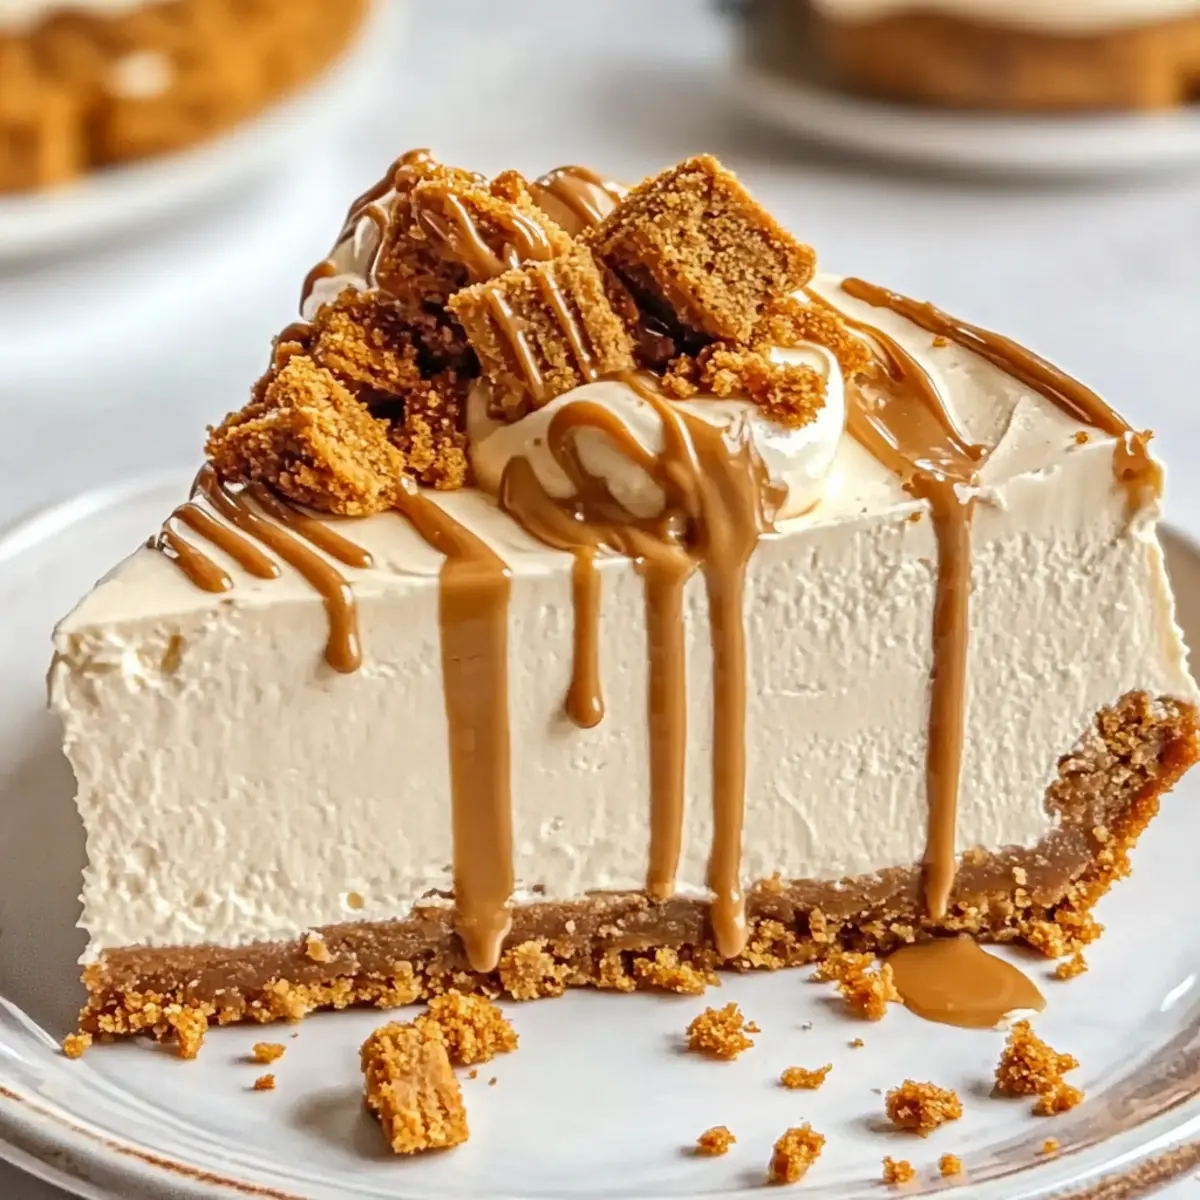
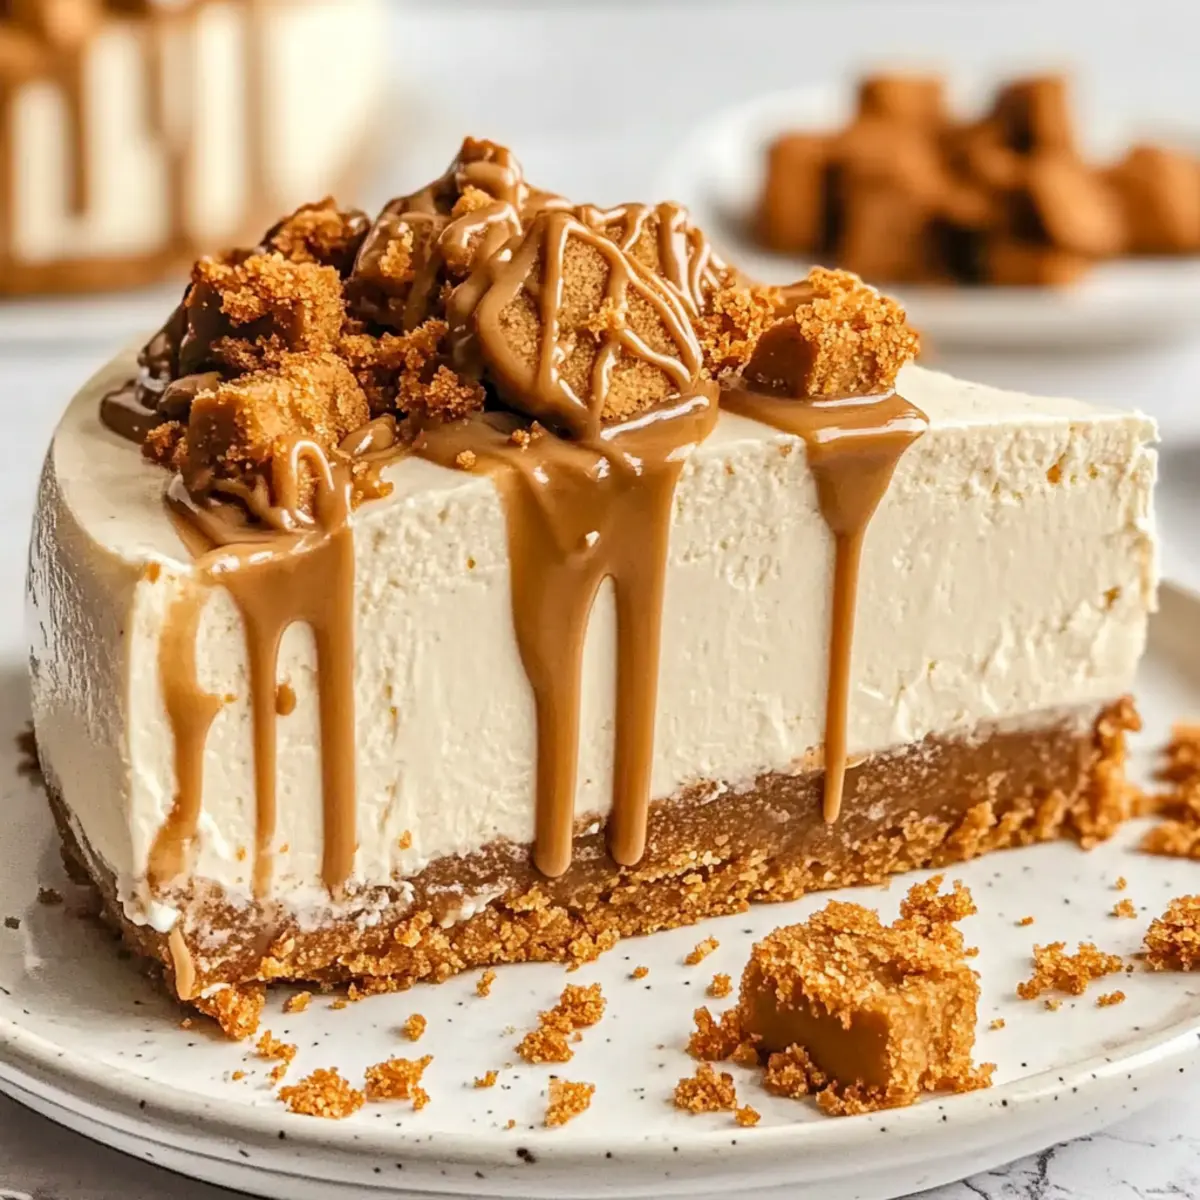
Once set, remove the cheesecake from the springform pan. For an added touch, you can drizzle Biscoff spread over the top and garnish with whole Biscoff cookies or crushed crumbs. Allow the cheesecake to sit at room temperature for about 15 minutes before slicing for the best texture. Each slice offers a delightful experience that highlights the magic of your No-Bake Biscoff Cheesecake.
What to Serve with No-Bake Biscoff Cheesecake?
Elevate your dessert experience with delightful pairings that perfectly complement the rich flavors of this cheesecake.
-
Creamy Mashed Potatoes: This savory side provides a comforting contrast to the sweet cheesecake, balancing your meal with scrumptious flavor.
-
Fresh Berry Compote: A tangy fruit compote brings brightness and freshness, cutting through the cheesecake’s richness while adding a pop of color.
-
Whipped Cream: A dollop of freshly whipped cream amplifies the lightness of the cheesecake, enhancing each bite with an airy texture without overpowering the flavors.
-
Caramel Sauce Drizzle: Add a drizzle of salted caramel on top for a decadent touch, perfectly harmonizing with the Biscoff’s warmth.
-
Coffee or Espresso: A steaming cup of coffee complements the sweet, cookie-infused cheesecake, and its bold flavor will amplify its indulgence.
-
Chocolate Shavings: Grated chocolate on top adds a dark, rich contrast that enhances the sweetness and visually pleases every plate.
-
Seasonal Fruit Salad: A vibrant fruit salad, rich in seasonal variety, adds a refreshing note, making each bite of cheesecake feel like a new adventure.
-
Lemon Sorbet: A scoop of lemon sorbet brings a refreshing tang that contrasts beautifully with the dense cheesecake, cleansing the palate for more.
-
Chilled White Wine: A glass of crisp, chilled wine elevates the entire dessert experience, enhancing flavors and making for a lovely evening treat.
Make Ahead Options
This No-Bake Biscoff Cheesecake is the ultimate solution for busy home cooks seeking to streamline their dessert preparation! You can prepare the crust and filling up to 3 days in advance by making the crumb crust and blending the filling, then storing them separately in the refrigerator. Keep the crust in an airtight container and the filling in a covered bowl to maintain freshness. When ready to serve, simply pour the chilled filling over the crust, smooth the top, and allow it to set for at least 6 hours (or overnight if you can wait!). This way, you’ll impress your guests with a dessert that’s just as delicious without the last-minute rush!
Expert Tips for No-Bake Biscoff Cheesecake
- Chill Ingredients: Ensure your heavy cream is cold before whipping; this helps achieve those perfect stiff peaks that give your cheesecake its lovely texture.
- Folding Technique: Gently fold the whipped cream into the Biscoff mixture to keep the filling light and airy. Avoid over-mixing to prevent losing that delightful fluffiness.
- Chill Time Matters: Don’t rush the chilling process. Allow your cheesecake to set for at least 6 hours, ideally overnight, which enhances the flavors and texture beautifully.
- Slice with Ease: For clean slices, dip a sharp knife in hot water, wipe it dry, and then cut through the cheesecake. This keeps the presentation looking neat and appealing.
- Customize Smartly: If you want to add variations, do so mindfully. For instance, mixing in crushed Biscoff cookies adds texture without compromising the overall integrity of your No-Bake Biscoff Cheesecake.
No-Bake Biscoff Cheesecake Variations
Feel free to explore these delightful twists on your No-Bake Biscoff Cheesecake, letting your creativity shine through each bite!
-
Texture Additions: Add crushed Biscoff cookies to the filling for a delightful crunch. Imagine the pleasing contrast of the creamy filling and the crunchy bits!
-
Chocolate Version: Stir in cocoa powder for a chocolate-infused delight or drizzle with chocolate ganache to elevate the dessert with a rich touch. It’s a perfect treat for chocolate lovers!
-
Salted Caramel: Swirl in some caramel sauce into the filling and top it off with an additional drizzle. The harmony of sweet and salty flavors will leave everyone craving more.
-
Cup Versions: Serve individual portions in mason jars or small cups for an adorable, grab-and-go treat. Perfect for parties or gatherings, your guests will adore their personal cheesecake!
-
Nutty Twist: Add finely chopped toasted pecans or almonds into the crust for a nutty flavor kick. The added crunch rounds out the sweetness beautifully and gives a lovely depth to each bite.
-
Fruit Topping: Fresh berries or sliced bananas on top create a pop of color and a refreshing taste contrast. The burst of fruity freshness enhances the richness of the cheesecake.
-
Dairy-Free Option: Use vegan cream cheese and coconut whipped cream for a dairy-free version that doesn’t skimp on flavor. Everyone should be able to enjoy this creamy goodness!
-
Spiced Pumpkin: Mix in some pumpkin puree and spices like cinnamon and nutmeg to create a seasonal variant that’s great for fall gatherings. Picture the cozy autumn flavors wrapped in creamy goodness!
For even more delicious inspiration, you may also enjoy these variations, like my delightful Strawberry Cream Cheesecake or treat yourself to the whimsically tasty Strawberry Cheesecake Protein Balls.
How to Store and Freeze No-Bake Biscoff Cheesecake
Fridge: Keep the cheesecake covered in plastic wrap or stored in an airtight container for up to 4-5 days, ensuring maximum freshness and flavor.
Freezer: To freeze, slice the cheesecake and wrap individual pieces tightly in plastic wrap, followed by aluminum foil. It can be frozen for up to 2 months.
Thawing: When ready to enjoy, transfer the frozen slices to the fridge and let them thaw overnight. Serve chilled to appreciate the smooth texture of your No-Bake Biscoff Cheesecake.
Reheating: No need for reheating, just allow the slices to sit at room temperature for about 10-15 minutes before serving for the best results.
No-Bake Biscoff Cheesecake Recipe FAQs
How do I know if my Biscoff cookies are fresh enough for the crust?
Fresh Biscoff cookies are crucial for a delicious crust. Look for cookies that are free of any dark spots or excessive breakage, which can indicate staleness. Ideally, use cookies with a consistent golden-brown color and a crisp texture. If your cookies are past their best-by date, they may not provide the crunch you want, so always check packaging for freshness!
What’s the best way to store my No-Bake Biscoff Cheesecake?
Absolutely! To keep your cheesecake fresh, cover it with plastic wrap or place it in an airtight container. It can last in the fridge for about 4-5 days. For optimal flavor, try to enjoy it within the first couple of days after making it, as the crust may soften over time.
Can I freeze the No-Bake Biscoff Cheesecake? If so, how?
Yes, you can! Slice the cheesecake into individual portions and wrap each slice tightly in plastic wrap. Then, place them in a freezer-safe container or bag and freeze for up to 2 months. When ready to enjoy, transfer the slices to the refrigerator to thaw overnight. This way, you can savor your delightful treat almost anytime!
What do I do if my whipped cream doesn’t reach stiff peaks?
If your heavy cream doesn’t whip properly, it could be due to it being not cold enough or overwhipping. Start by ensuring your heavy cream is thoroughly chilled—about 30 minutes in the fridge before whipping is ideal. If it reaches soft peaks but not stiff, try continuing to whip gradually. If overwhipped, it can turn into butter, so watch carefully! If this happens, you can soften it by gently folding in a bit more whipped cream to regain some texture without losing all airiness.
Are there any common allergens in this No-Bake Biscoff Cheesecake?
Indeed, this cheesecake contains common allergens such as dairy and gluten from the Biscoff cookies and cream cheese. If you’re catering to guests with dietary restrictions, consider using gluten-free cookies and dairy-free cream cheese alternatives. Always check packaging for allergens to ensure that your treats can be safely enjoyed by everyone!
Can I make this No-Bake Biscoff Cheesecake ahead of time for a party?
Very much so! This cheesecake is a fantastic make-ahead option. Prepare it 1-2 days prior to your gathering, allowing it to chill overnight for optimal flavor and texture. Simply store it in the fridge, and you’ll be set for a delightful dessert that’s ready to wow your guests without any last-minute stress!
Creamy No-Bake Biscoff Cheesecake That's Simply Irresistible
Ingredients
Equipment
Method
- Begin by crushing approximately 24 Biscoff cookies into fine crumbs. Melt 1/2 cup unsalted butter and combine it with the cookie crumbs until they resemble wet sand. Firmly press this mixture into the bottom of a 9-inch springform pan and refrigerate for 30 minutes.
- In a large bowl, beat 16 ounces of cream cheese until smooth and creamy. Gradually blend in 1 cup of Biscoff spread, 1 cup of powdered sugar, and a splash of vanilla extract until well combined.
- In a separate chilled bowl, whip 1 cup of heavy cream until stiff peaks form, about 3 to 5 minutes.
- Gently fold the whipped cream into the Biscoff cream cheese mixture until fully combined.
- Pour the creamy filling over the chilled crust, smooth the top, and refrigerate for at least 6 hours.
- Once set, remove the cheesecake from the springform pan and garnish as desired. Allow to sit at room temperature for 15 minutes before slicing.
Leave a Reply