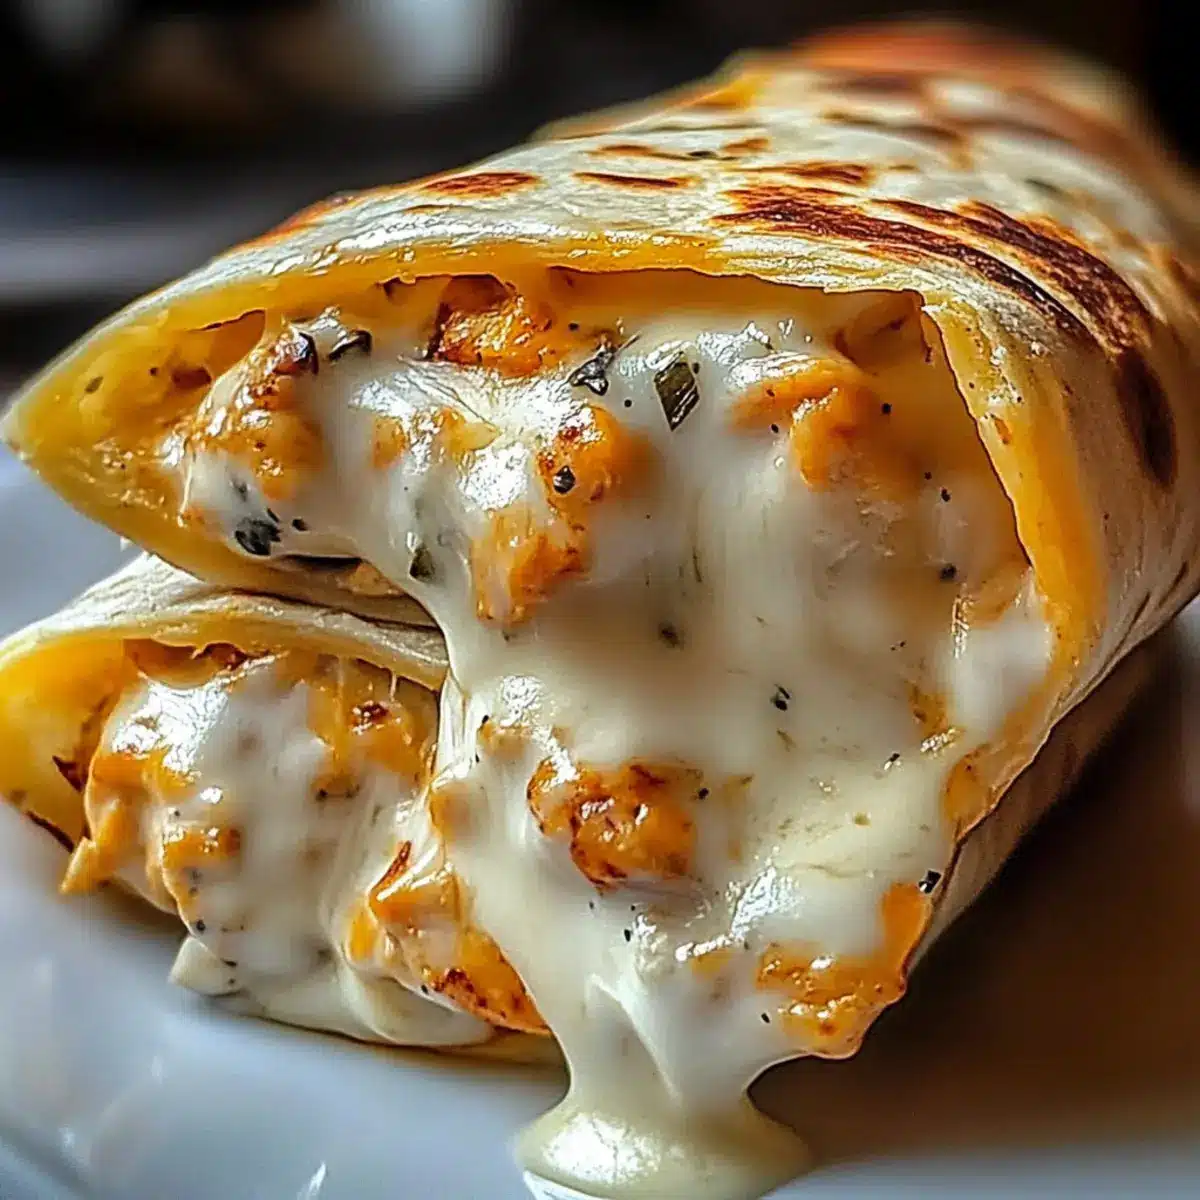
As I rummaged through my fridge one afternoon, I stumbled upon a few leftover tortillas and some cooked chicken—an unusual mix but a catalyst for creativity. That moment inspired what I fondly call Cheesy Chicken Wrapsilla Sticks. These bites of joy combine warm, crispy tortillas filled with savory chicken and gooey cheese, making them a delightful snack for any gathering or a quick meal on a busy weeknight. The beauty of this recipe lies in its simplicity—perfect for the kids or anyone looking for something easy yet incredibly satisfying. Plus, they’re endlessly customizable! Whether you’re a seasoned home chef or just trying to elevate your weeknight menu, these wraps will have your family asking for seconds. Ready to create something delicious? Let’s get cooking!

Why Are Cheesy Chicken Wrapsilla Sticks a Must-Try?
Quick and Easy: This recipe is perfect for busy evenings—just a few steps and you’ll have a satisfying dish ready in no time.
Kid-Friendly: The cheesy and savory filling is sure to please even the pickiest eaters, making it ideal for family meals.
Customizable Delight: You can easily swap ingredients based on what you have at home—try adding veggies or different cheeses for a personal touch.
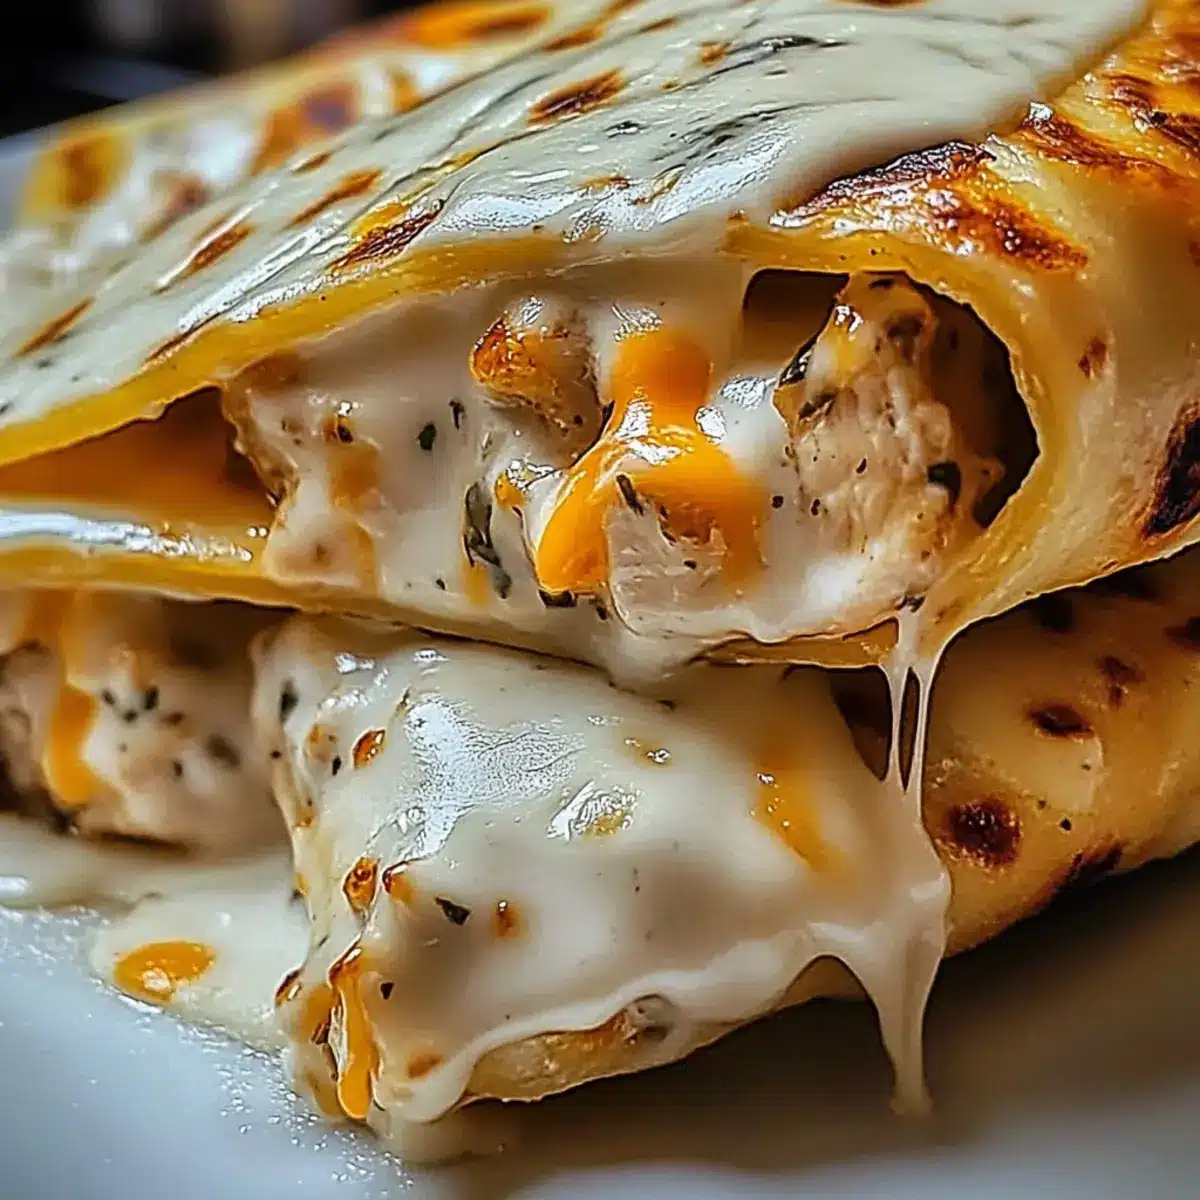
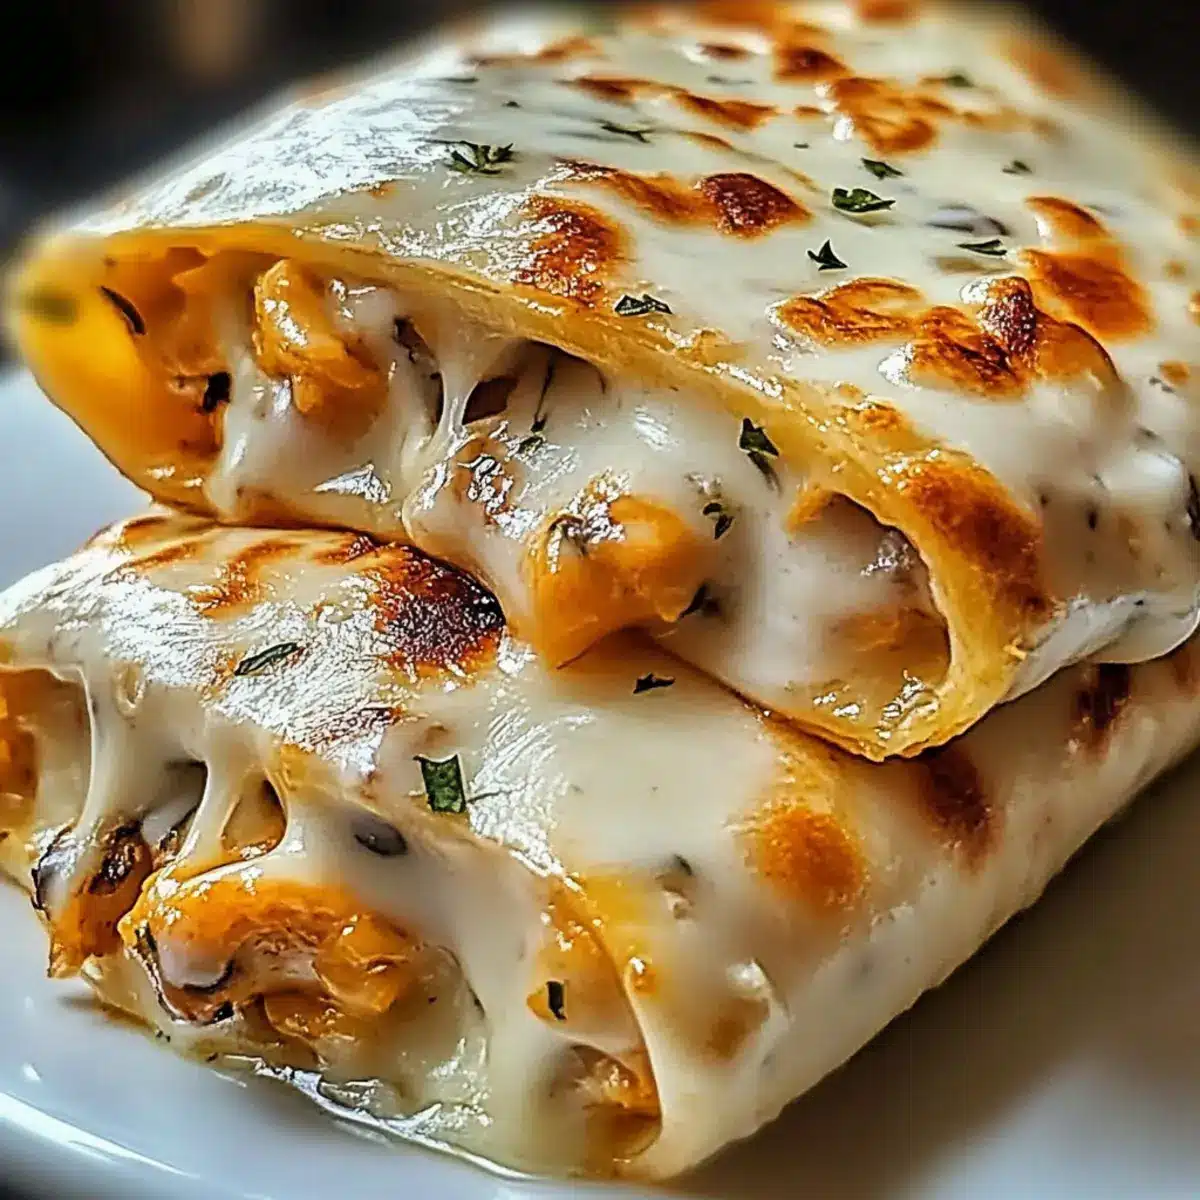
Crispy and Melty: Enjoy the delightful contrast of a crispy exterior that holds melty, delicious cheese inside, reminiscent of your favorite snacks.
Perfect for Any Event: Whether it’s game day, a birthday party, or just a cozy movie night, these wraps make a fantastic appetizer that everyone will love.
Take a look at other easy recipes like Mexican Lime Chicken or Honey Garlic Chicken Tenders for more delicious ideas!
Cheesy Chicken Wrapsilla Sticks Ingredients
For the Wraps
• Flour Tortillas – These are your crispy base; opt for corn tortillas if warmed to prevent cracking.
• Cooked Chicken – Provides savory flavor and protein; rotisserie chicken is a great shortcut for busy cooks.
For the Cheese Filling
• Cheddar Cheese – Adds sharp flavor and melty texture; try a mix of cheddar and mozzarella for the best results.
• Mozzarella Cheese – Enhances meltability for a wonderfully creamy filling when heated.
For Seasoning and Coating
• Seasonings – Elevate the taste; consider adding salt, pepper, or your favorite spices like garlic powder.
• Butter (optional) – Brush this on the wraps before baking to achieve a golden-brown, crispy exterior.
Optional Add-Ins
• Bell Peppers, Spinach, or Onions – These can be mixed into the filling for extra flavor and nutritional value, adding a delightful crunch.
Now that you have all the ingredients ready for your Cheesy Chicken Wrapsilla Sticks, let’s move on to the fun part—cooking!
Step‑by‑Step Instructions for Cheesy Chicken Wrapsilla Sticks
Step 1: Preheat the Oven
Begin by preheating your oven to 375°F (190°C). This ensures your Cheesy Chicken Wrapsilla Sticks will bake evenly and achieve that perfect golden-brown crunch. While the oven heats up, gather your baking sheet and line it with parchment paper for easy cleanup after baking.
Step 2: Prepare the Filling
In a mixing bowl, shred your cooked chicken into bite-sized pieces. Then, add a generous mix of cheddar and mozzarella cheeses, along with your chosen seasonings. Stir well until all ingredients are combined, creating a tasty, gooey filling that’s packed with flavor and will perfectly complement your tortillas.
Step 3: Assemble the Wraps
Take a flour tortilla and place a generous scoop of your cheesy chicken filling in the center. Roll the tortilla tightly around the filling, ensuring the edges are tucked in as you go. If needed, secure the wrap with a toothpick to keep it intact. Repeat this process for all tortillas, laying them seam-side down on the baking sheet.
Step 4: Brush with Butter
Melt a small amount of butter and use a pastry brush to lightly coat the outside of each wrap. This step not only enhances the flavor but also helps achieve a crispy, golden finish while baking. If you prefer a healthier option, a light spray of cooking oil can be used instead of butter.
Step 5: Bake the Wraps
Place the prepared Cheesy Chicken Wrapsilla Sticks seam-side down on the baking sheet, ensuring they are spaced apart for even cooking. Bake in the preheated oven for about 10-12 minutes, or until they are golden brown and the cheese is bubbly. Keep an eye on them as they bake for that perfect crispy texture.
Step 6: Serve and Enjoy
Once baked, remove the wraps from the oven and let them cool slightly. Serve them warm alongside a variety of dipping sauces such as ranch, salsa, or guacamole. These Cheesy Chicken Wrapsilla Sticks are not only delicious but also perfect for sharing with family and friends during any gathering!
Make Ahead Options
Cheesy Chicken Wrapsilla Sticks are ideal for meal prep, allowing you to save time during busy weeknights! You can assemble the wraps up to 24 hours in advance; simply place them in an airtight container in the refrigerator. To maintain their crispiness, it’s best to brush the outside with melted butter just before baking. When you’re ready to bake, preheat your oven and cook them as instructed, adding a couple of extra minutes if they were chilled. This way, you can enjoy the same deliciously crispy and melty results without the last-minute rush!
What to Serve with Cheesy Chicken Wrapsilla Sticks
These wraps are perfect for creating a delightful meal experience, bursting with flavors and textures that your family and friends will love.
-
Fresh Garden Salad: A crisp lettuce and veggie medley adds a refreshing crunch, balancing the savory richness of the wraps. Toss with a zesty vinaigrette for a delightful contrast.
-
Creamy Guacamole: This creamy, avocado dip enhances the flavor profile of the wraps with its rich texture. Plus, it’s a fresh, vibrant addition that no one can resist!
-
Spicy Salsa: A tangy, tomato-based salsa brings a lively kick that pairs beautifully with the cheesy goodness. The freshness of herbs in salsa complements every bite.
-
Zesty Sour Cream: A dollop of sour cream adds a cool, creamy element that melds well with the unfortunate heat. It’s a simple, classic dip everyone loves.
-
Sweet Corn on the Cob: Grilled or boiled, corn on the cob introduces a fun sweetness and texture to the meal. It’s a delightful side that children adore!
-
Chilled Lemonade or Iced Tea: A refreshing drink like lemonade or iced tea perfectly offsets the savory goodness of the wraps, keeping everyone quenched and satisfied.
-
Chocolate Chip Cookies: For a sweet finish, a plate of warm chocolate chip cookies transforms the meal into a delightful treat, satisfying everyone’s sweet tooth.
These pairings will not only enhance your Cheesy Chicken Wrapsilla Sticks experience but also create a memorable dining occasion for all!
Cheesy Chicken Wrapsilla Sticks Variations
Feel free to get creative with these Cheesy Chicken Wrapsilla Sticks and customize them to suit your taste!
-
Vegetarian Option: Replace the chicken with cooked vegetables like bell peppers, zucchini, or spinach. It’s a hearty and flavorful alternative that keeps things deliciously fresh!
-
Spicy Kick: Use pepper jack cheese instead of cheddar for a zesty twist. Add jalapeños to the filling for an extra layer of heat that’ll make your taste buds dance!
-
Herb-Infused: Mix fresh herbs such as cilantro or parsley into the cheese filling. This enhances the flavor profile and adds a delightful touch of freshness.
-
Taco Flavor: Incorporate taco seasoning into the chicken mixture for a Southwest-inspired flavor profile. The warm spices will transport you straight to taco night!
-
Sourdough Twist: Use sourdough tortillas for a tangy flavor. It creates a wonderful contrast with the cheesy filling that elevates your wraps to a new level of deliciousness.
-
Breakfast Wraps: Substitute the chicken with scrambled eggs and add a sprinkle of cheese for a delightful breakfast version. Perfect for brunch gatherings or a cozy morning at home!
-
Dipping Sauce Variety: Experiment with different dipping sauces like honey mustard or spicy salsa to enhance the flavor experience with each bite. Each sauce will bring a unique twist to your wraps!
-
Crunchy Add-Ins: Toss in some crispy bacon bits or crushed tortilla chips into the filling for an exciting textural contrast. The added crunch will make every bite even more enjoyable!
Let your imagination run wild, and don’t forget to check out more scrumptious ideas like Slow Cooker Chicken Tortilla Soup or Crack Chicken Noodle Soup to further inspire your culinary journey!
Expert Tips for Cheesy Chicken Wrapsilla Sticks
-
Seal the Edges: Ensure the seams are pressed tightly or secured; this prevents unwinding during baking and keeps all that delicious filling inside.
-
Add Veggies for Nutrition: Incorporate finely chopped bell peppers, spinach, or onions into the filling for an extra flavor boost and added nutrients.
-
Air Fryer Option: For a healthier twist, cook in an air fryer at 375°F (190°C) for 8 minutes, producing a crispy texture with less oil.
-
Make Ahead for Convenience: You can prep these Cheesy Chicken Wrapsilla Sticks ahead of time by assembling them and refrigerating for up to 2 hours before baking.
-
Experiment with Flavors: Don’t hesitate to swap chicken with turkey or even roasted vegetables, and try different cheese blends like pepper jack for a spicy kick.
How to Store and Freeze Cheesy Chicken Wrapsilla Sticks
Fridge: Store any leftover Cheesy Chicken Wrapsilla Sticks in an airtight container for up to 3 days. Reheat in the oven or air fryer to regain crispiness.
Freezer: For longer storage, freeze uncooked wraps in a single layer on a baking sheet. Once frozen, transfer to a freezer bag for up to 2 months. Bake from frozen, adding a few extra minutes to cooking time.
Reheating: Reheat baked wraps in the oven at 375°F (190°C) for about 10 minutes until heated through. The air fryer also works well, achieving a crispy texture.
Make-Ahead: For convenience, assemble the wraps and refrigerate for up to 2 hours before baking. Enjoy the flexibility these storage tips provide!
Cheesy Chicken Wrapsilla Sticks Recipe FAQs
What type of tortillas should I use?
Opt for flour tortillas as they provide a sturdy base for your Cheesy Chicken Wrapsilla Sticks. If you prefer corn tortillas, warm them slightly before use to prevent cracking.
How should I store leftovers?
Absolutely! Store any leftover Cheesy Chicken Wrapsilla Sticks in an airtight container in the refrigerator for up to 3 days. For best results, reheat them in the oven or air fryer to regain that wonderful crispiness.
Can I freeze the wraps before cooking?
Very much so! To freeze, assemble the wraps and place them in a single layer on a baking sheet. After about an hour in the freezer, transfer them to a freezer bag, where they can stay good for up to 2 months. When you’re ready to cook, bake them directly from frozen but add an extra 2-4 minutes to the baking time.
What can I do if the filling spills out during baking?
No worries! This can happen if the wraps aren’t sealed properly. Make sure to secure the seams tightly or use toothpicks to hold them together before baking. Pressing the edges slightly can also create a better seal, ensuring all that delicious cheesy filling stays tucked inside.
Are there any dietary considerations I should be aware of?
Yes! If anyone in your home has allergies, be cautious of the cheese, as dairy is a common allergen. For a gluten-free option, you can use gluten-free tortillas and ensure that the seasonings are also allergy-friendly. Consider swapping chicken for sautéed veggies for a vegetarian version.
How can I customize the filling?
The more the merrier! You can easily swap out the chicken for turkey or even use leftover vegetables. Don’t hesitate to throw in finely chopped bell peppers, spinach, or any leftover meats you have on hand. Different cheese blends, like pepper jack or even feta, add great flair—feel free to get creative!
Cheesy Chicken Wrapsilla Sticks: Crispy Melty Perfection!
Ingredients
Equipment
Method
- Preheat your oven to 375°F (190°C) and line a baking sheet with parchment paper.
- In a mixing bowl, shred your cooked chicken into bite-sized pieces. Add cheddar and mozzarella cheeses and your chosen seasonings, mixing well.
- Take a flour tortilla, place a scoop of the cheesy chicken filling in the center, and roll it tightly. Secure with a toothpick if needed.
- Melt butter and brush the outside of each wrap to enhance flavor and achieve a crispy finish.
- Place wraps seam-side down on the baking sheet and bake for 10-12 minutes until golden brown and cheese is bubbly.
- Let cool slightly before serving with dipping sauces like ranch, salsa, or guacamole.
Leave a Reply