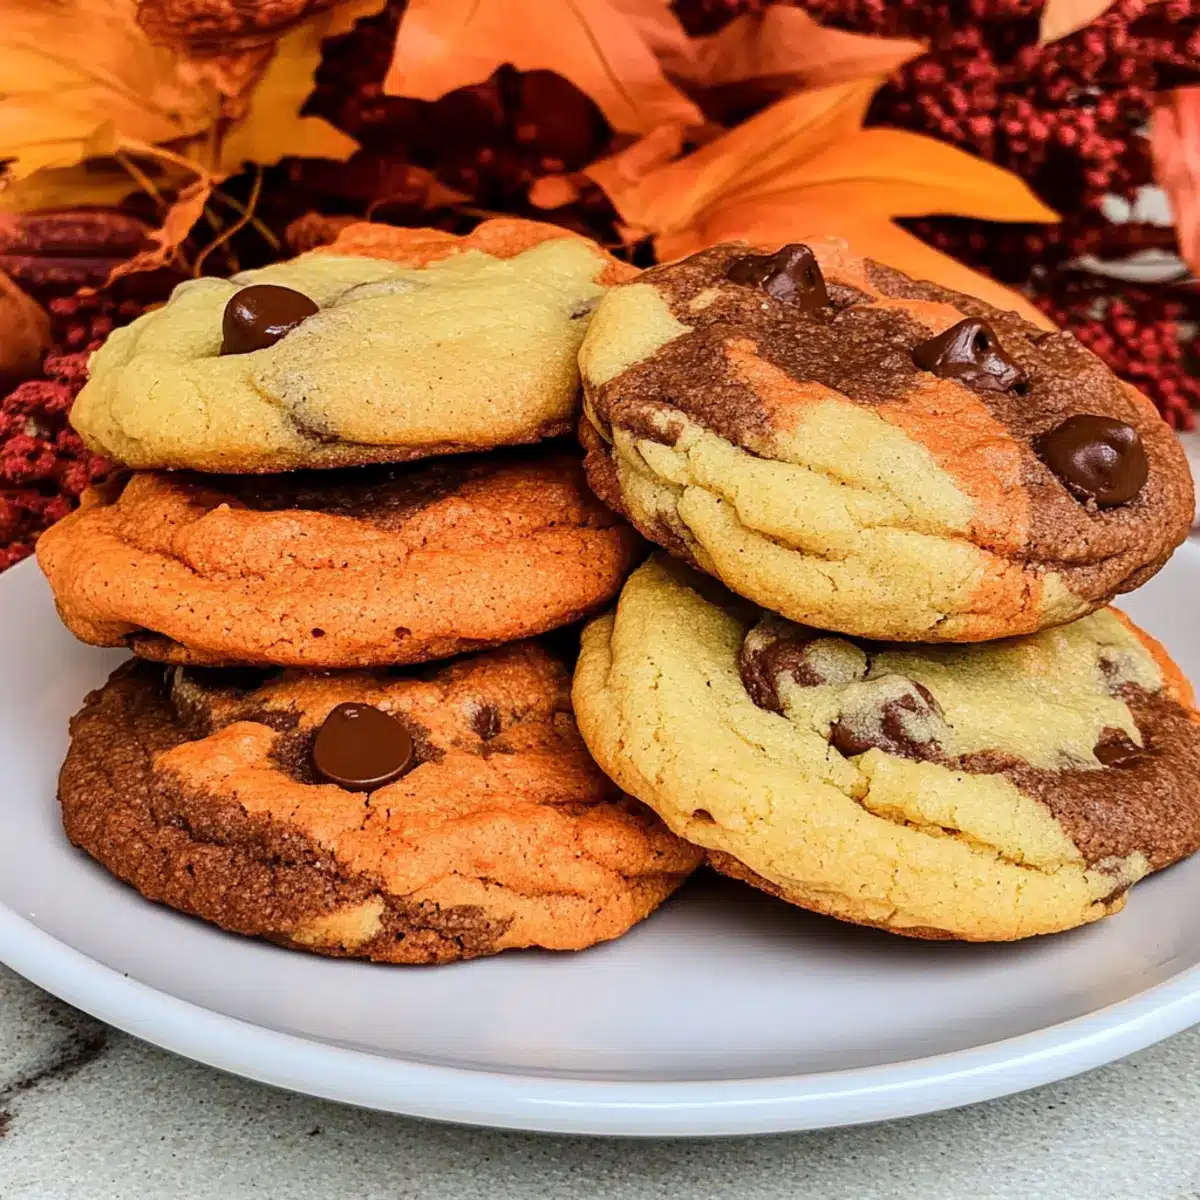
As autumn approaches, my kitchen transforms into a vibrant gallery of colors reminiscent of falling leaves. The air fills with an inviting aroma that dances around as I whip up my Harvest Marble Chocolate Chip Cookies. These delightful treats effortlessly merge the classic charm of chocolate chip cookies with a festive autumn twist, perfect for Thanksgiving gatherings or cozy nights in. With quick prep and a fun marbling technique, these cookies not only taste fantastic but also become an eye-catching centerpiece on any dessert table. Want to see how to bring a splash of fall into your baking? Let’s dive into the sweet details!
Why Are These Cookies a Must-Bake?
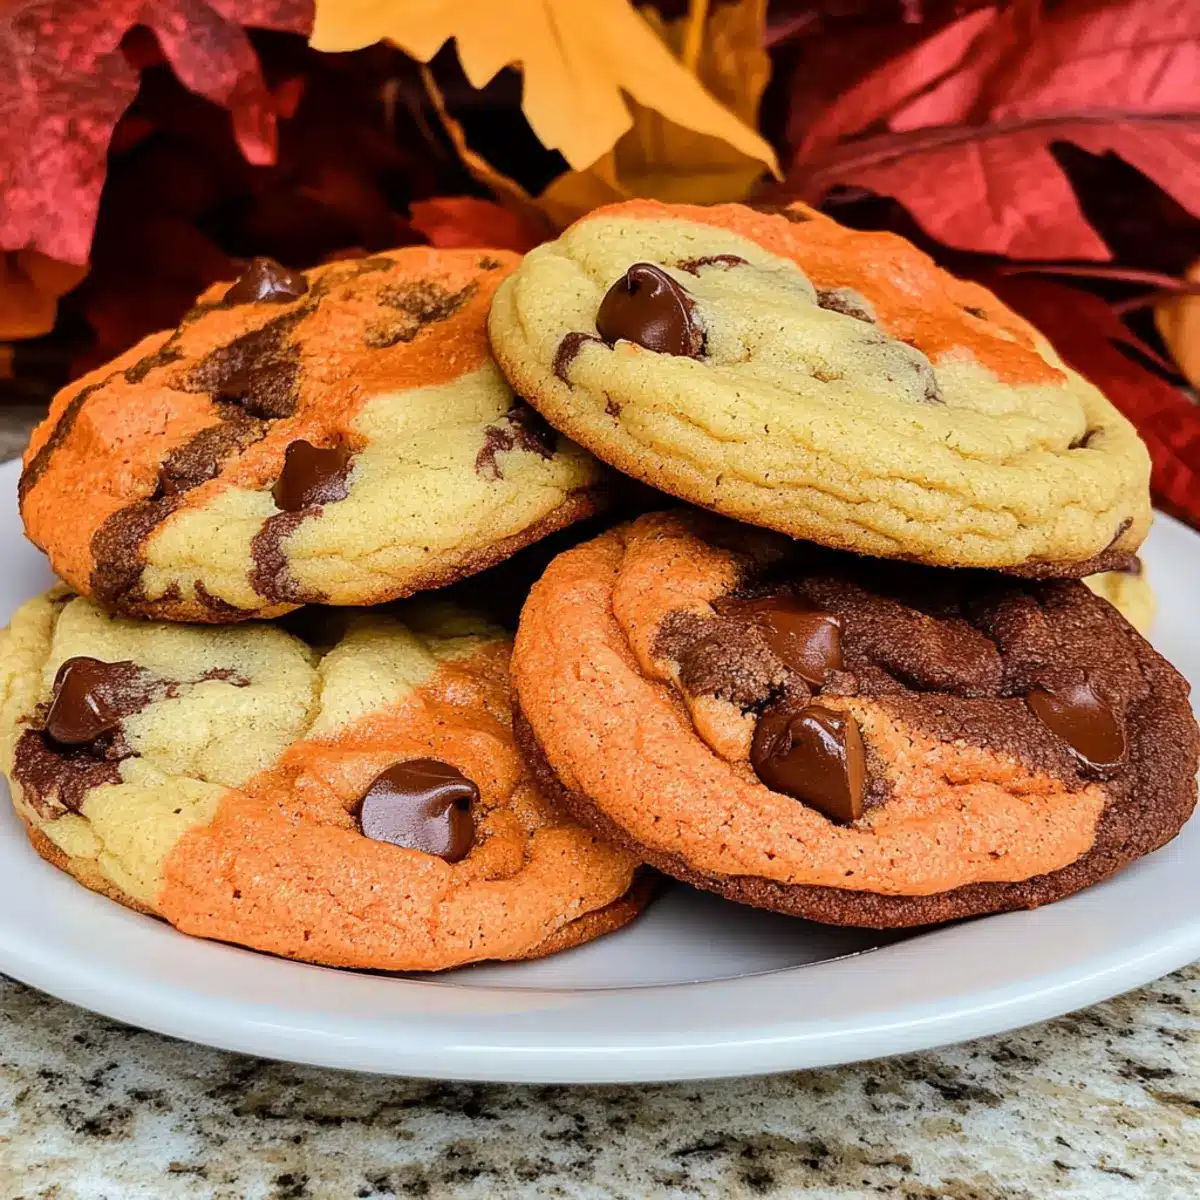
Festive Aesthetics: The stunning marbled colors mirror the beauty of fall, making them a visual treat for any gathering.
Easy to Make: The straightforward steps ensure even novice bakers can whip these up with joy.
Crispy Meets Chewy: Each bite offers a delightful contrast between the soft, chewy center and a crispy edge.
Versatile Delight: Feel free to substitute chocolate chips with your favorite mix-ins like butterscotch or nuts for a personalized touch.
Perfect Pairing: Enjoy them alongside a comforting pumpkin spice latte for that quintessential autumn experience.
Crowd-Pleasing Flavor: These cookies are bound to impress family and friends alike, making them a hit during Thanksgiving!
Harvest Marble Chocolate Chip Cookies Ingredients
For the Cookie Dough
• Butter (1 cup) – Adds richness and moisture; ensure it’s softened for easy creaming.
• Granulated Sugar (1 cup) – Sweetens the cookies while giving a delightful crisp exterior.
• Brown Sugar (½ cup) – Provides deeper flavor and moisture for a chewy texture.
• Eggs (2 large) – Essential for structure and binding the ingredients together.
• Vanilla Extract (2 tsp) – Enhances the flavor profile with a fragrant sweetness.
• Baking Soda (1 tsp) – Acts as a leavening agent, helping your Harvest Marble Chocolate Chip Cookies rise beautifully.
• Salt (½ tsp) – Balances sweetness and elevates the overall flavor.
• All-Purpose Flour (2¾ cups) – Provides the necessary structure and texture for the cookies.
• Chocolate Chips (1 bag) – Offers a touch of chocolatey goodness; you can use semi-sweet or milk chocolate based on preference.
For Coloring the Dough
• Brown Food Coloring – Gives one part of the dough a warm, earthy tone.
• Orange Food Coloring – Adds a vibrant pop, reminiscent of autumn leaves.
Optional Mix-Ins
• Chopped Nuts (1 cup) – Fold in for a nutty twist; pecans or walnuts work wonderfully.
• Other Chocolate Varieties – Substitute chocolate chips with butterscotch or white chocolate for a unique flavor profile.
Step‑by‑Step Instructions for Harvest Marble Chocolate Chip Cookies
Step 1: Cream Together
In a large mixing bowl, use a stand mixer or hand mixer to cream 1 cup of softened butter with 1 cup of granulated sugar and ½ cup of brown sugar. Beat on medium speed for 2-3 minutes until the mixture is light and fluffy, ensuring the sugars are fully dissolved, creating a delightful base for your Harvest Marble Chocolate Chip Cookies.
Step 2: Mix Wet Ingredients
Add 2 large eggs and 2 teaspoons of vanilla extract into the creamed mixture. Beat everything together on medium speed for about 3 minutes until the mixture is light and airy, indicating that the eggs are well incorporated and the mixture is smooth, ready for the dry ingredients to be added.
Step 3: Combine Dry Ingredients
In a separate bowl, sift together 2¾ cups of all-purpose flour, 1 teaspoon of baking soda, and ½ teaspoon of salt. Gradually add this dry mixture into the wet ingredients, mixing on low speed just until combined. Be careful not to over-mix, as you want to preserve the tender texture of your Harvest Marble Chocolate Chip Cookies.
Step 4: Separate and Color Dough
Once the dough is combined, divide it into three equal portions. Use brown food coloring to tint one portion, orange food coloring for the second, and leave the third portion uncolored. Mix each portion thoroughly until evenly colored, ensuring vibrant hues that will create a beautiful marbled effect in your cookies.
Step 5: Form Cookies
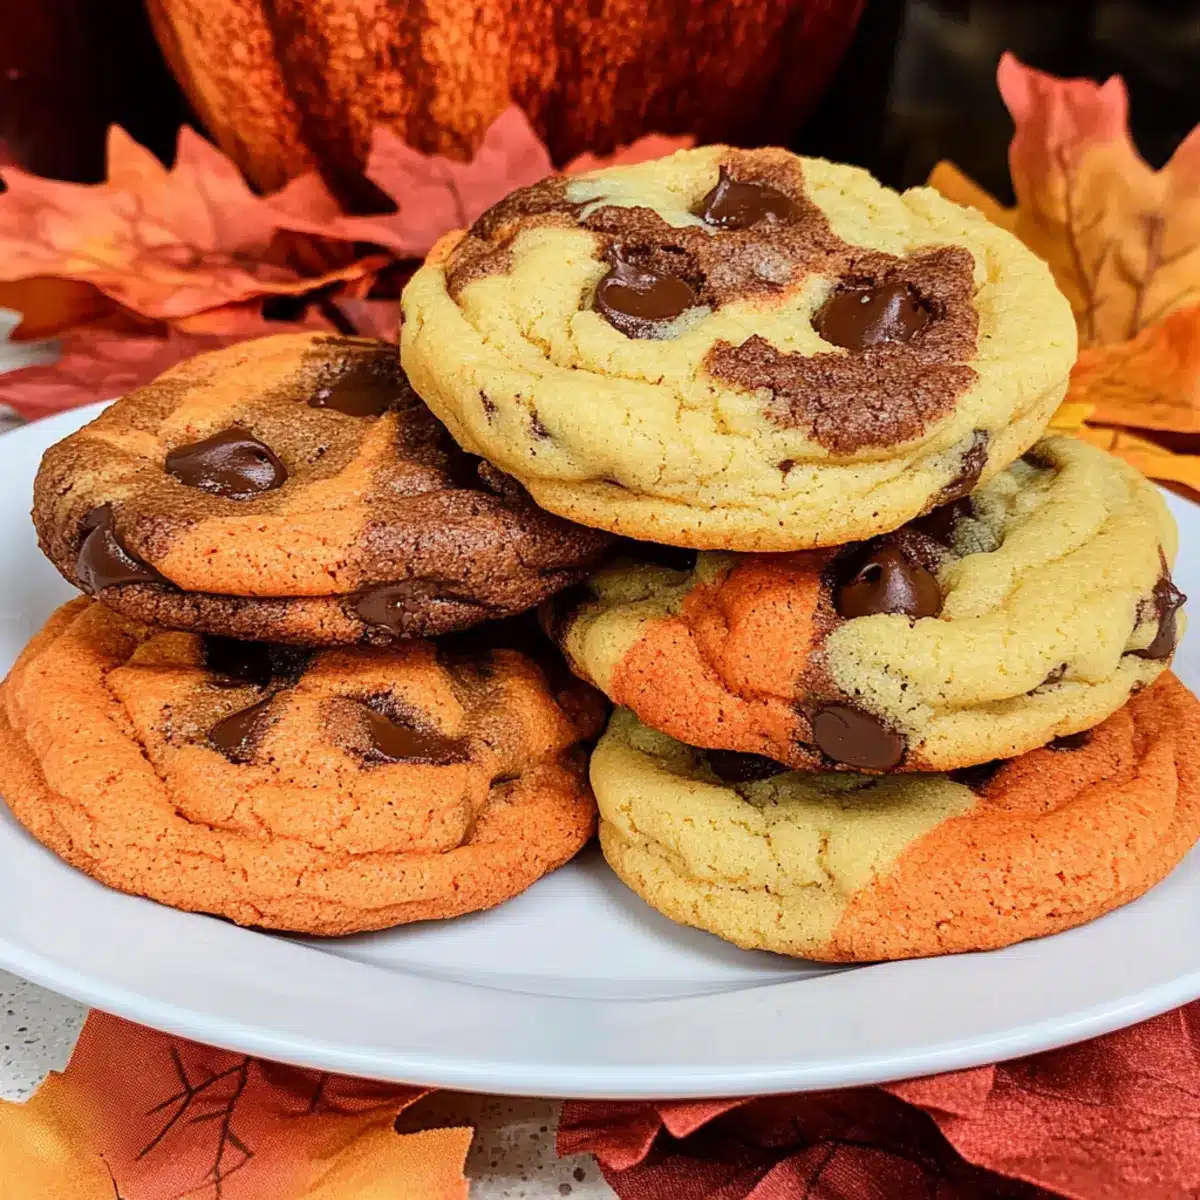
Using a food scale, weigh out 2 oz. portions of dough from each colored section. Randomly combine these portions for a marbled look, then lightly flatten each dough ball on a baking sheet lined with parchment paper. Aim for about 2 inches apart to allow for spreading during baking, creating an enticing appearance for your Harvest Marble Chocolate Chip Cookies.
Step 6: Bake
Preheat your oven to 375°F (190°C). Bake the cookies in batches for 8-10 minutes, or until the edges are lightly golden but the centers still appear soft. Keep a close eye on them, as they will continue to firm up as they cool. Once baked, remove from the oven and let them sit on the baking sheet for a few moments.
Step 7: Cool and Enjoy
After a brief cooling on the baking sheet, transfer your Harvest Marble Chocolate Chip Cookies to a wire rack to cool completely. This will help maintain their soft, chewy texture while allowing the marbled colors to shine. Savor these delightful cookies warm or at room temperature, and enjoy the festive fall flavors!
Make Ahead Options
These Harvest Marble Chocolate Chip Cookies are a fantastic choice for busy home cooks who want to enjoy homemade treats without the last-minute rush! You can prepare the cookie dough up to 24 hours in advance. Simply follow the mixing instructions up to Step 4, then cover the dough tightly in plastic wrap and refrigerate. This not only enhances the flavors but also allows for easy baking later! When you’re ready to bake, let the dough sit at room temperature for about 15 minutes before portioning and baking to maintain the perfect texture. You’ll find that these cookies turn out just as delicious as if they were made fresh, giving you the ease of delightful fall indulgence without the stress of day-of preparation.
Harvest Marble Chocolate Chip Cookies Variations
Feel free to play around with your Harvest Marble Chocolate Chip Cookies for a delightful twist or a dietary modification!
- Dairy-Free: Substitute butter with a plant-based butter alternative for a lactose-free version that still retains that rich flavor.
- Gluten-Free: Use a gluten-free all-purpose flour blend instead of regular flour for a cookie everyone can enjoy. Just make sure it contains a binding agent for the right texture!
- Chocolate Swap: Want to mix things up? Try using white chocolate or butterscotch chips instead of the traditional chocolate chips for a new flavor profile that’s equally delightful.
- Nutty Addition: Fold in chopped pecans or walnuts into the dough for that crunchy texture that perfectly complements the chewy softness of the cookies. They add an amazing heartiness to every bite!
- Spiced Variation: For a cozy fall vibe, incorporate a teaspoon of cinnamon or nutmeg into your dry ingredients for an aromatic spice that pairs wonderfully with chocolate.
- Baked with Love: Instead of traditional marbling, layer the dough into a loaf pan and bake it, then slice it into cookie bars for a different experience. Think of it as a rustic take on the classic!
- Holiday Shades: Change the food coloring to festive colors for Christmas or other holidays. This twist makes them perfect for seasonal gatherings—try green and red for holiday cheer!
- Extra Flavor Boost: Drizzle a little caramel sauce over the cookies once they’ve cooled for an added layer of sweetness, or pair these beauties with a scoop of vanilla ice cream for an irresistible dessert.
Whichever variation you choose, these cookies are bound to spread joy! If you’re curious to explore more delicious recipes like Mint Chocolate Brownies or Harvest Marble Sugar treats, don’t hesitate to dive into my collection!
Expert Tips for Harvest Marble Chocolate Chip Cookies
-
Room Temperature Butter: Start with butter at room temperature; this ensures optimal creaming and contributes to a light texture in your Harvest Marble Chocolate Chip Cookies.
-
Avoid Over-Mixing: When combining dry ingredients with the wet, mix just until combined. Over-mixing can lead to tough cookies instead of the soft, chewy texture you want.
-
Color Mixing: Experiment with different shades of brown and orange food coloring for the dough. This not only makes your cookies visually appealing but adds a personal touch!
-
Consistent Sizing: Use a food scale for 2 oz. dough portions to ensure uniform baking. This prevents some cookies from being overdone while others remain doughy.
-
Cool Before Transferring: Allow the cookies to cool on the baking sheet for a few minutes before moving them to a wire rack. This helps maintain their structure and chewiness.
-
Storage Tips: Keep your cookies in an airtight container at room temperature for up to a week. To maintain freshness, consider freezing some for later enjoyments of your delicious Harvest Marble Chocolate Chip Cookies.
How to Store and Freeze Harvest Marble Chocolate Chip Cookies
Room Temperature: Store your cookies in an airtight container at room temperature for up to 1 week to keep them fresh and tasty.
Fridge: If you live in a warm climate, consider refrigerating cookies in an airtight container for up to 2 weeks to prevent them from becoming too soft.
Freezer: For longer storage, freeze the baked cookies in a single layer on a baking sheet before transferring them to a freezer-safe bag for up to 3 months.
Reheating: To enjoy your Harvest Marble Chocolate Chip Cookies warm, simply reheat them in the microwave for 15-20 seconds or in a preheated oven at 350°F (175°C) for about 5 minutes.
What to Serve with Harvest Marble Chocolate Chip Cookies?
As you indulge in the delightful flavors of your cookies, consider pairing them with complementary dishes and beverages that enhance the cozy autumn experience.
-
Pumpkin Spice Latte: The warm, spiced flavors perfectly complement the sweet chocolate chips, creating an irresistible fall treat. Sipping on this cozy drink while enjoying the cookies will wrap you in a nostalgic hug of autumn.
-
Apple Cider: This classic autumn beverage brings the essence of fall into your kitchen. The sweet and slightly tangy taste of apple cider balances the rich chocolate in the cookies beautifully.
-
Vanilla Ice Cream: A scoop of creamy vanilla ice cream adds a luxurious touch. The cold ice cream contrasts wonderfully with the warm cookies, enhancing their delightful texture.
-
Chai Tea: The aromatic spices in chai tea harmonize with the sweet flavors of your cookies, creating a cozy pairing. Enjoying these together will make you feel wrapped in a warm blanket on a cool evening.
-
Cheese Platter: Offer a selection of soft cheeses like brie and creamy goat cheese. The savory notes will elevate the sweetness of the cookies, providing a delightful balance that will surprise your guests.
-
Caramel Sauce: Drizzling homemade or store-bought caramel sauce over the cookies can amplify their sweetness and add a rich, indulgent layer. It’s a simple yet decadent way to treat yourself!
-
Sliced Pears: Crisp, juicy pears add a fresh element to your dessert spread. The fruity sweetness enhances the flavors of your cookies and adds a refreshing contrast to the richer elements.
-
Chocolate Milk: Treat yourself to a nostalgic pairing by enjoying a tall glass of chilled chocolate milk. The chocolatey goodness will have your sweet cravings singing as you savor each bite of your cookies.

Harvest Marble Chocolate Chip Cookies Recipe FAQs
How do I choose ripe ingredients for the cookies?
Absolutely! For the best texture, ensure your butter is soft but not melted—about room temperature is ideal. This helps create a fluffy cookie base. As for eggs, use large, fresh eggs; you’ll notice a difference in the richness when they are at their peak freshness!
How should I store the cookies once baked?
Very good question! After baking, you can store your Harvest Marble Chocolate Chip Cookies in an airtight container at room temperature for up to 1 week. If you live in a warmer area, refrigerating them can help them stay firm for up to 2 weeks.
Can I freeze the cookies for later?
Yes, you can definitely freeze these cookies! To do this, lay your baked cookies in a single layer on a baking sheet. Once frozen solid (about 1-2 hours), transfer them into a freezer-safe bag and store for up to 3 months. When you’re ready to enjoy, just pop them in the microwave for about 15-20 seconds or reheat at 350°F until warmed through – about 5 minutes in the oven works like a charm!
What should I do if my cookies turn out too dry or crumbly?
If your cookies aren’t turning out as expected, it could be due to over-mixing the dough or adding too much flour. Make sure to measure your flour accurately—scooping it directly from the bag can pack it in too tightly. Also, remember to mix the dough just until combined; this helps keep it tender and chewy!
Are there any dietary considerations I should be aware of?
Definitely! If anyone consuming the Harvest Marble Chocolate Chip Cookies has allergies, be cautious of the chocolate chips, as they often contain dairy. For those with gluten sensitivities, you can use a gluten-free flour blend to make these cookies gluten-friendly. Always check labels for allergic ingredients when using food coloring and other add-ins too!
What kind of food coloring should I use?
For the vibrant hues, I recommend using gel food coloring, as it provides deeper vibrancy without altering the dough’s consistency. Liquid food coloring can work, but you may need to adjust the amount of flour to maintain the right texture!
Harvest Marble Chocolate Chip Cookies for a Cozy Fall Treat
Ingredients
Equipment
Method
- Cream together 1 cup of softened butter with 1 cup of granulated sugar and ½ cup of brown sugar for 2-3 minutes until light and fluffy.
- Add 2 large eggs and 2 teaspoons of vanilla extract, mixing on medium speed for 3 minutes until light and airy.
- In a separate bowl, sift together 2¾ cups of all-purpose flour, 1 teaspoon of baking soda, and ½ teaspoon of salt. Gradually add to wet ingredients.
- Divide the dough into three equal portions and tint one with brown food coloring, one with orange, and leave the third uncolored.
- Weigh out 2 oz. portions of each dough, combine randomly for marbling and place on a parchment-lined baking sheet.
- Preheat oven to 375°F (190°C) and bake cookies for 8-10 minutes until edges are golden and centers are soft.
- Cool cookies briefly on the baking sheet before transferring to a wire rack to cool completely.
Leave a Reply