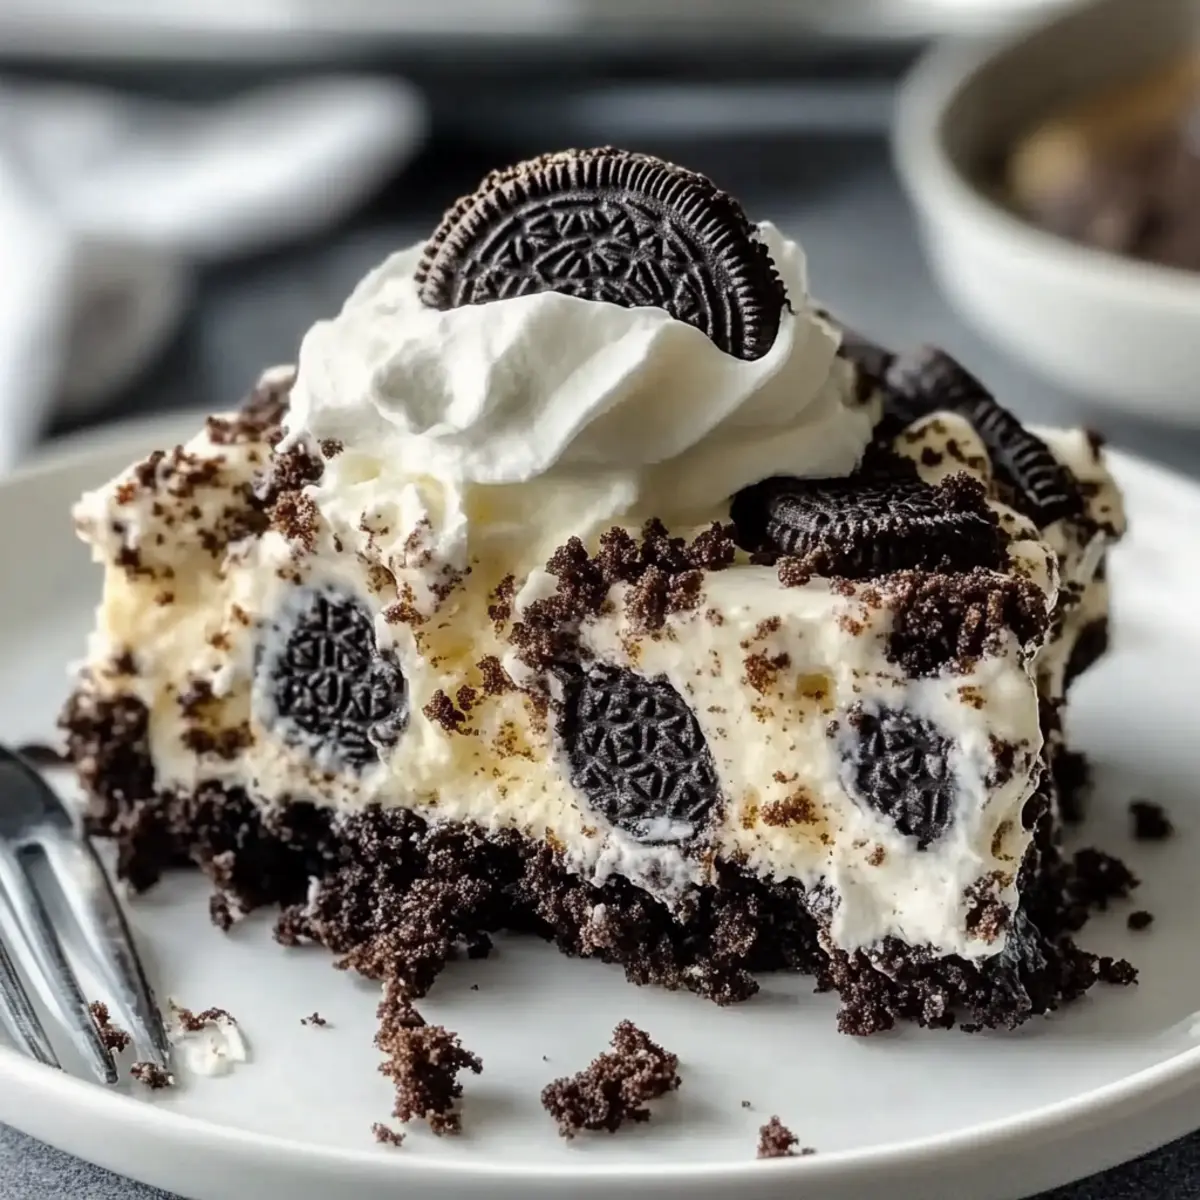
The aroma of warm chocolate wafting through the kitchen took me straight back to my childhood, where simple treats brought joy to even the dullest days. Today, I’m excited to share my favorite Oreo Dump Cake Recipe—just 5 ingredients—that perfectly captures that nostalgic essence. This easy dessert blends the irresistible crunch of Oreo cookies with a gooey chocolate center, making it a quick, kid-friendly treat that’s as delightful to serve as it is to eat. Whether for a casual family gathering or a last-minute dessert for friends, this crowd-pleaser requires no baking finesse, allowing everyone to focus on the sweet moments. Curious about how to create this delectable dessert with minimal effort? Let’s get started!
Why Is This Oreo Dump Cake Special?
Simplicity: This recipe is incredibly easy, calling for just five ingredients and minimal prep, making it perfect for busy weeknights.
Gooey Delight: Enjoy layers of rich chocolate and crunchy Oreos, creating a mouthwatering dessert that everyone will love.
Kid-Friendly: It’s a fun baking project that kids can help with; they’ll be excited to dig in once it’s ready!
Quick Bake: In just 35 minutes, you can have a warm dessert that satisfies any sweet tooth, perfect for gatherings or impromptu family dinners.
Customization: Feel free to mix it up! Try adding different cookies or a sprinkle of sea salt like those found in our Fruitcake Moist Festive or top it off with ice cream for a truly indulgent experience.
Oreo Dump Cake Ingredients
Gather these simple ingredients to create your delightful dessert!
For the Base
- Oreo Cookies – Base layer providing crunch and flavor; use any chocolate sandwich cookie as a substitute.
- Instant Chocolate Pudding Mix – Adds creaminess and rich chocolate flavor; can be replaced with vanilla pudding for a different taste.
- Cold Milk – Hydrates the pudding mix and helps create a creamy layer; non-dairy milk can be used for a vegan option.
For the Cake Layer
- Chocolate Cake Mix – Provides structure and sweetness; use a gluten-free cake mix for a gluten-free option.
- Unsalted Butter (melted) – Adds moisture and richness to the cake; can substitute with vegetable oil or melted coconut oil.
For the Topping
- Whipped Topping (e.g., Cool Whip) – Adds creaminess; dairy-free whipped topping can be used to maintain a non-dairy recipe.
- Mini Chocolate Chips (optional) – For added sweetness and texture; skip if desired.
- Extra Oreo Cookies (optional) – Perfect for garnish and enhancing presentation; any cookie can be used for garnish.
Step‑by‑Step Instructions for Oreo Dump Cake Recipe – Just 5 Ingredients
Step 1: Preheat and Prepare the Dish
Start by preheating your oven to 350°F (175°C). While it warms up, grab a 9×13-inch baking dish and lightly grease it with cooking spray or butter to prevent sticking. This will ensure that your delightful Oreo Dump Cake releases easily once it’s baked, making the final presentation just as appealing as the flavors within.
Step 2: Layer the Oreo Base
Next, take your Oreo cookies and chop them into rough pieces. Scatter these cookie bits evenly across the bottom of your prepared baking dish. This crunchy base will provide a delicious contrast to the gooey layers to come. Make sure to cover as much of the bottom as possible for an even texture throughout your Oreo Dump Cake.
Step 3: Mix the Pudding Layer
In a mixing bowl, whisk together the instant chocolate pudding mix and 2 cups of cold milk for about 2 minutes, until it thickens beautifully. Once you have achieved a smooth consistency, pour this luscious pudding layer evenly over the crumbled Oreos in the baking dish. Watch the creamy goodness soak into the cookies as it begins to combine them.
Step 4: Add the Cake Mix and Butter
Now it’s time to sprinkle the dry chocolate cake mix over the pudding layer, ensuring even coverage. Drizzle melted unsalted butter generously on top of the cake mix. This will help create a moist and flavorful crust as it bakes, adding an irresistible richness to your Oreo Dump Cake. Don’t worry if it looks a bit messy; that’s part of the charm!
Step 5: Bake to Perfection
Place the baking dish in your preheated oven and let it bake for approximately 35 minutes. You’ll know it’s ready when the top is set and slightly crisp to the touch, while the center retains a gooey texture. Baking it until golden and fragrant will fill your kitchen with irresistible chocolate aromas that promise delightful indulgence.
Step 6: Cool and Top
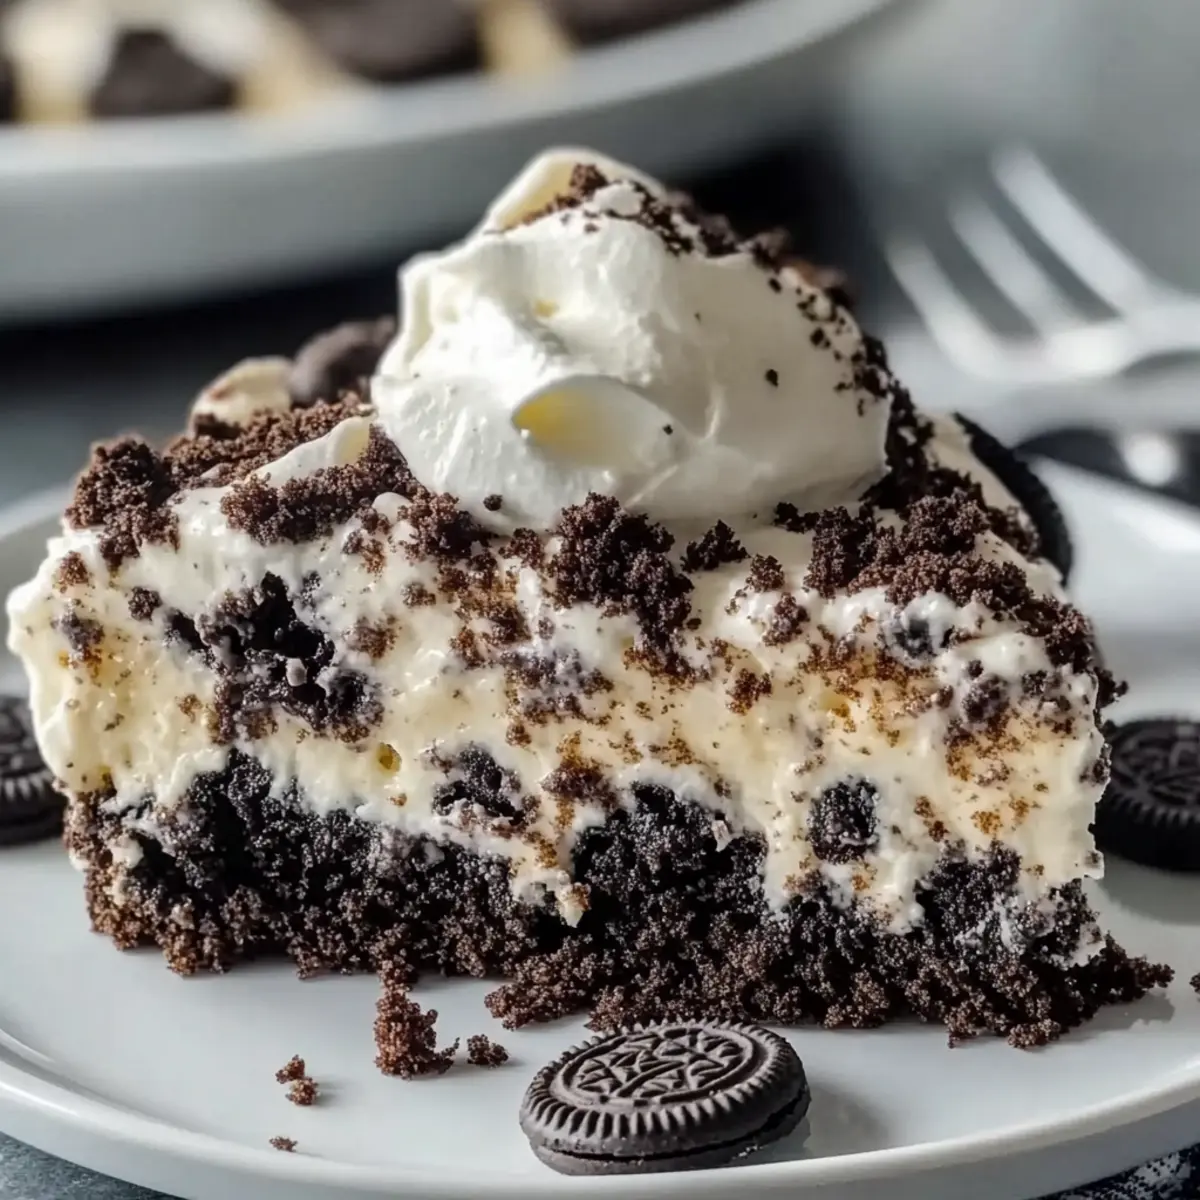
Once baked, remove the Oreo Dump Cake from the oven and allow it to cool for about 10 minutes. This brief pause will let the layers settle. After cooling, brighten up your dish by spreading a generous layer of whipped topping over the top. For an extra touch, sprinkle with mini chocolate chips and crushed Oreos before serving.
Step 7: Serve and Enjoy
Your Oreo Dump Cake is now ready to be enjoyed! Serve it warm or at room temperature, allowing the decadent flavors to shine. It’s great on its own or paired with a scoop of ice cream. With every bite, you’ll experience the delightful layers of chocolate and crunchy Oreos, making it a perfect treat for gatherings or cozy family nights.
Make Ahead Options
These Oreo Dump Cake recipes are perfect for busy home cooks looking to save time! You can prepare the base layer of chopped Oreo cookies and the pudding mixture up to 24 hours in advance. Simply layer the cookies in the dish, mix the pudding with cold milk until thickened, and pour it over the cookies. Cover and refrigerate overnight to ensure freshness. When you’re ready to bake, add the dry chocolate cake mix and drizzle melted butter just before placing it in the oven. This way, you’ll have homemade dessert that’s just as delicious with minimal effort, making your weeknight gatherings sweeter and simpler!
How to Store and Freeze Oreo Dump Cake
Fridge: Store leftover Oreo Dump Cake in an airtight container for up to 4 days to maintain its delicious flavor and moist texture.
Freezer: If you want to keep it longer, freeze individual portions wrapped tightly in plastic wrap and then in aluminum foil for up to 2 months.
Reheating: To enjoy your frozen slices, thaw in the fridge overnight and reheat in the microwave for 15-30 seconds until warmed through.
Serving Tip: For the best taste, serve the Oreo Dump Cake warm or at room temperature, allowing those gooey layers to shine!
Expert Tips for Oreo Dump Cake
-
Proper Greasing: Ensure you use enough cooking spray or butter to grease the pan well; this prevents the cake from sticking and allows for easy serving.
-
Cookie Chopping: Chop Oreos into smaller pieces for better distribution; larger chunks may create uneven textures during baking.
-
Don’t Overmix: When mixing the pudding layer, whisk just until thickened—overmixing can cause it to become too stiff, impacting the overall creaminess.
-
Temperature Matters: Allow the baked cake to cool for at least 10 minutes before topping; this helps prevent the whipped topping from melting into the warm layers.
-
Storage Solutions: To maintain the best texture, store leftover Oreo Dump Cake covered in the fridge for up to 4 days, and rewarm in the microwave for a few seconds before serving.
-
Crowd-Pleasing Twist: For an extra level of indulgence, consider adding a drizzle of chocolate syrup or a sprinkle of sea salt before serving—these additions elevate the richness of your Oreo Dump Cake.
Oreo Dump Cake Recipe – Creative Customizations
Feel free to let your imagination run wild by adding a personal touch to this already delightful dessert!
- Sea Salt Boost: Add a sprinkle of flaky sea salt to elevate the flavors with a sweet-salty contrast.
- Cookie Variety: Switch things up by using different cookies like Chips Ahoy or Peanut Butter Oreos for a fun twist.
- Nutty Crunch: Add chopped walnuts or pecans for a delightful crunch and a touch of richness.
- Fruit Layer: Incorporate fresh berries or banana slices between the layers for a fruity surprise.
- Spicy Kick: Mix in a dash of cinnamon or cayenne pepper for a hint of warmth that surprises the palate.
- Dairy-Free Delight: Use coconut milk and a plant-based whipped topping for a completely dairy-free option.
- Gourmet Touch: Drizzle caramel or chocolate sauce just before serving for a decadent finish that adds flavor and flair.
With these variations, you can create an array of yummy experiences to delight your family and friends. For more ideas, check out our cozy Eggnog Pancakes Cozy or indulge in a slice of Heavenly Coconut Cream Cake. Enjoy every twist!
What to Serve with Oreo Dump Cake
There’s nothing quite like a warm dessert that makes the heart sing and the taste buds dance.
-
Vanilla Ice Cream: A scoop of creamy vanilla ice cream perfectly balances the cake’s richness, adding a refreshing cold twist.
-
Chocolate Syrup Drizzle: Rich and indulgent, a drizzle of chocolate syrup enhances the cake’s decadence and adds visual appeal.
-
Fresh Berries: Juicy strawberries or raspberries provide a delightful contrast with their tartness, cutting through the sweetness beautifully.
-
Whipped Cream Topping: Extra whipped cream adds another layer of creamy goodness and elevates the presentation, making each serving irresistible.
-
Milk or Chocolate Milk: A glass of cold milk complements the chocolate flavors wonderfully, evoking classic dessert nostalgia with every sip.
-
Coffee: The rich, bold flavors of coffee serve as a perfectly warming companion, making this dessert ideal for evening gatherings.
-
Sea Salt Sprinkles: A few flakes of sea salt on top create a perfect sweet-salty combination, heightening the chocolate experience.
Let your creativity flow as you choose the ideal accompaniments to elevate your Oreo Dump Cake and make every bite a delightful experience!
Oreo Dump Cake Recipe FAQs
What type of Oreos should I use?
Absolutely! For this Oreo Dump Cake, feel free to use regular Oreos or any chocolate sandwich cookie you prefer. You can even experiment with different flavors like mint or peanut butter Oreos for a tasty twist!
How should I store leftover Oreo Dump Cake?
To keep your Oreo Dump Cake fresh, store any leftovers in an airtight container in the fridge for up to 4 days. This preserves its moist texture and delicious flavors, making it easy to enjoy a slice whenever your sweet tooth strikes!
Can I freeze Oreo Dump Cake?
Very! If you want to freeze your Oreo Dump Cake, slice it into individual portions and wrap each slice tightly in plastic wrap, then place them in a freezer-safe bag or container. It can be frozen for up to 2 months. When you’re ready to enjoy, thaw the slices in the fridge overnight and reheat in the microwave for about 15-30 seconds.
What if my pudding layer is too thick?
If you find the pudding layer is too thick or lumpy, it’s likely because it was overmixed. I recommend whisking just until it reaches that creamy consistency you’re after—about 2 minutes. If it’s too late and already thickened too much, you can incorporate a splash of milk to loosen it up before pouring it over the Oreos.
Are there any dietary considerations I should know about?
Absolutely! For a vegan option, replace the milk with non-dairy milk and use a dairy-free whipped topping. If you have gluten sensitivities, opt for a gluten-free chocolate cake mix to ensure everyone can indulge safely. And of course, be cautious when serving any baked goods to pets or individuals with specific allergies.
Can I use a different cake mix flavor?
Definitely! While the chocolate cake mix beautifully complements the Oreos, you can easily swap it for a vanilla cake mix for a lighter flavor or even a funfetti mix for an extra burst of sweetness and color. The more the merrier when it comes to experimenting with flavors!
Delicious Oreo Dump Cake Recipe – Just 5 Ingredients
Ingredients
Equipment
Method
- Preheat your oven to 350°F (175°C) and lightly grease a 9x13-inch baking dish.
- Chop the Oreo cookies into rough pieces and scatter evenly in the bottom of the prepared baking dish.
- In a mixing bowl, whisk together the instant chocolate pudding mix and cold milk for about 2 minutes until thick.
- Pour the pudding layer evenly over the crumbled Oreos in the baking dish.
- Sprinkle the dry chocolate cake mix over the pudding layer and drizzle with melted butter.
- Bake for approximately 35 minutes until the top is set and slightly crisp.
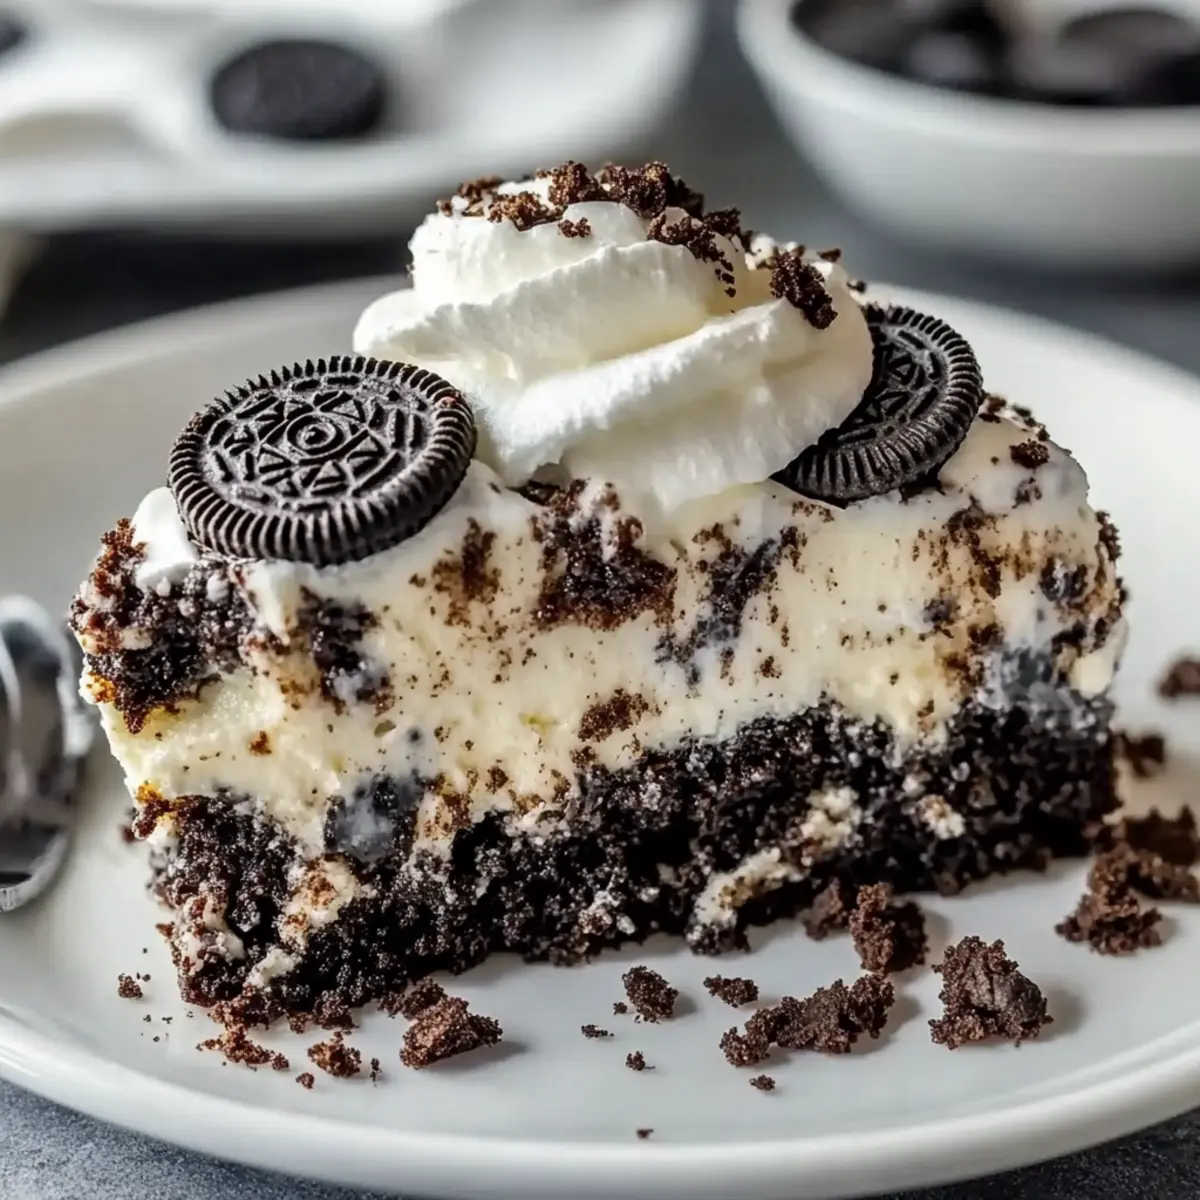
- Allow to cool for 10 minutes, then spread whipped topping over the top and add mini chocolate chips and crushed Oreos if desired.
- Serve warm or at room temperature, paired with ice cream if desired.
Leave a Reply