As I rummaged through my pantry on a lazy Sunday, I stumbled upon three humble ingredients that promised a delightful treat. These 3-Ingredient No-Bake Chocolate Oat Cookies have become my go-to solution for when that sweet craving strikes but time is short. Whipping them up takes mere minutes, and they deliver the satisfying chewiness and rich flavor that can turn any day around. Plus, being gluten-free means everyone can enjoy this wholesome snack, whether you’re serving them at a gathering or just for yourself during a Netflix binge. Curious how these simple ingredients come together to create such deliciousness? Let’s dive in!

Why are these cookies so irresistible?
Simplicity at its Core: With only three ingredients, you’ll be amazed at how easy it is to make these delightful treats.
Chewy, Chocolatey Goodness: The combination of oats and nut butter creates a texture that’s both satisfying and indulgent—they’re the perfect solution for your sweet cravings!
Gluten-Free Treat: These cookies cater to various dietary needs, ensuring everyone can enjoy them, whether you’re hosting a gathering or treating yourself.
Customizable Flavors: Feel free to get creative! Add in chocolate chips, seeds, or dried fruits for added flavor that can suit any mood.
Quick Preparation: Whip these up in minutes, making them a fantastic choice for busy days when you crave a homemade snack without the hassle.
Enjoy them as a delightful post-workout pick-me-up or pair with your favorite drink after a long day!
3-Ingredient No-Bake Chocolate Oat Cookies
For the Base
• Oats – Rolled oats are the star here, providing the essential chewy texture that forms the backbone of these cookies.
• Nut Butter – Choose a creamy nut butter like peanut or almond—it adds richness and acts as the binding agent.
• Honey (or Maple Syrup) – This ingredient sweetens your cookies and ensures everything sticks together well; for vegan options, go with maple syrup.
For Mix-Ins
• Chocolate Chips – Add your favorite type for an extra chocolaty kick, making your cookies even more indulgent.
• Seeds – Incorporate sunflower or chia seeds for a boost in nutrition and delightful crunch.
• Dried Fruits – Chopped dates or cranberries infuse a burst of natural sweetness and chewiness; feel free to mix and match!
Now that you have your ingredients ready, get excited! These 3-Ingredient No-Bake Chocolate Oat Cookies are a breeze to whip up and perfect for satisfying your cravings.
Step‑by‑Step Instructions for 3-Ingredient No-Bake Chocolate Oat Cookies
Step 1: Mix the Base
In a large mixing bowl, combine 1 cup of rolled oats and 1/2 cup of your favorite nut butter, like peanut or almond butter. Stir well until the oats are completely coated and the mixture becomes thick and sticky, usually about 2-3 minutes. This forms the base of your delightful 3-Ingredient No-Bake Chocolate Oat Cookies.
Step 2: Add Sweetness
Gradually pour in 1/4 cup of honey or maple syrup while continuing to mix. Stir until everything is evenly incorporated, and the mixture feels sticky enough to hold together when pressed. This step is crucial for ensuring your cookies are sweet and moldable, typically taking another 2-3 minutes for the perfect consistency.
Step 3: Shape the Cookies
Using a cookie scoop or your hands, portion out the mixture and shape it into cookies on a lined baking sheet. Aim for about 1-inch rounds, pressing them gently down to flatten slightly. This shaping process allows each cookie to hold its form while setting, requiring about 10-15 minutes of shaping time, depending on how many you’re making.
Step 4: Chill to Set
Refrigerate the cookies for at least 30 minutes to allow them to firm up. This chilling time helps the nut butter and sweetener bind the cookies together, creating a soft, chewy texture. Keep an eye on them; when they feel firm to the touch, they’re ready to enjoy!
Step 5: Store and Serve
Once set, remove your 3-Ingredient No-Bake Chocolate Oat Cookies from the fridge. Store any leftovers in an airtight container in the refrigerator, where they’ll stay fresh for up to a week. Whether you munch on them as a sweet snack, a post-workout boost, or alongside your favorite beverage, these cookies are sure to delight!
3-Ingredient No-Bake Chocolate Oat Cookies Variations
Feel free to let your imagination run wild as you customize these delightful cookies to suit your taste buds!
-
Nut Butter Swap: Use almond or cashew butter for a unique twist that brings fresh flavors to the mix.
A change in nut butters can effortlessly alter the texture and notes of your cookies, introducing a new experience with each batch! -
Add Sweetness: Try maple syrup instead of honey for a vegan-friendly version that adds a rich, earthy flavor.
The subtle difference in sweetness can complement the chocolatey notes, making these cookies even more tempting! -
Flavor Boost: Stir in a teaspoon of vanilla extract for an aromatic enhancement that makes these cookies irresistible.
This small addition can elevate the taste profile, making your no-bake cookies feel like a gourmet treat. -
Chunky Chocolate: Incorporate chocolate chips or chunks for an extra hit of indulgence in every bite.
There’s nothing quite like the experience of biting into a gooey piece of chocolate, amplifying your cookie enjoyment. -
Nutty Crunch: Add chopped nuts like walnuts or pecans for added texture and a delightful crunch.
This variation not only provides a richer taste but also contributes healthy fats that enhance the nutritional value. -
Fruity Boost: Toss in dried fruits like cranberries or raisins for a pop of natural sweetness and chewy texture.
Adding fruits can create a beautiful balance between sweetness and health, making every bite a bit more exciting. -
Cocoa Flare: Mix in unsweetened cocoa powder for a chocolate-lover’s dream, amplifying that rich, decadent flavor.
This twist can turn your cookies into a double-chocolate delight, perfect for those extra chocolatey cravings. -
Coconut Surprise: Sprinkle in shredded coconut for a tropical touch that adds a chewy texture and delightful flavor.
The coconut will mingle beautifully with the chocolate and oats, giving your cookies an unexpected and tasty flair.
Whether you’re in the mood for a classic option or want to try something new, these variations keep your no-bake cookie experience fresh and delicious. For other simple yet delicious recipes, check out my One Pot Autumn Gnocchi or Comforting Potato Sausage Soup for a cozy night in!
Make Ahead Options
These 3-Ingredient No-Bake Chocolate Oat Cookies are perfect for meal prep! You can prepare the cookie mixture up to 24 hours in advance by mixing the oats, nut butter, and honey or maple syrup, then covering it tightly in the fridge. This ensures the flavors meld beautifully while keeping the mixture fresh. When ready to serve, simply scoop the mixture, shape the cookies, and chill them in the fridge for at least 30 minutes to set. To maintain their delightful chewiness, store any leftover cookies in an airtight container in the refrigerator, where they will stay fresh for up to a week. Enjoy the convenience of homemade treats that save you time during those busy days!
What to Serve with 3-Ingredient No-Bake Chocolate Oat Cookies
Looking to create a delightful spread that perfectly complements these chewy chocolate treats?
- Creamy Milk: The classic pairing for any cookie, milk provides a rich, soothing contrast that enhances the chocolate flavor.
- Fresh Berries: Add a burst of freshness; their tartness balances the sweetness of the cookies for a refreshing bite.
- Nutty Granola: A sprinkle on top adds crunch and additional chewiness, making for a deliciously textured treat.
- Yogurt Parfait: Layer these cookies with yogurt and granola for a playful dessert that’ll satisfy any sweet tooth.
- Dark Chocolate Drizzle: A silky drizzle elevates the cookies, adding a touch of indulgence to your sweet snack.
- Homemade Fruit Smoothie: Blend fruits with yogurt and a splash of honey for a refreshing drink that complements the sweetness of the cookies.
These pairings create a delightful ensemble that transforms your simple no-bake cookies into an unforgettable experience!
How to Store and Freeze 3-Ingredient No-Bake Chocolate Oat Cookies
Room Temperature: Store your cookies in an airtight container at room temperature for up to 3 days. However, for extended freshness, refrigeration is recommended.
Fridge: These cookies can be kept in the refrigerator for up to a week. Make sure they’re in an airtight container to prevent drying out and to maintain their chewy texture.
Freezer: For long-term storage, freeze the cookies individually wrapped in plastic wrap, then place them in a freezer-safe bag. They can last for up to 2 months.
Reheating: When ready to enjoy, thaw cookies in the refrigerator overnight, or let them sit at room temperature for about 30 minutes before indulging in your delicious 3-Ingredient No-Bake Chocolate Oat Cookies.
Expert Tips for 3-Ingredient No-Bake Chocolate Oat Cookies
Nut Butter Matters: Ensure to use a well-mixed nut butter to prevent separation, which could affect your cookie’s structure.
Sticky Consistency: Aim for a sticky mixture when combining oats and sweetener. If it’s too dry, add a touch more honey or syrup.
Chill Time: Don’t skip the refrigeration step! This is critical for achieving that desirable chewy texture and helping the cookies hold their shape.
Customize Smartly: Feel free to mix in extras like chocolate chips or dried fruits, but keep the overall balance of the main ingredients in mind for the best flavor and texture.
Uniform Size: Use a cookie scoop for evenly sized cookies, ensuring they chill and set uniformly for the perfect bite every time!
Storage Tip: Keep your cookies in an airtight container in the refrigerator to maintain freshness. They’ll stay delicious for up to a week!

3-Ingredient No-Bake Chocolate Oat Cookies Recipe FAQs
What type of oats should I use for the cookies?
For the best results, I recommend using rolled oats as they provide the perfect chewy texture. Instant oats can also work in a pinch, but you may lose some of that delightful chewiness.
How long can I store the cookies, and how should I do it?
You can store your cookies in an airtight container in the refrigerator for up to a week. For longer storage, I suggest freezing them. Make sure to wrap them individually in plastic wrap and then place them in a freezer-safe bag. When stored this way, they can last for up to 3 months!
Can I add extra ingredients to the cookie mixture?
Absolutely! Feel free to mix in extras like chocolate chips, nuts, seeds, or dried fruits. Just keep in mind to maintain the balance of the main ingredients. A good rule of thumb is to limit add-ins to about 1/4 to 1/2 cup total to ensure the cookies hold their shape well.
What should I do if my mixture feels too dry?
If your cookie mixture seems dry and crumbly, just add a little more honey or maple syrup, about a tablespoon at a time, until you reach the desired sticky consistency. It should feel moldable, so don’t hesitate to adjust it to get that perfect texture!
Are these cookies safe for those with nut allergies?
While these cookies are delicious, they do contain nut butter, which can be a concern for those with nut allergies. If you’re looking for an alternative, try using sunbutter (sunflower seed butter) or a seed butter in place of nut butter—just be careful to ensure all your other ingredients are also allergy-friendly.
How can I ensure my cookies set properly?
Make sure to refrigerate your cookies for at least 30 minutes once shaped; this step is crucial for ensuring they firm up. If after chilling they’re still too soft, you can try returning them to the refrigerator for a bit longer. This helps the nut butter bind and gives you that perfect chewy texture everyone loves!

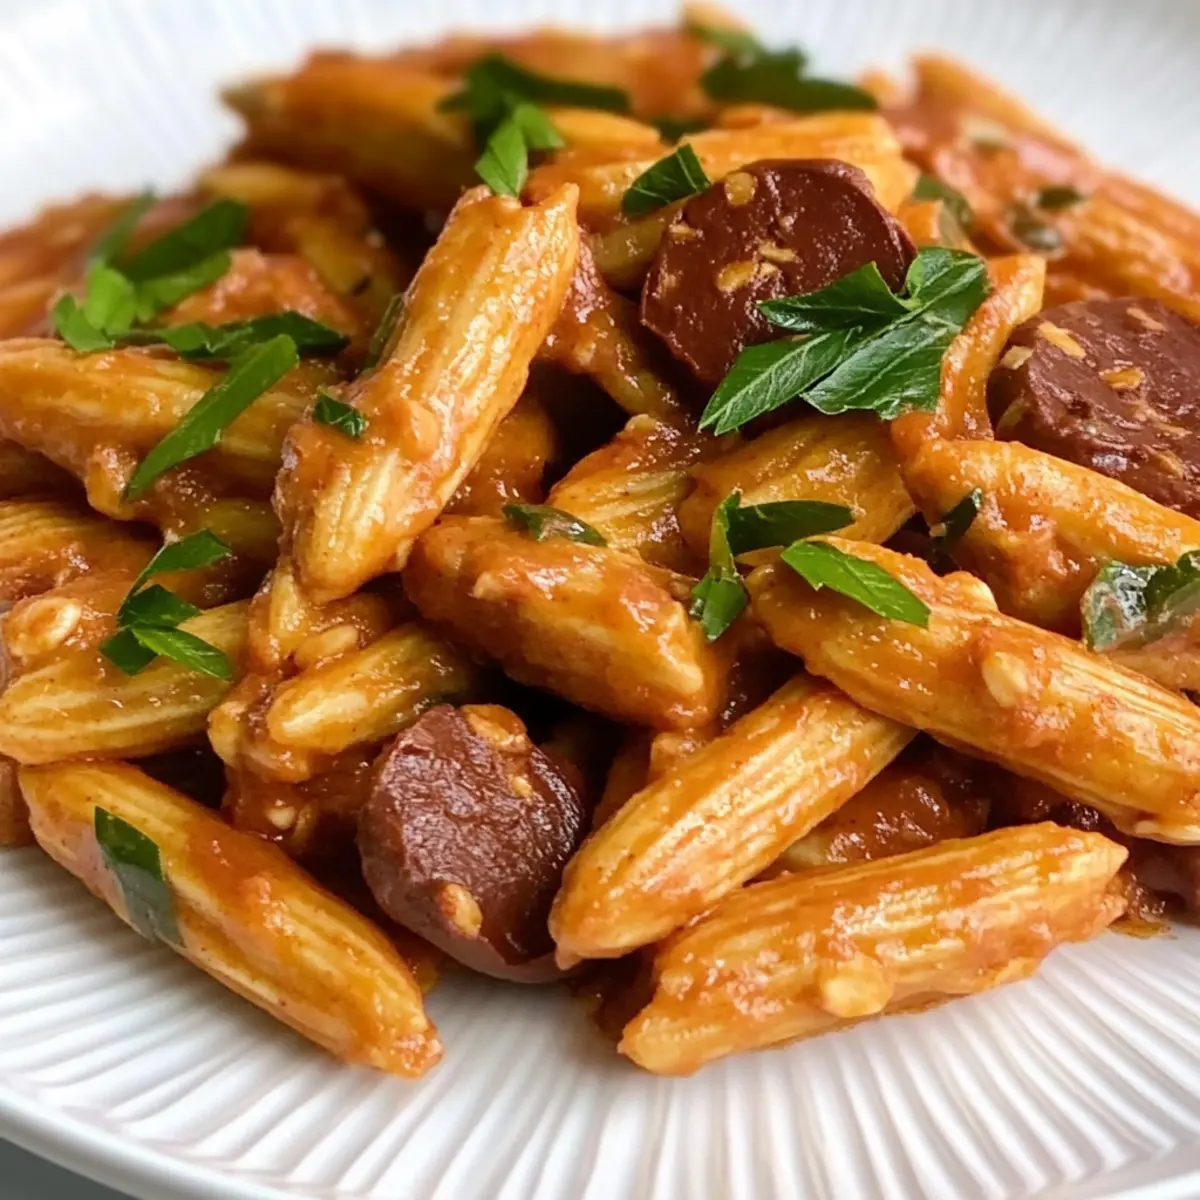
One Pot Creamy Cajun Sausage Pasta in Just 30 Minutes
Ingredients
Equipment
Method
- In a large mixing bowl, combine 1 cup of rolled oats and 1/2 cup of nut butter. Stir until thick and sticky.
- Gradually pour in 1/4 cup of honey or maple syrup, mixing until evenly incorporated.
- Shape the mixture into 1-inch rounds on a lined baking sheet and press gently to flatten.
- Refrigerate for at least 30 minutes to firm up the cookies.
- Store in an airtight container in the fridge for up to a week.
Leave a Reply