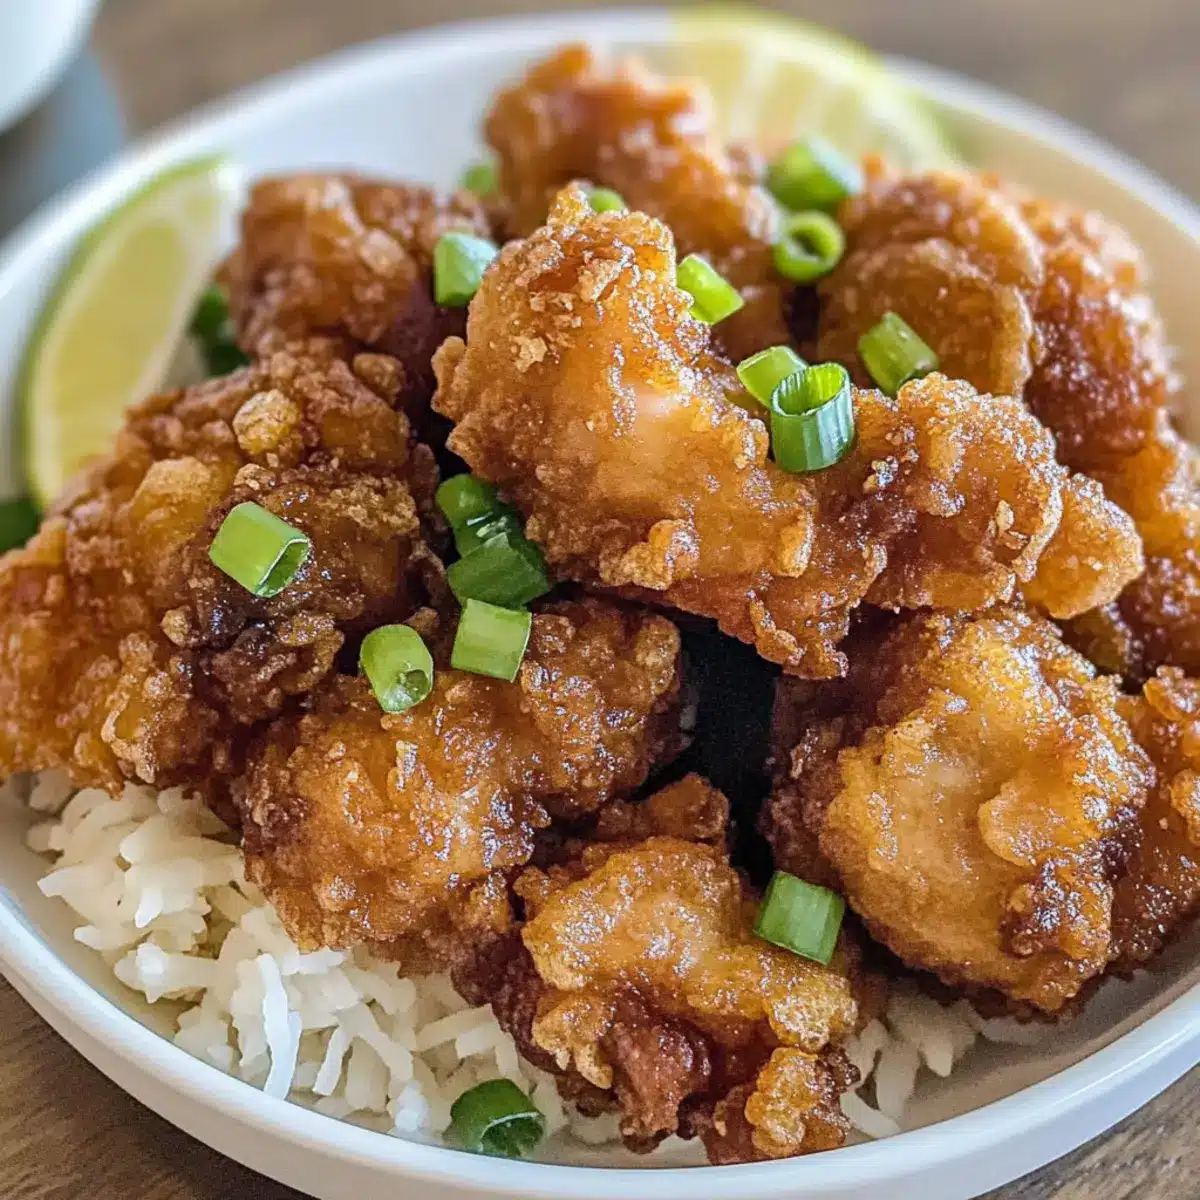
As I stood in my kitchen surrounded by fragrant garlic and ginger, I realized this was more than just cooking; it was an adventure. Enter Hawaiian Garlic Fried Chicken, a surprisingly delightful twist on a classic that’s destined to steal the show at your next meal. This dish boasts a crispy, golden exterior that gives way to tender, juicy chicken inside, all while infusing the charming flavors of Hawaii into each bite. The best part? It’s quick to prepare and perfect for gatherings, making it a go-to option for busy weeknights or festive occasions alike. Trust me, you’ll find yourself craving this savory-sweet combination again and again. Ready to elevate your dinner game? Let’s dive into this irresistible recipe!
Why is This Chicken Extra Special?
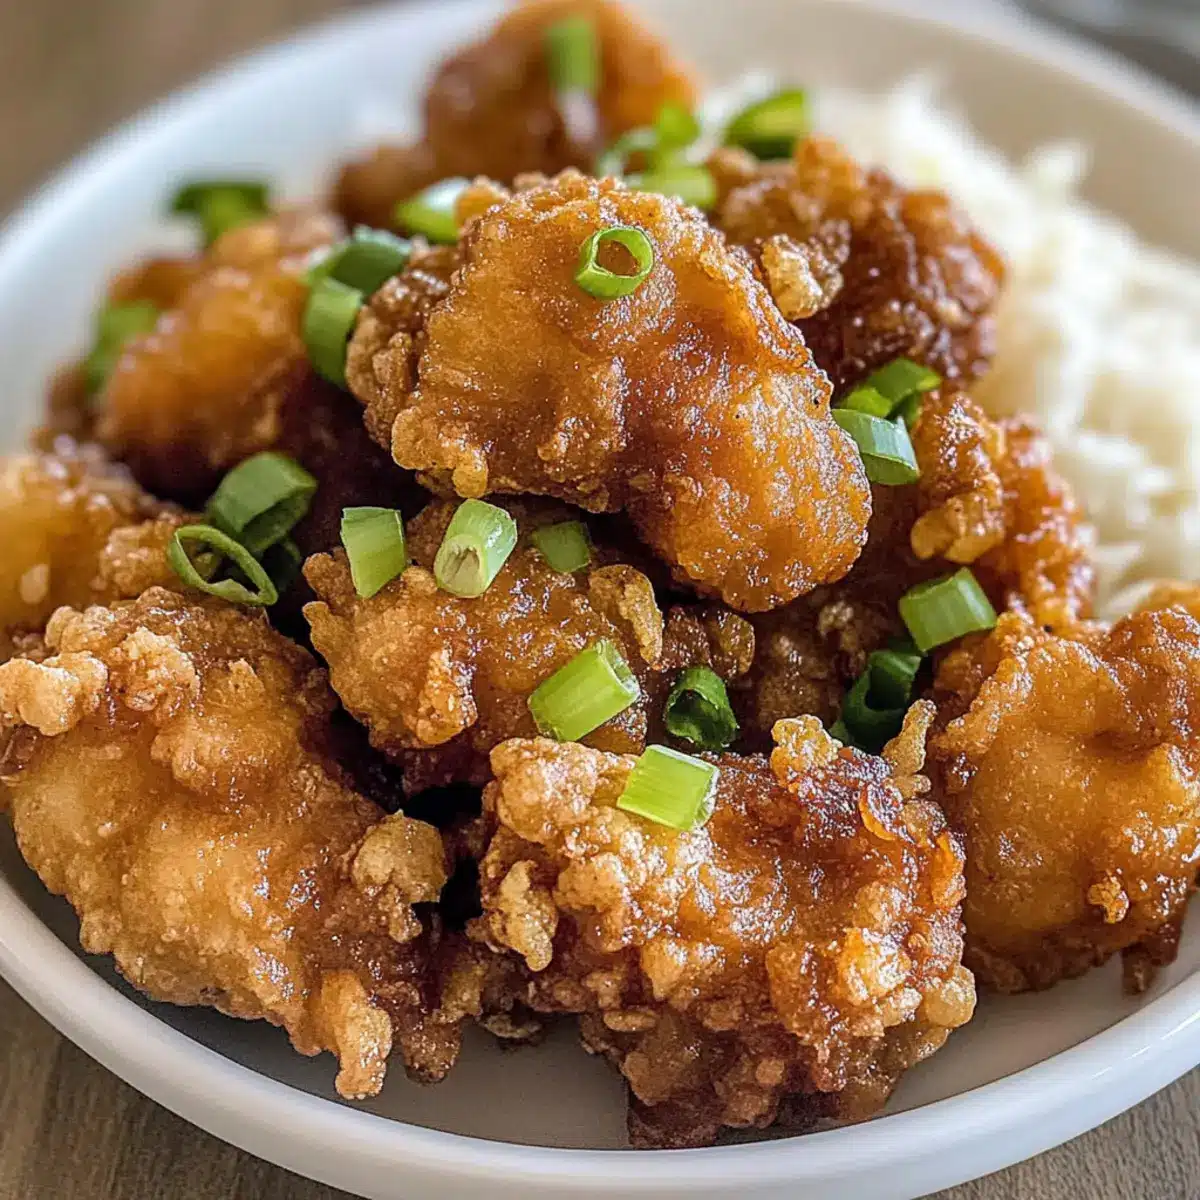
Crispy Perfection: The harmonious blend of cornstarch and controlled frying creates a wonderfully crispy coating that’s hard to resist.
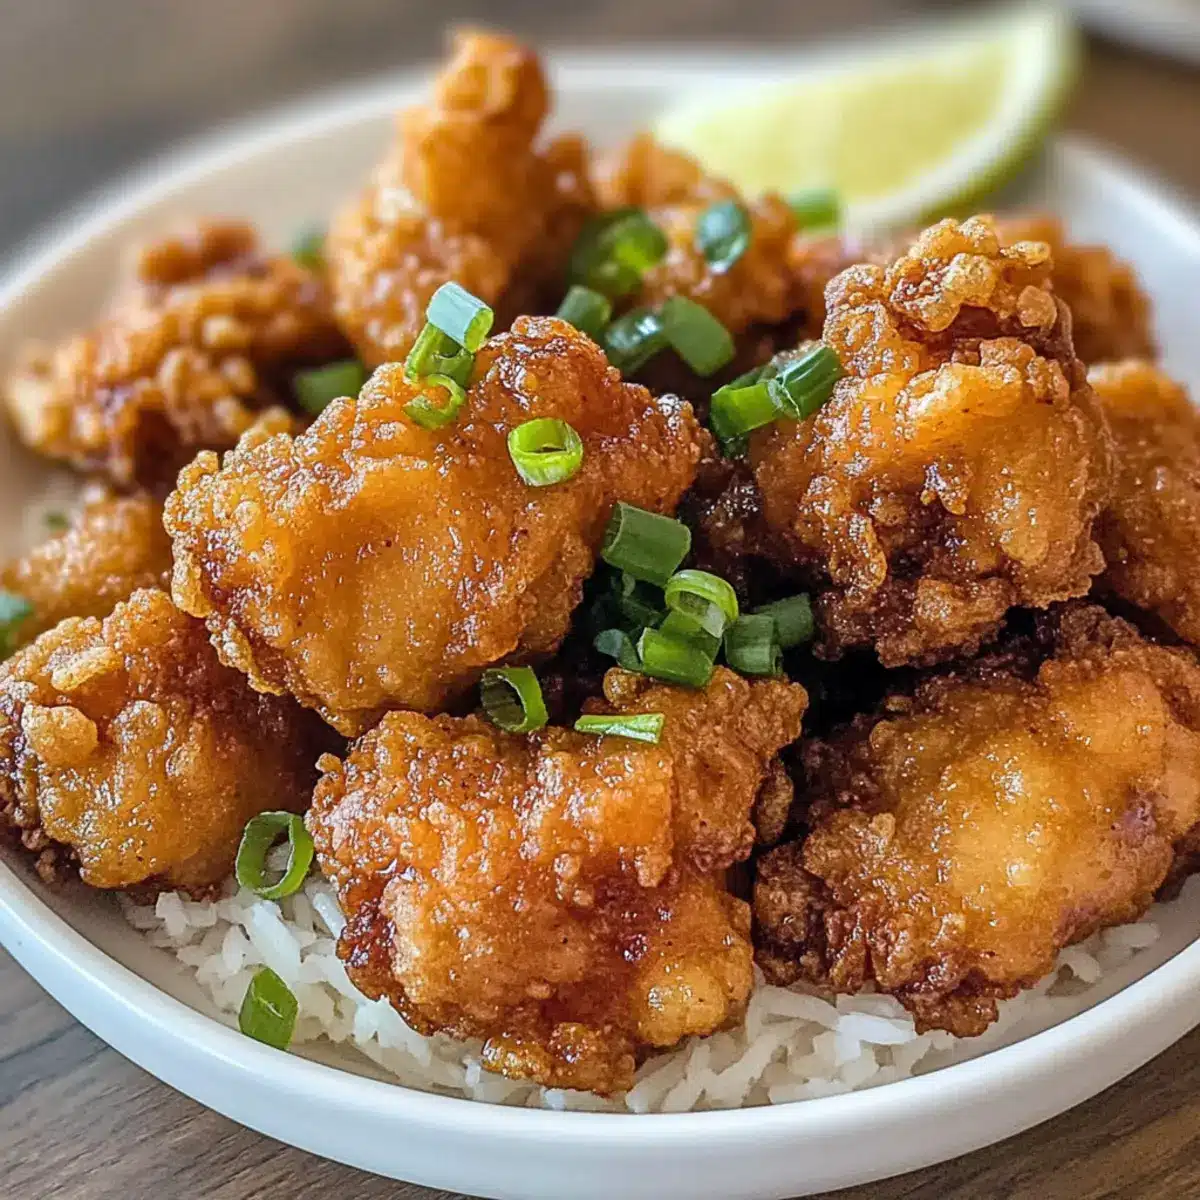
Savory-Sweet Harmony: Infused with garlic, ginger, and a hint of brown sugar, every bite is a delightful balance of flavors that keeps you coming back for more.
Quick & Easy: With simple ingredients and straightforward techniques, you’ll whip this dish up in no time, making it perfect for busy nights when you want something special.
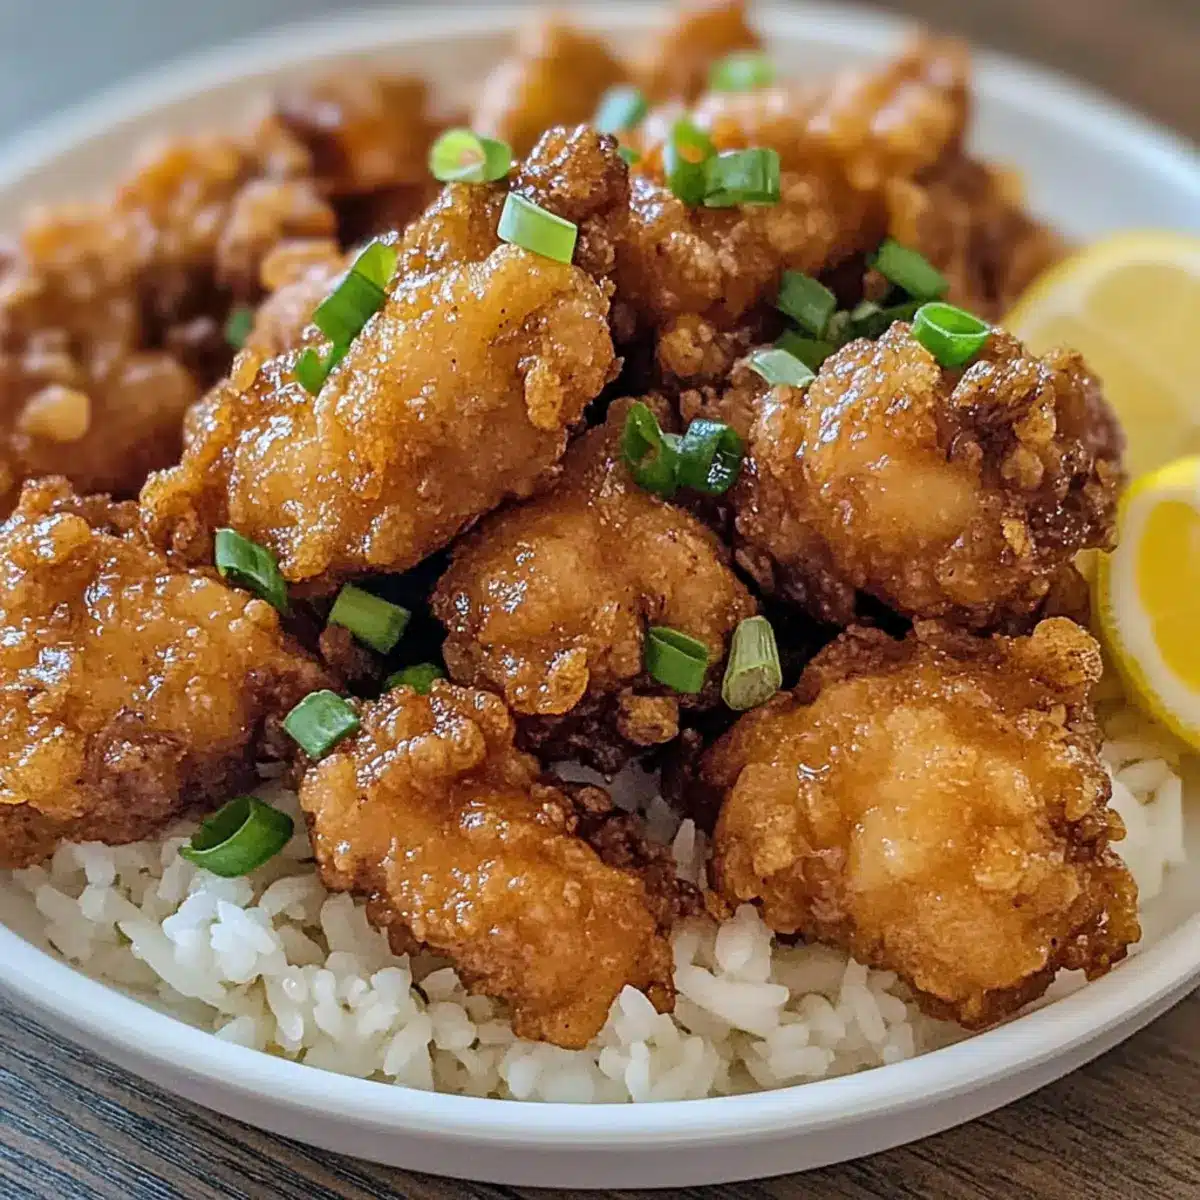
Versatile Serving Options: Pair it with steamed rice, zesty pineapple salsa, or even a fresh salad for a complete meal that caters to everyone’s tastes.
Crowd-Pleasing Flavor: Whether it’s a family dinner or a gathering with friends, this Hawaiian Garlic Fried Chicken will be the star of the show, much like my Honey Garlic Chicken or Slow Cooker Chicken.
Leftover Magic: This dish tastes just as amazing reheated, so don’t hesitate to save some for tomorrow’s lunch! Enjoy it with a side of your favorite dipping sauce, and you’ll have an encore performance ready in minutes.
Hawaiian Garlic Fried Chicken Ingredients
Discover the delightful components of this crispy dish!
For the Marinade
- Chicken (bone-in pieces) – Use thighs or drumsticks for juicy and flavorful pieces.
- Garlic – Fresh garlic is key for the robust flavor; don’t skimp on it!
- Ginger – Fresh, grated ginger adds a sweet depth; it pairs beautifully with the garlic.
- Soy Sauce – A splash of soy sauce delivers the necessary umami; low-sodium is a lighter option.
- Brown Sugar – Adds sweetness and helps in achieving a crispy finish; try honey as a substitute for a twist.
- Salt and Pepper – Use to taste; adjust based on your preference for seasoning.
For the Coating
- Cornstarch or Flour – Coats the chicken to achieve that coveted crunch when fried; be sure to cover each piece evenly.
For Frying
- Oil (for frying) – Opt for oils like vegetable or canola, which have a high smoke point, ensuring even cooking.
Make your own Hawaiian Garlic Fried Chicken that everyone will adore!
Step‑by‑Step Instructions for Hawaiian Garlic Fried Chicken
Step 1: Marinate the Chicken
In a mixing bowl, combine minced garlic, grated ginger, soy sauce, brown sugar, salt, and pepper. Whisk these ingredients until smooth, then add your bone-in chicken pieces. Ensure each piece is fully coated in the marinade. Cover with plastic wrap and let the chicken marinate for at least 30 minutes, allowing those lovely Hawaiian flavors to penetrate deeply.
Step 2: Prepare Coating
While the chicken is marinating, spread a generous layer of cornstarch or flour on a large plate. This will be your coating station for the Hawaiian Garlic Fried Chicken. Make sure you have enough room to work, as a good coating will help achieve that crispy texture you’re after once the chicken hits the hot oil.
Step 3: Coat Chicken
After marinating, take each piece of chicken from the bowl, letting any excess marinade drip off. Place it on the plate with cornstarch or flour, and sprinkle more over the top. Gently press it down to ensure every bit is coated. This even layer ensures a delightful crunch when frying, making your Hawaiian Garlic Fried Chicken irresistible.
Step 4: Heat Oil
In a large skillet, pour enough oil to cover the bottom in a layer about 1/2 inch deep. Heat the oil over medium-high until shimmering, roughly 350°F (175°C). You can test the oil by dropping a small piece of coating into it—if it sizzles immediately, you’re ready to fry your chicken and onset the delightful aromas of culinary magic!
Step 5: Fry Chicken
Carefully add the coated chicken pieces to the skillet, avoiding overcrowding for optimal frying results. Cook for about 5-7 minutes on each side or until the chicken is golden brown and crispy. Use a pair of tongs to flip the chicken halfway through to ensure even cooking and a uniform crispy crust.
Step 6: Drain and Serve
Once your beautiful Hawaiian Garlic Fried Chicken is cooked, transfer it to a plate lined with paper towels. This will absorb excess oil, keeping your chicken crispy. Allow it to rest for a few minutes before serving, which helps to retain all that juicy goodness inside. Now you’re ready to enjoy this tasty dish with your favorite sides!
Hawaiian Garlic Fried Chicken Variations
Feel free to get creative and make this recipe your own with a few simple twists!
-
Green Onion Garnish: Add some chopped green onions as a fresh garnish for a burst of color and flavor. They add a nice crunch too!
-
Firm Tofu Substitute: For a delightful vegetarian option, swap in firm tofu for the chicken. Just marinate and fry it the same way for delicious results.
-
Spicy Kick: Add chili flakes to the marinade for a spicy variation that pairs beautifully with the savory sweetness. Or try serving with a spicy dipping sauce!
-
Honey Instead of Brown Sugar: Use honey instead of brown sugar in the marinade for a different sweet touch that enhances the caramelization during frying.
-
Coconut Milk Marinade: For a taste of the tropics, marinate the chicken in coconut milk before adding garlic and ginger. This makes the chicken incredibly juicy!
-
Panko Breadcrumb Coating: Swap cornstarch for panko breadcrumbs for an even crunchier texture. It’s perfect if you love a hearty crunch on your fried chicken!
-
Ginger-Lime Twist: Add zest and juice of lime in the marinade for a zesty kick that complements the ginger superbly.
-
Herb Infusion: Toss in some fresh herbs like basil or cilantro for an additional layer of flavor that brightens the dish.
With these variations, you’ll find endless ways to enjoy your Crack Chicken Tenders or experiment with a touch of dynamism like in my Moo Shu Chicken Stir Fry.
Storage Tips for Hawaiian Garlic Fried Chicken
Fridge: Store leftovers in an airtight container in the refrigerator for up to 3 days to maintain freshness and flavor.
Freezer: For longer storage, place cooled chicken in a single layer on a baking sheet, freeze until solid, then transfer to a freezer bag for up to 2 months.
Reheating: To enjoy crispy texture again, reheat in the oven at 375°F (190°C) for about 10-15 minutes, making sure to place it on a wire rack over a baking sheet to prevent sogginess.
Room Temperature: Avoid leaving Hawaiian Garlic Fried Chicken out for more than 2 hours to ensure food safety and quality.
What to Serve with Hawaiian Garlic Fried Chicken
There’s nothing quite like a deliciously crispy chicken dish to inspire a full, mouthwatering meal experience.
-
Steamed Rice: A fluffy bed of rice absorbs the savory juices, making every bite of chicken more delightful.
-
Pineapple Salsa: Fresh, tangy salsa with diced pineapple brings a zesty punch that perfectly complements the savory-sweet chicken. Each bite is a burst of summer.
-
Asian Slaw: Crunchy, colorful slaw with sesame dressing adds a refreshing crunch and a pop of colors to your plate. The textures contrast beautifully with the crispy chicken.
-
Garlic Green Beans: Sautéed green beans tossed with garlic provide a vibrant, nutty flavor that balances the richer chicken.
-
Cucumber Kimchi: Spicy, tangy kimchi refreshes the palate and pairs wonderfully with the garlic notes in the chicken.
-
Mango Smoothie: A creamy, tropical smoothie smoothens your meal perfectly, adding extra sweetness and a refreshing twist after each savory bite.
These sides not only elevate your Hawaiian Garlic Fried Chicken but also create a dynamic, harmonious meal experience perfect for sharing with loved ones.
Make Ahead Options
Preparing Hawaiian Garlic Fried Chicken ahead of time is a fantastic way to save precious moments during busy weeknights! You can marinate the chicken pieces up to 24 hours in advance, which allows the flavors to deepen beautifully. Simply combine the garlic, ginger, soy sauce, brown sugar, salt, and pepper, and let the chicken soak in this savory mixture in the refrigerator. Additionally, you can coat the chicken in cornstarch or flour a few hours ahead of frying. When you’re ready to serve, just heat the oil and fry the chicken as instructed; it will turn out just as crispy and flavorful as if you made it fresh. This makes meal prep a breeze while still delivering that delicious Hawaiian Garlic Fried Chicken your family loves!
Expert Tips for Hawaiian Garlic Fried Chicken
Proper Oil Temperature: Ensure the oil is at the right temperature before frying; too cool and the chicken will be greasy, too hot and it will burn.
Even Coating: Make sure to coat each piece of chicken evenly with cornstarch or flour, as uneven coating can lead to soggy spots instead of the desired crunch.
Don’t Overcrowd: Fry in batches if needed; overcrowding the skillet can lower the oil temperature and lead to inconsistent cooking of your Hawaiian Garlic Fried Chicken.
Rest After Frying: Allow the fried chicken to rest on a paper towel-lined plate after cooking; this helps maintain its crispy texture and prevents it from becoming soggy.
Adjust Seasoning: Feel free to tweak the seasoning to your taste; always start with a little salt and pepper and adjust as needed for your perfect flavor.
Hawaiian Garlic Fried Chicken Recipe FAQs
What type of chicken is best for Hawaiian Garlic Fried Chicken?
Using bone-in chicken pieces, such as thighs or drumsticks, is ideal for this recipe. These cuts are juicier and more flavorful, ensuring that your Hawaiian Garlic Fried Chicken remains tender and delicious throughout cooking.
How should I store leftover Hawaiian Garlic Fried Chicken?
Keep your leftovers in an airtight container and store them in the refrigerator for up to 3 days. Be sure to let the chicken cool completely before sealing it up; this helps maintain its flavor and texture. When you’re ready to enjoy it again, simply reheat in the oven to keep the crispy exterior intact!
Can I freeze Hawaiian Garlic Fried Chicken?
Absolutely! To freeze, lay the cooled chicken in a single layer on a baking sheet and freeze until solid, about 1-2 hours. Afterward, transfer the chicken to a freezer bag, removing as much air as possible, and store for up to 3 months. When ready to eat, reheat directly from frozen in the oven at 375°F (190°C) until hot, which typically takes about 20-25 minutes.
What should I do if my chicken isn’t crispy?
If you find your chicken is not achieving that perfect crispy texture, it may be due to a couple of factors. Ensure the oil is hot enough (around 350°F or 175°C) before frying and avoid overcrowding the pan, as this can lower the oil temperature. Lastly, make sure all parts of the chicken are evenly coated in cornstarch or flour before frying to encourage a crunchy crust.
Are there any dietary considerations for this recipe?
Yes! If you’re preparing Hawaiian Garlic Fried Chicken for guests with dietary restrictions, be mindful of the soy sauce as it contains gluten. You can substitute with a gluten-free soy sauce or coconut aminos. Also, if you need to cater for those who are allergic to garlic or ginger, consider using herbs like rosemary or thyme for flavor instead.
Crispy Hawaiian Garlic Fried Chicken for Flavorful Nights
Ingredients
Equipment
Method
- In a mixing bowl, combine minced garlic, grated ginger, soy sauce, brown sugar, salt, and pepper. Whisk until smooth, then add chicken pieces to coat. Cover and marinate for at least 30 minutes.
- Spread a generous layer of cornstarch or flour on a large plate for coating.
- Remove marinated chicken, letting excess marinade drip off. Place on the plate and ensure each piece is coated.
- Pour enough oil into a skillet to cover the bottom about 1/2 inch deep and heat over medium-high until shimmering.
- Carefully add the coated chicken pieces to the skillet and cook for about 5-7 minutes on each side until golden brown and crispy.
- Transfer cooked chicken to a paper towel-lined plate to absorb excess oil. Rest for a few minutes before serving.
Leave a Reply