The aroma of garlic and paprika wafting through the kitchen brings back memories of vibrant gatherings and laughter. My go-to recipe for baked chicken wings transforms ordinary weeknights and game days into something extraordinary—a treat the whole family can enjoy. These baked chicken wings are not just crispy; they offer a satisfying crunch paired with a savory depth that will have your taste buds dancing. What I love most is their versatility: whether you’re a spice enthusiast wanting a hint of cayenne or someone who enjoys a more mellow flavor, these wings can be crafted to please everyone at your table. Plus, they’re easy to make, freeing you from the deep-frying dilemma, and allowing for a lighter, guilt-free indulgence. Ready to impress with a dish that never fails to delight? Let’s dive into how to make these crispy baked chicken wings that are bound to become a family favorite!
Why Are Baked Chicken Wings a Must-Try?
Crispy Texture: These baked chicken wings achieve a crunch that rivals traditional fried versions, giving you all the satisfaction without the guilt.
Savory Flavor: With a tantalizing mix of garlic and paprika, every bite is a burst of flavor that enhances your dining experience.
Adaptable Spice Level: Love heat? You can easily amp up the cayenne for a fiery kick or keep it mild to satisfy the whole family.
Quick and Easy: In just about 40 minutes, you can whip up these wings, making them perfect for busy weeknights or game days when you need a crowd-pleaser.
One Pan Wonder: Minimal cleanup is required since everything cooks on a single baking sheet, leaving you more time to enjoy the delicious results.
Ideal for Sharing: Whether for a casual family dinner or a lively gathering, these wings appeal to everyone, letting you serve up joy on a platter!
Baked Chicken Wings Ingredients
• Gather everything you need for your crispy masterpiece!
For the Wings
- Chicken Wings – Ensure they are separated and tips removed for even cooking.
- Olive Oil – Aids in crisping; feel free to substitute with vegetable oil if necessary.
For the Seasoning
- Garlic Powder – Adds a savory depth; fresh garlic works but may change cooking times.
- Paprika – Infuses warmth and color; consider smoked paprika for a distinct flavor twist.
- Salt – Enhances the chicken’s natural flavors; adjust according to dietary needs.
- Black Pepper – Adds a mild heat; freshly ground is best for maximum flavor.
- Onion Powder – Contributes sweetness and depth; fresh onions can work but will need adjustments.
- Cayenne Pepper (optional) – Great way to add heat for spice lovers; omit or increase based on your preference.
Step‑by‑Step Instructions for Crispy Baked Chicken Wings with Garlic and Paprika
Step 1: Preheat the Oven
Begin by preheating your oven to 425°F (220°C). While the oven heats, line a large baking sheet with parchment paper or lightly grease it with cooking spray to prevent sticking. This setup ensures that your baked chicken wings will crisp beautifully as they cook, giving you that satisfying crunch you desire.
Step 2: Prepare the Chicken Wings
Take your chicken wings and pat them dry thoroughly with paper towels. This essential step helps remove excess moisture, contributing to a crispier skin during baking. Once dry, place the wings in a large mixing bowl to make the seasoning process easier.
Step 3: Season the Wings
In the bowl with the wings, drizzle a generous amount of olive oil, then sprinkle in garlic powder, paprika, salt, black pepper, onion powder, and cayenne pepper if desired. Toss the wings well until they are evenly coated with the delicious spices, ensuring every inch is covered in flavor before baking.
Step 4: Arrange for Baking
Carefully arrange the seasoned wings on your prepared baking sheet in a single layer. Make sure there’s enough space between each wing to allow hot air to circulate, which will help them crisp perfectly. Avoid overcrowding the tray, as this can affect the final texture of your baked chicken wings.
Step 5: Bake to Perfection
Place the baking sheet in the preheated oven and bake the chicken wings for 40 minutes. At the 20-minute mark, flip the wings using tongs to ensure even browning and crispiness. You’ll know they’re done when they’re golden brown and the skin is crispy—just what you want from your baked chicken wings!
Step 6: Serve and Enjoy
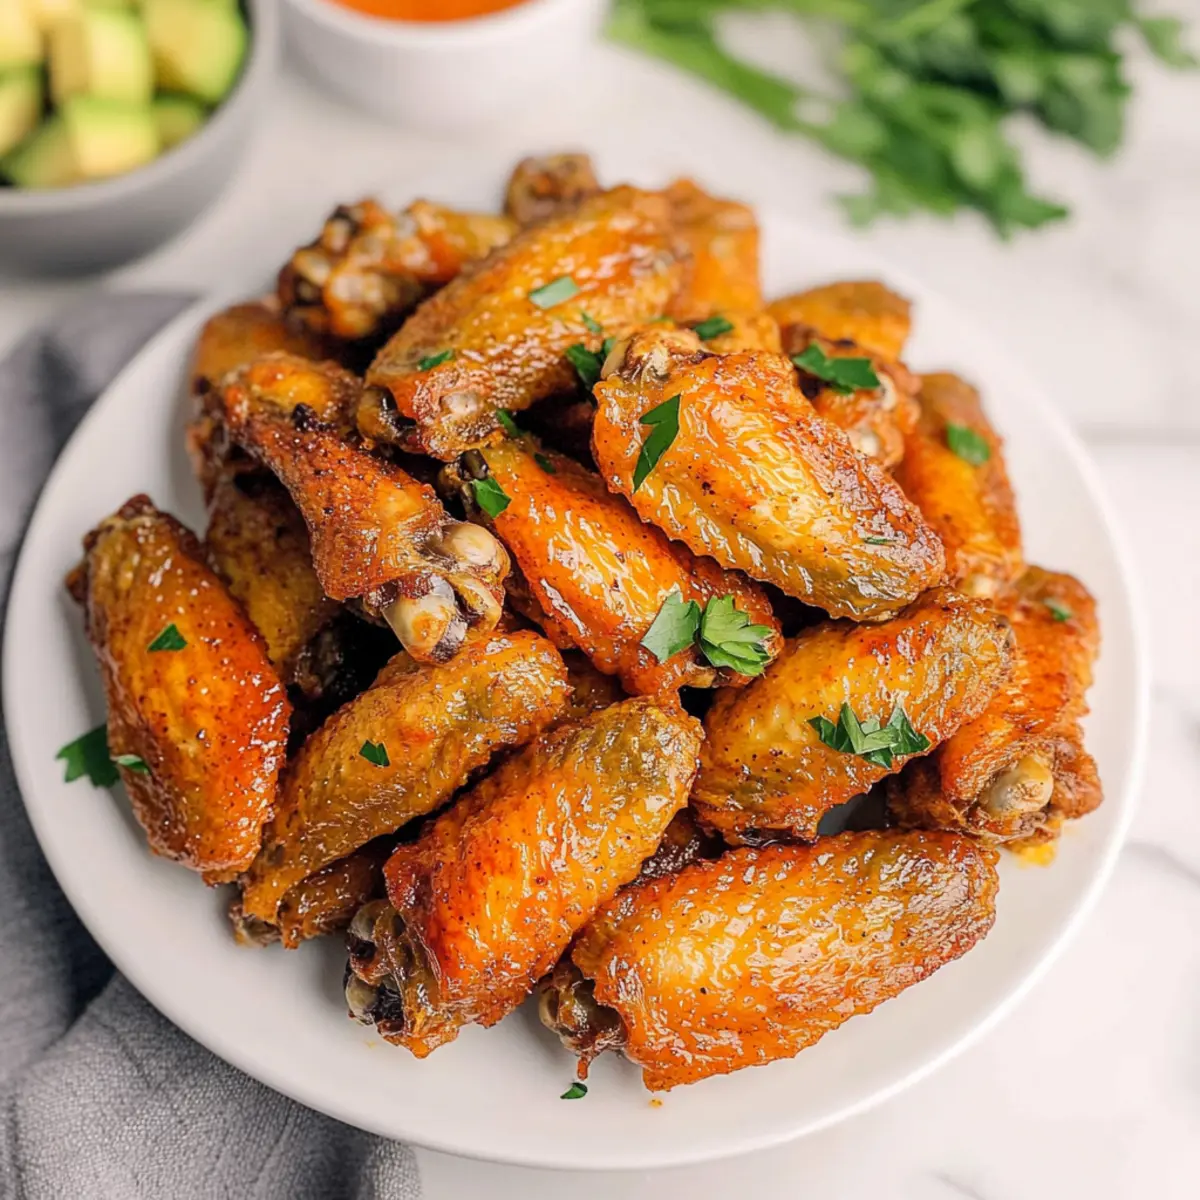
Once cooked, remove the wings from the oven and let them rest for a few minutes. Serve your crispy baked chicken wings hot, garnished with chopped parsley if desired, along with your favorite dipping sauces. These wings are bound to be a hit at any gathering!

Baked Chicken Wings Variations
Get ready to make these crispy baked chicken wings your own with fun twists and flavors!
- Spicy Kick: Add more cayenne pepper in the seasoning mix for a bolder heat that’s sure to satisfy spicy lovers.
- Smoky Flavor: Swap regular paprika for smoked paprika to infuse your wings with a rich, smoky essence that elevates the dish.
- Herb Infusion: Toss in dried herbs like oregano or thyme along with your spices for an aromatic touch that deepens the flavors.
- Honey Glaze: Drizzle a little honey over the wings during the last 10 minutes of baking to create a sweet and sticky finish. This adds a delightful contrast to the savory spices.
- Asian Twist: Marinate the wings in a mixture of soy sauce, garlic, and ginger before baking. Serve with a side of sweet chili sauce for dipping to make them finger-licking delicious.
- Garlic Lovers: For an extra garlicky punch, toss in fresh minced garlic with the wings right before baking. The aromatic flavor will be irresistible!
- Buffalo Style: After baking, toss the wings in buffalo sauce for that classic tangy and spicy flavor that pairs perfectly with celery and ranch.
- Lemon Zest Upgrade: Grate fresh lemon zest over the baked wings just before serving for a refreshing zing that brightens up the dish.
As you explore these variations, you may also enjoy trying them alongside my Baked Cream Cheese or the zesty Mexican Lime Chicken for an unforgettable feast!
Make Ahead Options
These crispy baked chicken wings are perfect for meal prep, allowing you to enjoy delicious wings on busy weeknights! You can season the wings up to 24 hours in advance; simply pat them dry and toss them with olive oil and spices, then store them in an airtight container in the refrigerator. To maintain their crispy texture, avoid stacking the wings directly on top of each other. When you’re ready to cook, just preheat your oven and bake the seasoned wings as directed, flipping halfway through. This way, you’ll have mouthwatering, easy-to-make baked chicken wings that are just as delightful as fresh!
Storage Tips for Baked Chicken Wings
-
Fridge: Store leftover baked chicken wings in an airtight container for up to 2 days. This keeps them fresh and ready for a quick snack or meal later!
-
Freezer: If you need to store them longer, freeze the wings in a single layer on a baking sheet before transferring to a freezer-safe bag for up to 3 months.
-
Reheating: For the best texture, reheat thawed wings in a preheated oven at 375°F (190°C) for about 10-15 minutes, allowing them to regain their crispy goodness.
-
Avoid Moisture: When storing, ensure the wings have cooled completely before sealing to prevent condensation that could make them soggy—keeping that beloved crunch intact!
What to Serve with Crispy Baked Chicken Wings?
Elevate your dining experience with delightful side dishes that create a harmony of flavors alongside these crispy delights.
-
Creamy Ranch Coleslaw: A cool, crunchy slaw with a creamy dressing complements the warm, savory wings perfectly. The freshness balances the richness, making each bite a delight.
-
Garlic Breadsticks: Soft and buttery, these breadsticks offer a lovely contrast to the crispiness of the wings. They act as perfect vessels for any sauce left behind.
-
Spicy Sweet Potato Fries: Crispy and slightly sweet, these fries are an ideal match for fiery baked chicken wings. The spice adds depth while the sweetness rounds out the meal.
-
Grilled Corn on the Cob: Juicy corn with a touch of butter brings a satisfying sweetness that plays beautifully against the garlic and paprika flavors of the wings.
-
Classic Caesar Salad: Crisp romaine, seasoned croutons, and tangy Caesar dressing add a refreshing element to your plate. This light side offsets the richness of the crispy wings.
-
Honey Mustard Dipping Sauce: A sweet-tangy sauce pairs perfectly with the wings, enhancing their flavors and providing an exciting twist with each dip.
-
Iced Tea or Lemonade: Quench your thirst with refreshing beverages that are light yet satisfying, complementing the savory nature of baked chicken wings in the most enjoyable way.
-
Chocolate Chip Cookies: For dessert, classic warm cookies offer gooey chocolate and a comforting finish to a delightful meal—perfect to round out the fun of game day!
Expert Tips for Crispy Baked Chicken Wings
-
Dry Wings First: Patting the wings dry helps eliminate moisture, leading to that coveted crispy texture in your baked chicken wings.
-
Use a Rack: Elevating wings on a wire rack lets hot air circulate for even cooking and crisping—don’t skip this step!
-
Space Matters: Avoid overcrowding the baking sheet. Giving each wing room ensures the heat can reach every surface, allowing for maximum crunch.
-
Flip for Evenness: Turning the wings halfway through baking promotes uniform crispiness. Check them at the 20-minute mark for best results!
-
Storage Tips: Leftover wings can be stored in an airtight container in the fridge for 2 days. Reheat in the oven to maintain crispness!
Baked Chicken Wings Recipe FAQs
How do I select the best chicken wings?
When choosing chicken wings, look for those that are plump and fresh, with no dark spots or an off-putting odor. If buying frozen, ensure they feel solid and are well-sealed. Fresh wings should have a bright pink color, and the skin should be moist without being slimy.
What’s the best way to store leftover baked chicken wings?
Store your cooked baked chicken wings in an airtight container in the fridge for up to 2 days. Be sure they are completely cooled before sealing to avoid moisture buildup, which can make them soggy. For longer storage, consider freezing them!
Can I freeze baked chicken wings?
Absolutely! To freeze your baked chicken wings, first allow them to cool completely. Next, arrange the wings in a single layer on a baking sheet and freeze them until solid (about 1-2 hours). Once frozen, transfer them to a freezer-safe bag or container, where they can stay good for up to 3 months.
How do I reheat frozen baked chicken wings to keep them crispy?
To reheat your frozen baked chicken wings, preheat your oven to 375°F (190°C). Arrange the wings in a single layer on a baking sheet and bake for about 10-15 minutes, or until heated through. This method will help restore their delightful crispness.
What if my wings aren’t crispy enough?
If your baked chicken wings aren’t achieving that desired crispy texture, a couple of factors might be at play. Ensure the wings are dried thoroughly before seasoning to eliminate moisture. Also, make sure not to overcrowd the baking sheet while baking—this impedes air circulation, crucial for crispiness. Try extending the baking time, checking for doneness and flipping them halfway for even crisping.
Are these wings suitable for pets?
While plain chicken can be fed to pets in moderation, avoid giving them seasoned wings, as garlic and some spices can be harmful to dogs and other animals. If you want to share a treat, cook a plain wing without seasoning for your furry friend first before enjoying the spiced batch yourself!
Crispy Baked Chicken Wings You'll Love for Game Day
Ingredients
Equipment
Method
- Preheat your oven to 425°F (220°C) and line a baking sheet with parchment paper or grease it lightly.
- Pat the chicken wings dry with paper towels and place them in a large mixing bowl.
- Drizzle olive oil over the wings and sprinkle garlic powder, paprika, salt, black pepper, onion powder, and cayenne pepper. Toss to coat evenly.
- Arrange the seasoned wings on the prepared baking sheet in a single layer, ensuring enough spacing.
- Bake for 40 minutes, flipping the wings at the 20-minute mark for even cooking.
- Remove from the oven and let rest before serving, optionally garnished with parsley and your favorite dipping sauces.
Leave a Reply