As I unwrapped the candy canes, their festive scent wafted through the kitchen, instantly sparking memories of holiday gatherings filled with laughter and joy. Today, I’m excited to share my favorite Chocolate Peppermint Cheesecake Recipe—where rich chocolate meets a refreshing kick of peppermint. This indulgent treat not only captivates the senses but is also perfect for impressing guests or satisfying your own sweet cravings. With a delightful Oreo crust and a texture so creamy it practically melts in your mouth, this cheesecake promises to elevate any occasion. Plus, it can be made ahead of time, making holiday baking a breeze! Curious about how to bring this delectable dessert to life? Let’s dive right in!
Why is this cheesecake a crowd favorite?
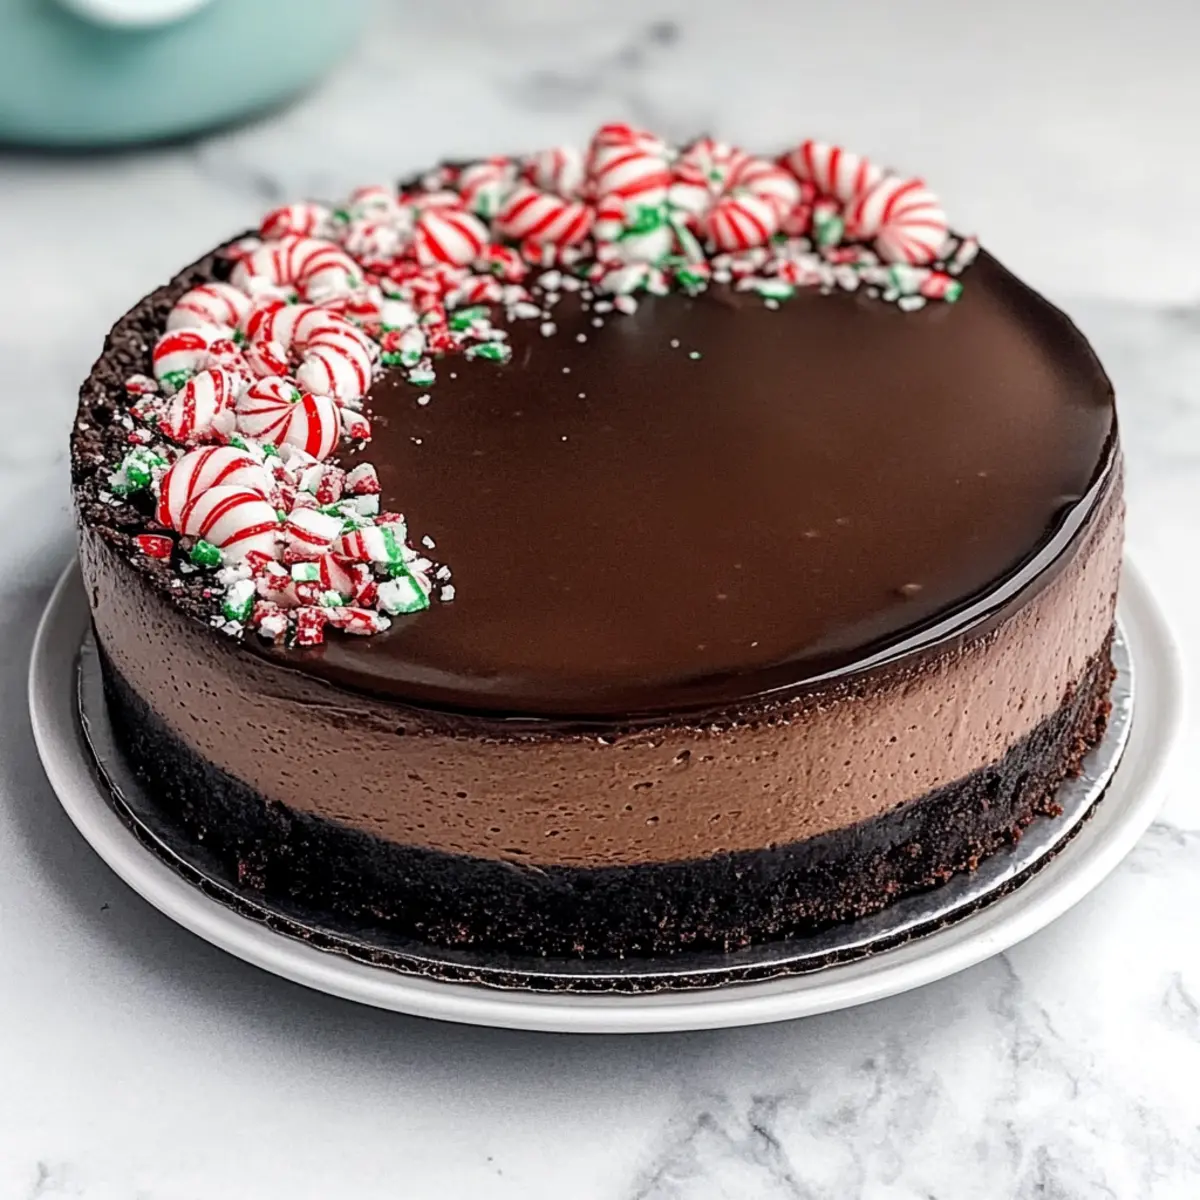
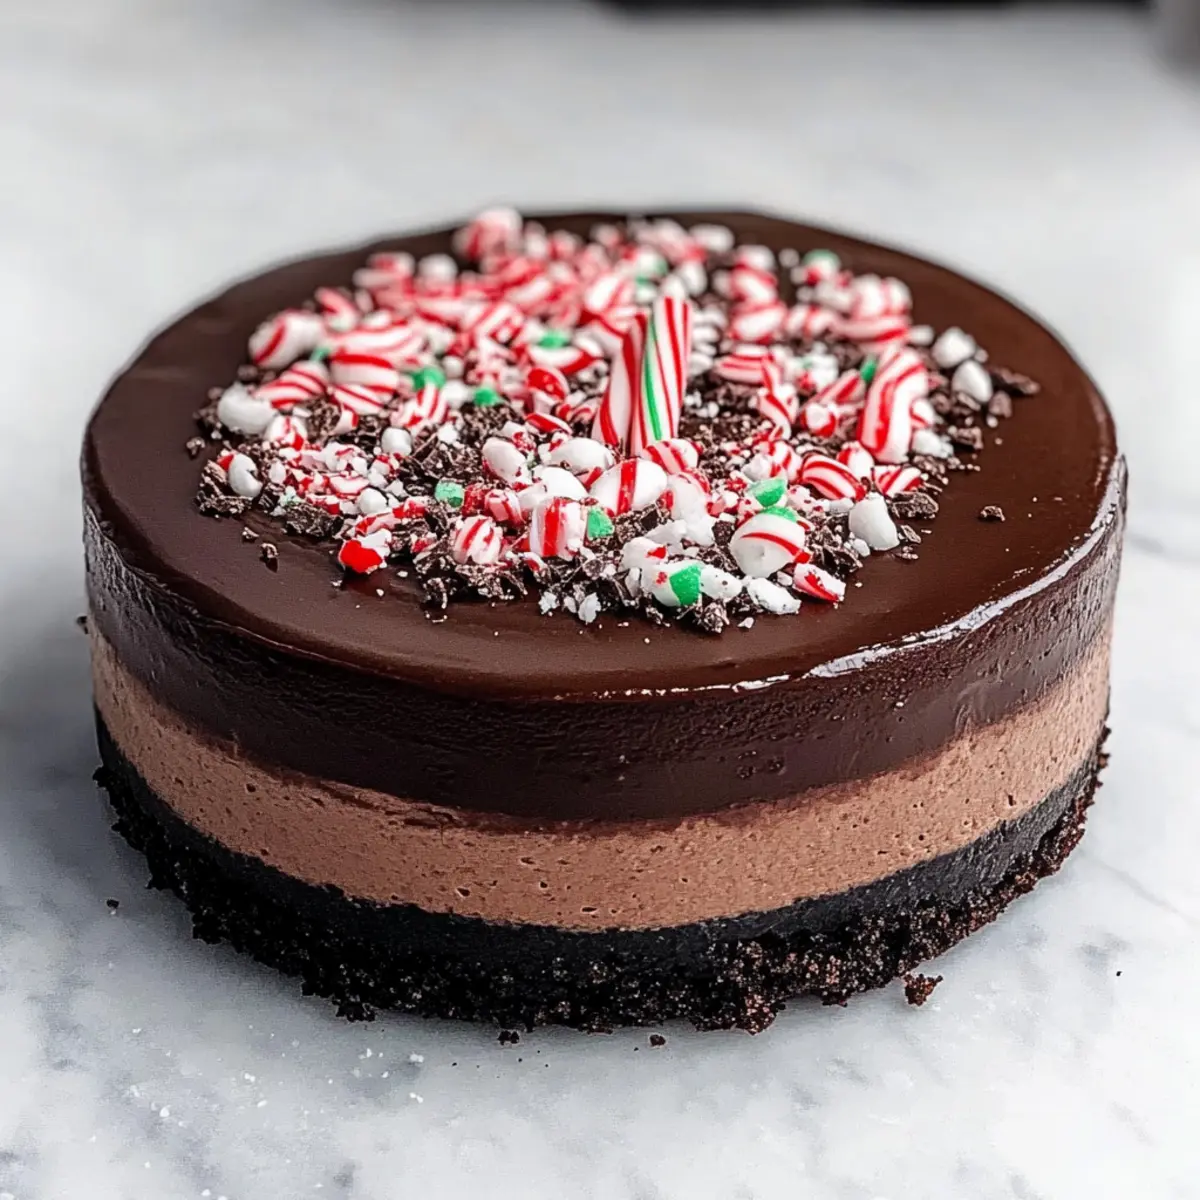
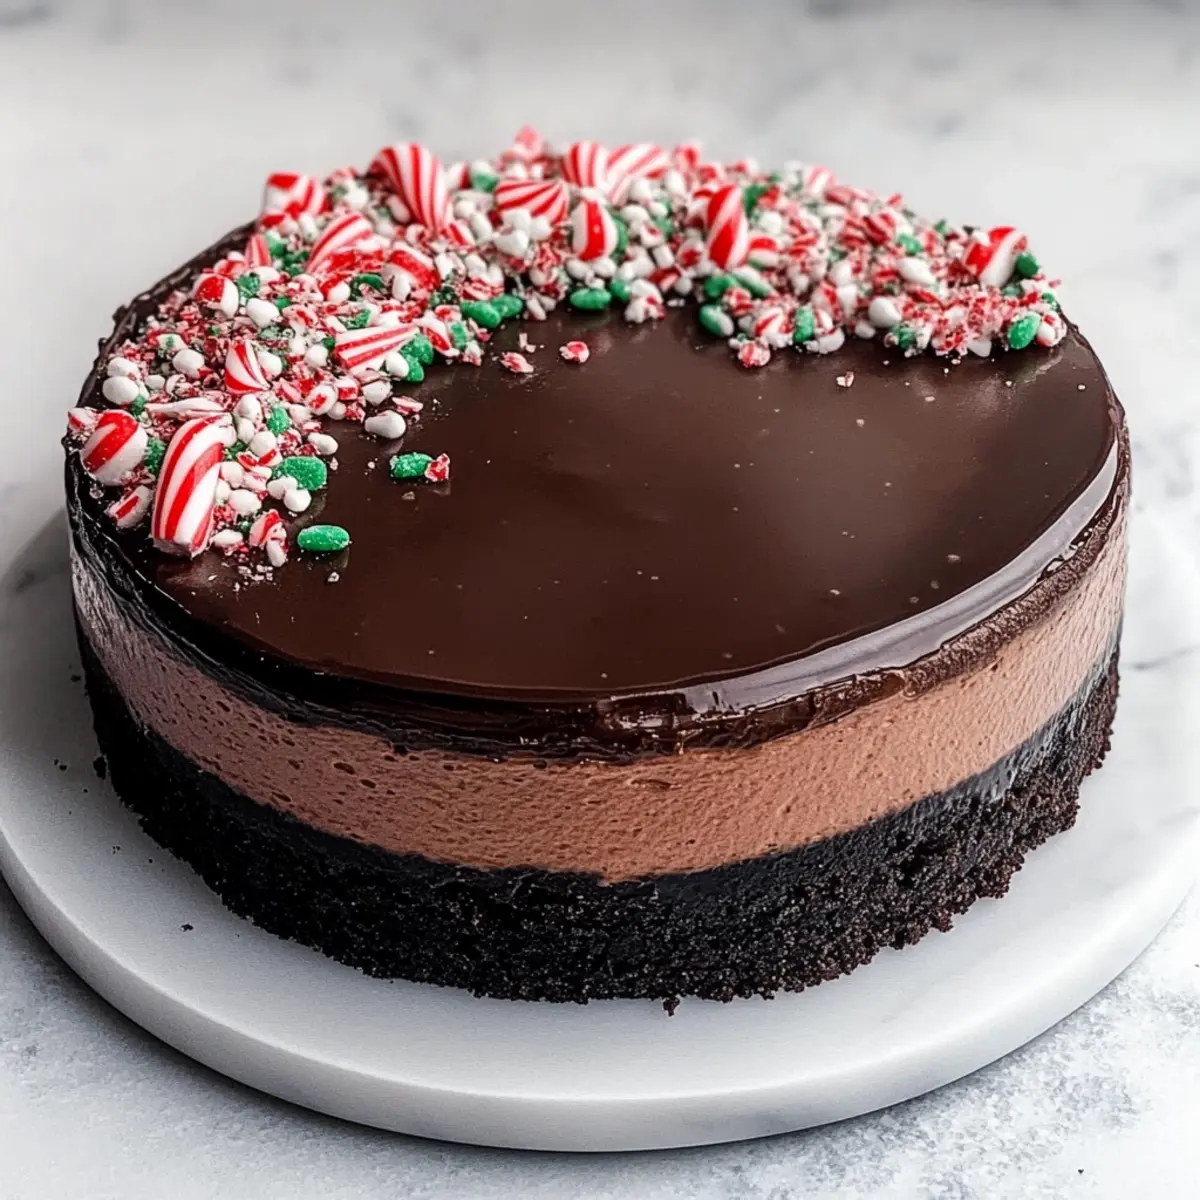
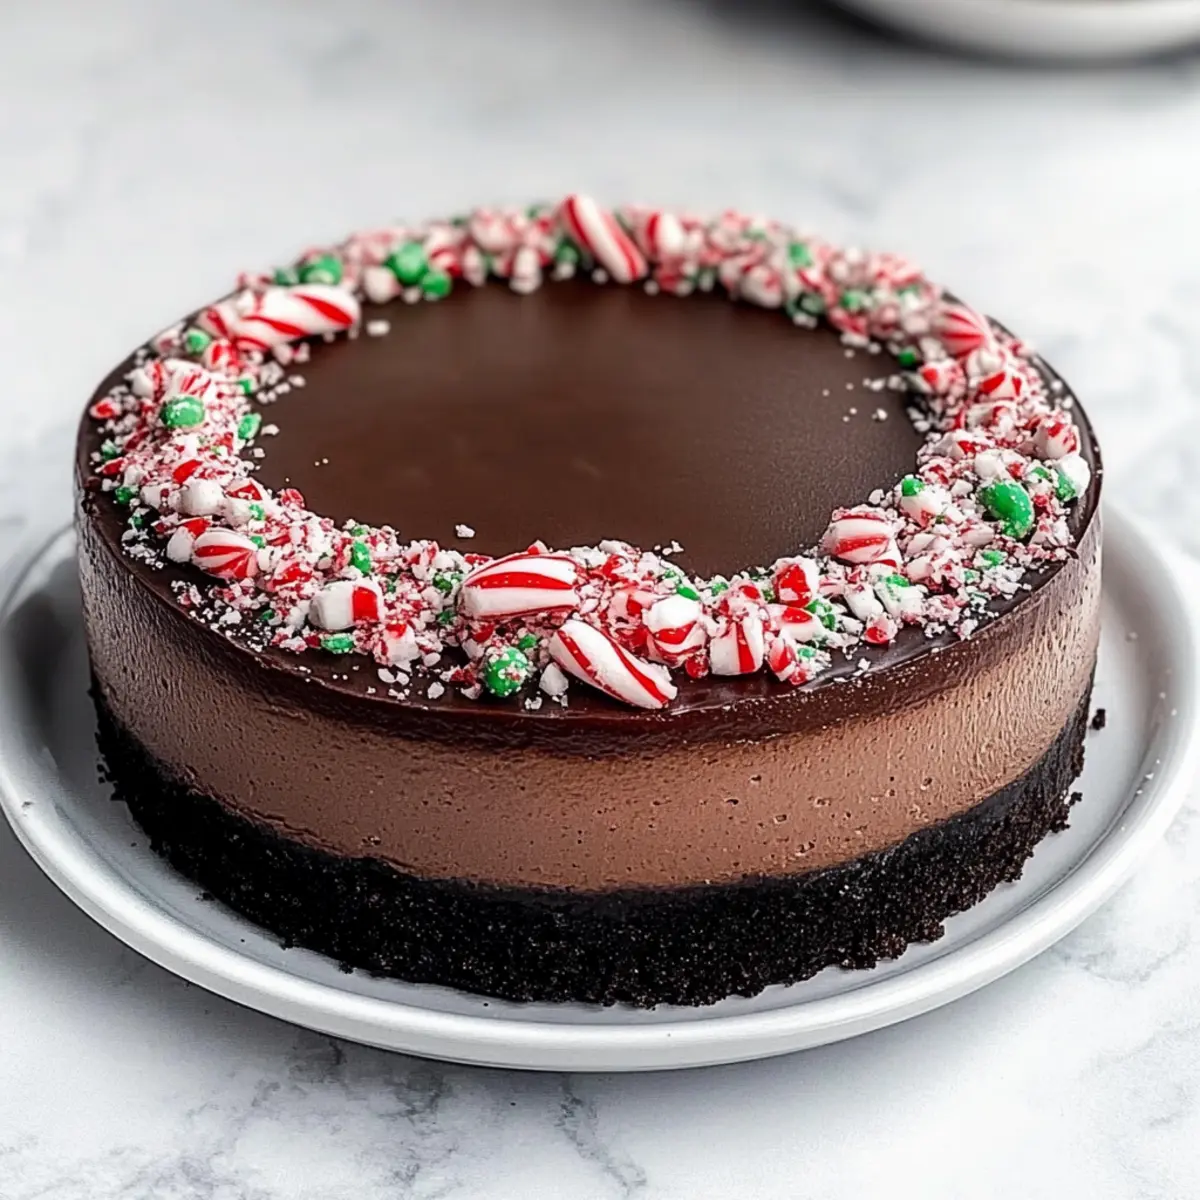
Irresistible, the symphony of rich chocolate and refreshing peppermint creates a flavor explosion that everyone loves. Effortless preparation means you can whip this up without fuss, making it perfect for both seasoned chefs and home cooks. Visually stunning, topped with a glossy ganache and candy cane sprinkles, it’s a showstopper for any gathering. Make-ahead convenience allows flavors to deepen, ensuring your cheesecake tastes even better after a night in the fridge. Pair it with a cup of peppermint tea or one of my other favorite desserts, like Strawberry Cream Cheesecake, and you have a festive spread that impresses!
Chocolate Peppermint Cheesecake Ingredients
Discover the delicious components of this delightful dessert!
-
For the Crust
-
Oreo Cookies – The base adds a sweet chocolatey flavor; keep the filling for extra depth.
-
Unsalted Butter – Binds the crust together; melted unsalted butter works best.
-
For the Filling
-
Semisweet Chocolate – Rich chocolate flavor; chop for easier melting.
-
Cream Cheese – Ensures a creamy, lump-free texture; use at room temperature.
-
Granulated Sugar – Adds the right amount of sweetness without overpowering the chocolate.
-
Heavy Cream – Contributes richness; make sure it’s at room temperature for even mixing.
-
Unsweetened Cocoa Powder – Intensifies the chocolate flavor and adds beautiful color.
-
Large Eggs + Egg Yolk – Adds structure while keeping the cheesecake creamy.
-
Peppermint Extract – Essential for refreshing peppermint flavor; don’t skip this for the best Chocolate Peppermint Cheesecake experience!
-
For the Topping
-
Chocolate Chips – Used to make a shiny ganache topping; drizzle over the cheesecake for a gorgeous finish.
-
Crushed Candy Canes – Adds a festive crunch and additional peppermint flavor to garnish.
Step‑by‑Step Instructions for Chocolate Peppermint Cheesecake Recipe
Step 1: Preheat and Prepare Water Bath
Preheat your oven to 325°F (163°C). To ensure even baking for the Chocolate Peppermint Cheesecake, wrap a 9-inch springform pan tightly in aluminum foil. This will prevent water from seeping in during the baking process. Next, prepare a large roasting pan with boiling water, as this will act as the water bath essential for a creamy texture.
Step 2: Make the Oreo Crust
In a food processor, crush Oreo cookies into fine crumbs without removing the filling; this will enhance the crust’s flavor. Combine the crumbs with melted unsalted butter until the mixture resembles wet sand. Press the mixture firmly into the bottom and slightly up the sides of the prepared springform pan. Bake the crust for 10 minutes and then let it cool while you prepare the filling.
Step 3: Melt the Chocolate
Chop the semisweet chocolate into small pieces for quicker melting. Place the chocolate in a microwave-safe bowl and heat it in 30-second intervals, stirring in between, until completely melted and smooth. Allow the melted chocolate to cool slightly while you work on the cheesecake filling for the Chocolate Peppermint Cheesecake recipe.
Step 4: Prepare the Creamy Filling
In a large mixing bowl, beat room temperature cream cheese with an electric mixer on medium speed until smooth and fluffy. Gradually mix in granulated sugar, heavy cream, and unsweetened cocoa powder until well combined and creamy. Avoid overmixing; once blended, proceed to incorporate the eggs and peppermint extract without mixing too vigorously.
Step 5: Combine and Add Melted Chocolate
Once the egg mixture is smooth, carefully fold in the previously melted chocolate, ensuring it’s evenly distributed throughout the filling. Be gentle to maintain the lightness of the mixture. This rich filling is what makes the Chocolate Peppermint Cheesecake so indulgent and delightful.
Step 6: Bake the Cheesecake
Pour the decadent filling over the cooled Oreo crust in the springform pan. Tap the pan gently on the counter to release any trapped air bubbles. Carefully place the springform pan into the prepared roasting pan filled with boiling water, ensuring the water surrounds the cheesecake. Bake for 1 to 1.25 hours until the edges are set but the center remains slightly wobbly.
Step 7: Cool Gradually
After baking, turn off the oven and crack the door open. Allow the cheesecake to cool inside for 45 minutes, which helps prevent cracks. Once cooled, transfer it to a wire rack to reach room temperature, then cover loosely and refrigerate for at least 4 hours, ideally overnight, to let the flavors meld and the texture set perfectly.
Step 8: Prepare the Ganache and Garnish
To create the luscious ganache topping, heat the heavy cream in a saucepan until just simmering. Pour the hot cream over the chocolate chips in a bowl; let it sit for a minute before stirring until smooth and glossy. Allow the ganache to cool slightly, then drizzle it over the chilled cheesecake. Finish with a sprinkle of crushed candy canes for a festive touch that complements the Chocolate Peppermint Cheesecake beautifully.
Helpful Tricks for Chocolate Peppermint Cheesecake
-
Room Temperature Ingredients: Always ensure your cream cheese and eggs are at room temperature to achieve a smooth and creamy filling, preventing lumps in your Chocolate Peppermint Cheesecake.
-
Mind the Water Bath: Using a water bath during baking keeps the cheesecake moist and helps prevent cracks. Wrap the springform pan well to avoid any water leakage.
-
Gentle Mixing: Avoid overmixing the egg mixture. Mix just until combined to keep air bubbles from forming, which can lead to cracks in your cheesecake.
-
Cool Gradually: After baking, let the cheesecake cool slowly in the oven with the door cracked. This step minimizes sudden temperature changes that can cause cracks.
-
Chill Time Is Key: For the best texture and flavor, refrigerate your cheesecake for at least 4 hours, or overnight if possible. This time allows the flavors to meld beautifully and the cheesecake to set properly.
Make Ahead Options
These Chocolate Peppermint Cheesecake treats are perfect for meal prep enthusiasts! You can prepare the crust and filling up to 3 days in advance. Simply make the crust, let it cool, and then pour the filling over, covering it tightly with plastic wrap or a lid to prevent drying out. When you’re ready to bake, just slide it into the preheated oven—no need to worry about losing flavor; it will still be just as delicious! After baking and cooling the cheesecake, allow it to chill in the fridge for at least 4 hours (or overnight) before serving to let the flavors meld beautifully. Enjoy this time-saving approach that guarantees a delightful dessert for your gatherings!
Chocolate Peppermint Cheesecake Variations
Feel free to play with this delightful dessert and make it your own with these customizations!
- Dark Chocolate: Swap semisweet for dark chocolate to elevate the richness and add a deeper flavor profile.
- Milk Chocolate: Use milk chocolate for a sweeter and creamier take, perfect for those with a sweet tooth.
- Dairy-Free: Replace cream cheese with a vegan cream cheese alternative and use coconut milk for a creamy filling.
- Gluten-Free: Use gluten-free chocolate cookies for the crust, allowing you to enjoy this treat without worry.
- Mint Chocolate Swirl: Fold in crushed mint chocolates into the filling for a delightful surprise in every bite.
- Caramel Drizzle: Add a luscious caramel drizzle on top of your ganache for a rich contrast to the peppermint.
- No-Bake Option: For a no-bake version, use a pre-made graham cracker crust and a no-bake cheesecake filling adjusted for set-up.
Whether you go for a no-bake twist or decide to use those rich caramel flavors, each variation will bring a new adventure to your Chocolate Peppermint Cheesecake experience! If you’d like to try another festive dessert, consider making Chocolate Brownies Peppermint next!
Storage Tips for Chocolate Peppermint Cheesecake
- Fridge: Store the cheesecake wrapped in plastic wrap or in an airtight container for up to 5 days. This helps maintain its creamy texture and flavor.
- Freezer: For longer storage, wrap the cheesecake tightly in plastic wrap and aluminum foil, then freeze for up to 3 months. Thaw overnight in the fridge before serving.
- Reheating: If you’d like to enjoy it slightly warmed, let it sit at room temperature for about 30 minutes before serving. Avoid microwave reheating to keep the texture intact.
- Make-Ahead: This Chocolate Peppermint Cheesecake can be made up to three days in advance, allowing the flavors to harmonize beautifully!
What to Serve with Chocolate Peppermint Cheesecake
When hosting a festive gathering, create a delightful spread that beautifully complements the rich and creamy Chocolate Peppermint Cheesecake.
- Whipped Cream: A dollop of lightly sweetened whipped cream adds a light and fluffy contrast that enhances the rich flavors.
- Peppermint Tea: The refreshing notes of peppermint tea offer a soothing counterpart, perfect for uplifting the cheesecake experience.
- Fresh Berries: Juicy raspberries or strawberries provide a burst of tartness, balancing the sweetness of the cheesecake while adding a vibrant hue.
- Chocolate Drizzled Fruit: Skewers of fresh fruits like bananas and strawberries drizzled with chocolate echo the cheesecake’s flavor profile and make a charming presentation.
- Chocolate Covered Pretzels: The salty crunch of chocolate-covered pretzels introduces a fun texture, contrasting beautifully with the creamy filling and enhancing the chocolate essence.
- Mini Candy Cane Brownies: Intensify the holiday theme with these fudgy treats, which mirror the cheesecake’s flavors and offer a perfectly chewiness that guests will adore.
- Espresso or Coffee: A freshly brewed cup of espresso or coffee pairs wonderfully, cutting through the richness and accentuating the chocolate notes.
- Vanilla Ice Cream: A scoop of creamy vanilla ice cream on the side provides a delightful temperature contrast that enhances each bite of cheesecake.
Chocolate Peppermint Cheesecake Recipe FAQs
What type of Oreo cookies should I use for the crust?
It’s best to use classic Oreo cookies for the crust. They provide a perfect chocolatey flavor that’s deliciously complemented by the filling. Don’t forget to keep the filling in while processing, as it adds depth and richness to the crust!
How should I store the Chocolate Peppermint Cheesecake after making it?
To keep your cheesecake fresh, wrap it in plastic wrap or place it in an airtight container and store it in the refrigerator for up to 5 days. This helps maintain its creamy texture and flavor and ensures you can enjoy it for several days after preparing it!
Can I freeze Chocolate Peppermint Cheesecake?
Absolutely, you can freeze this delightful dessert! Wrap the cheesecake tightly in plastic wrap, then in aluminum foil. It can be frozen for up to 3 months. When you’re ready to enjoy a slice, simply thaw it in the refrigerator overnight. This method preserves its texture and flavor beautifully.
What should I do if my cheesecake cracks while baking?
If your cheesecake cracks, don’t worry! It happens to the best of us. To prevent this, always use a water bath while baking to maintain moisture and a gentle cooking environment. If cracks do appear, you can cover them with the ganache topping, making for a beautiful and delicious disguise!
Is this cheesecake suitable for people with dietary restrictions?
This Chocolate Peppermint Cheesecake contains dairy and gluten, so it is not suitable for those with lactose intolerance or gluten allergies. However, you can make adjustments by using gluten-free Oreo cookies for the crust and opting for dairy-free cream cheese and heavy cream alternatives. Always double-check labels for hidden allergens.
Can I use different types of chocolate in this recipe?
Yes! You can definitely customize the chocolate in this recipe. If you prefer a richer flavor, substitute semisweet chocolate with dark chocolate. Alternatively, if you enjoy a sweeter taste, milk chocolate can also be a delightful option. Just ensure to adjust based on your taste preference!
Irresistible Chocolate Peppermint Cheesecake Recipe for the Holidays
Ingredients
Equipment
Method
- Preheat oven to 325°F (163°C) and prepare a water bath.
- Crush Oreo cookies and combine with melted butter, press into springform pan.
- Melt semisweet chocolate until smooth.
- Beat cream cheese until smooth, then mix in sugar, heavy cream, and cocoa powder.
- Fold in eggs and peppermint extract, then add melted chocolate.
- Pour filling into crust, place in water bath and bake for 1 to 1.25 hours.
- Cool cheesecake in oven with door cracked for 45 minutes, then chill for at least 4 hours.
- Prepare ganache with heavy cream and chocolate chips, drizzle over cheesecake and garnish with crushed candy canes.
Leave a Reply