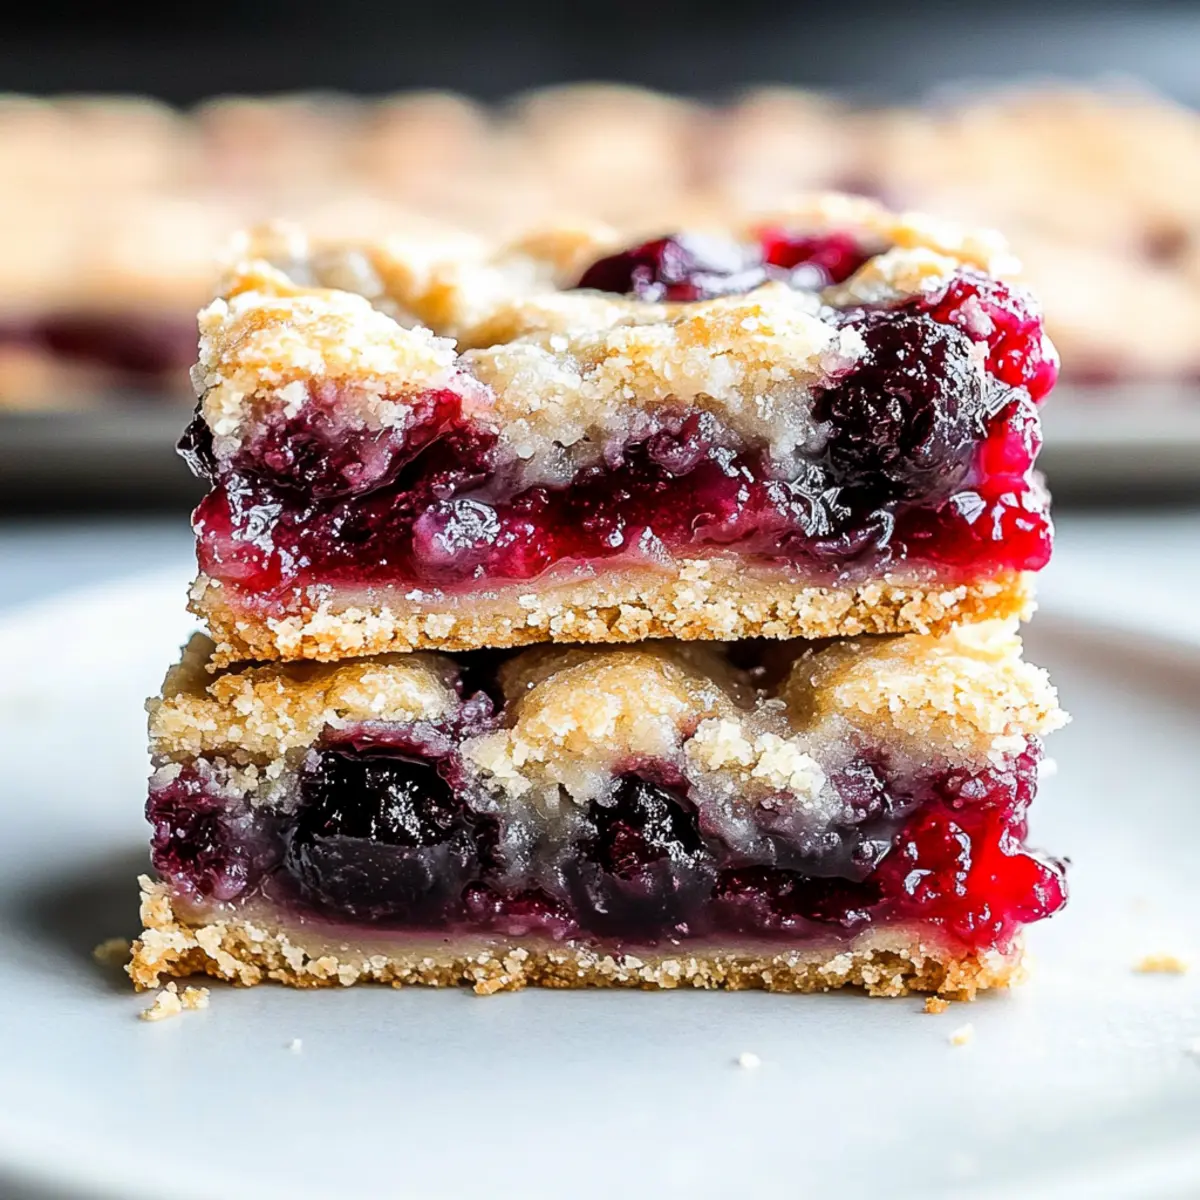
As the aroma of baking cherries wafts through the kitchen, it always evokes memories of cozy gatherings and jubilant celebrations. My Christmas Cherry Bars are a delightful twist on classic cherry pie, capturing that sweet, tart essence and encapsulating it in a buttery, crumbly crust. These bars not only bring joy with every bite but also come together quickly, making them perfect for anyone looking to impress without the stress. Plus, they’re wonderfully versatile—feel free to switch up the filling with blueberries or strawberries depending on what you have on hand. Curious to learn how to make these irresistible treats? Let’s dive into the recipe!

Why Are These Cherry Pie Bars a Must-Try?
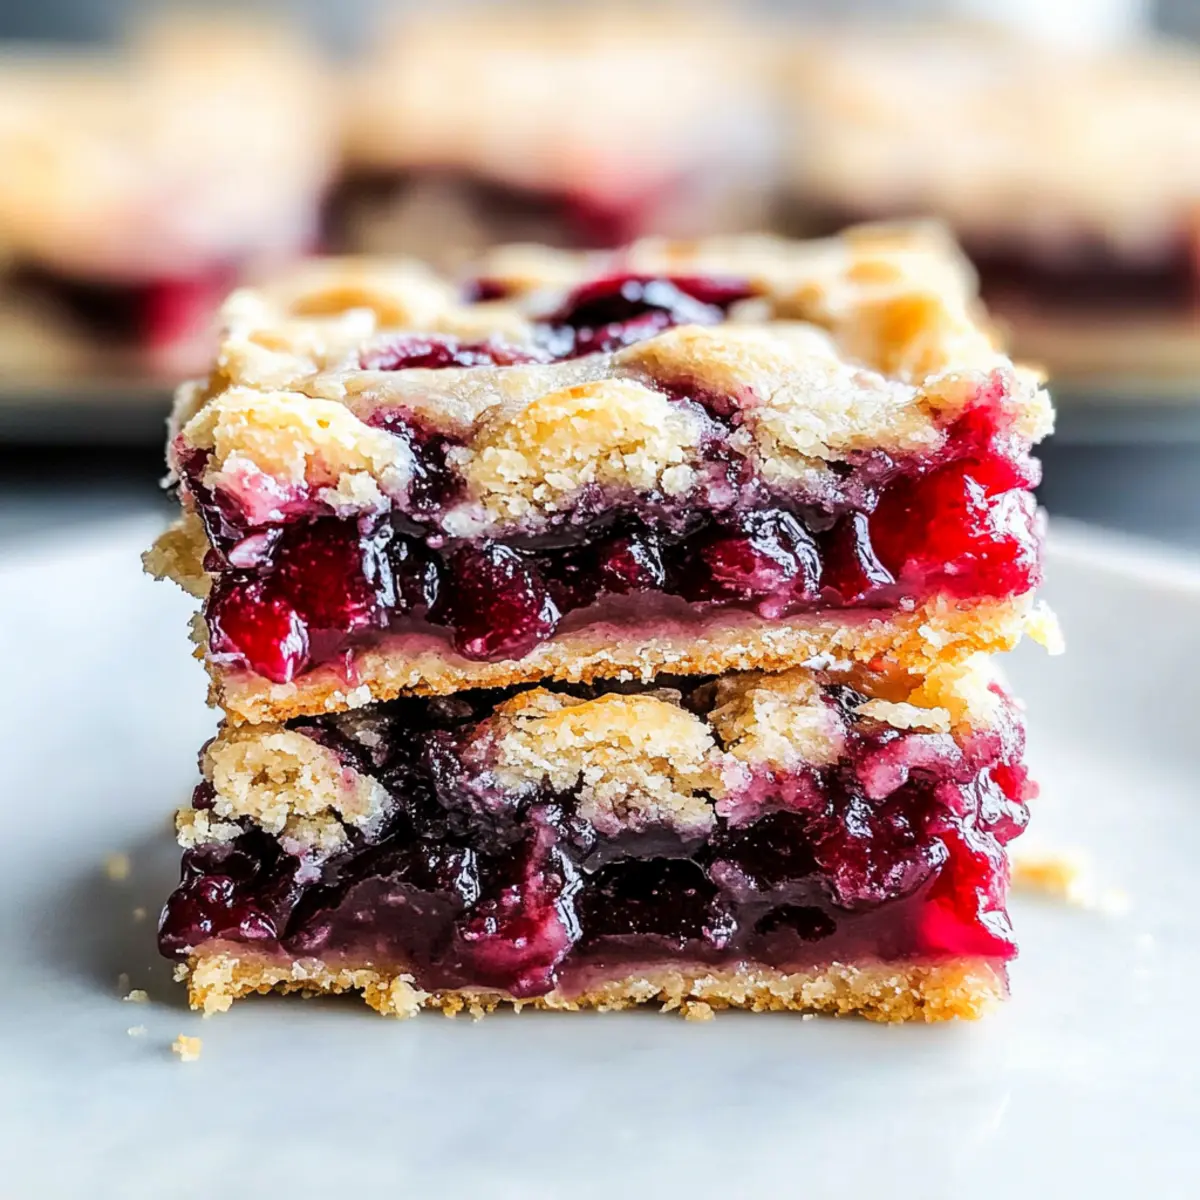
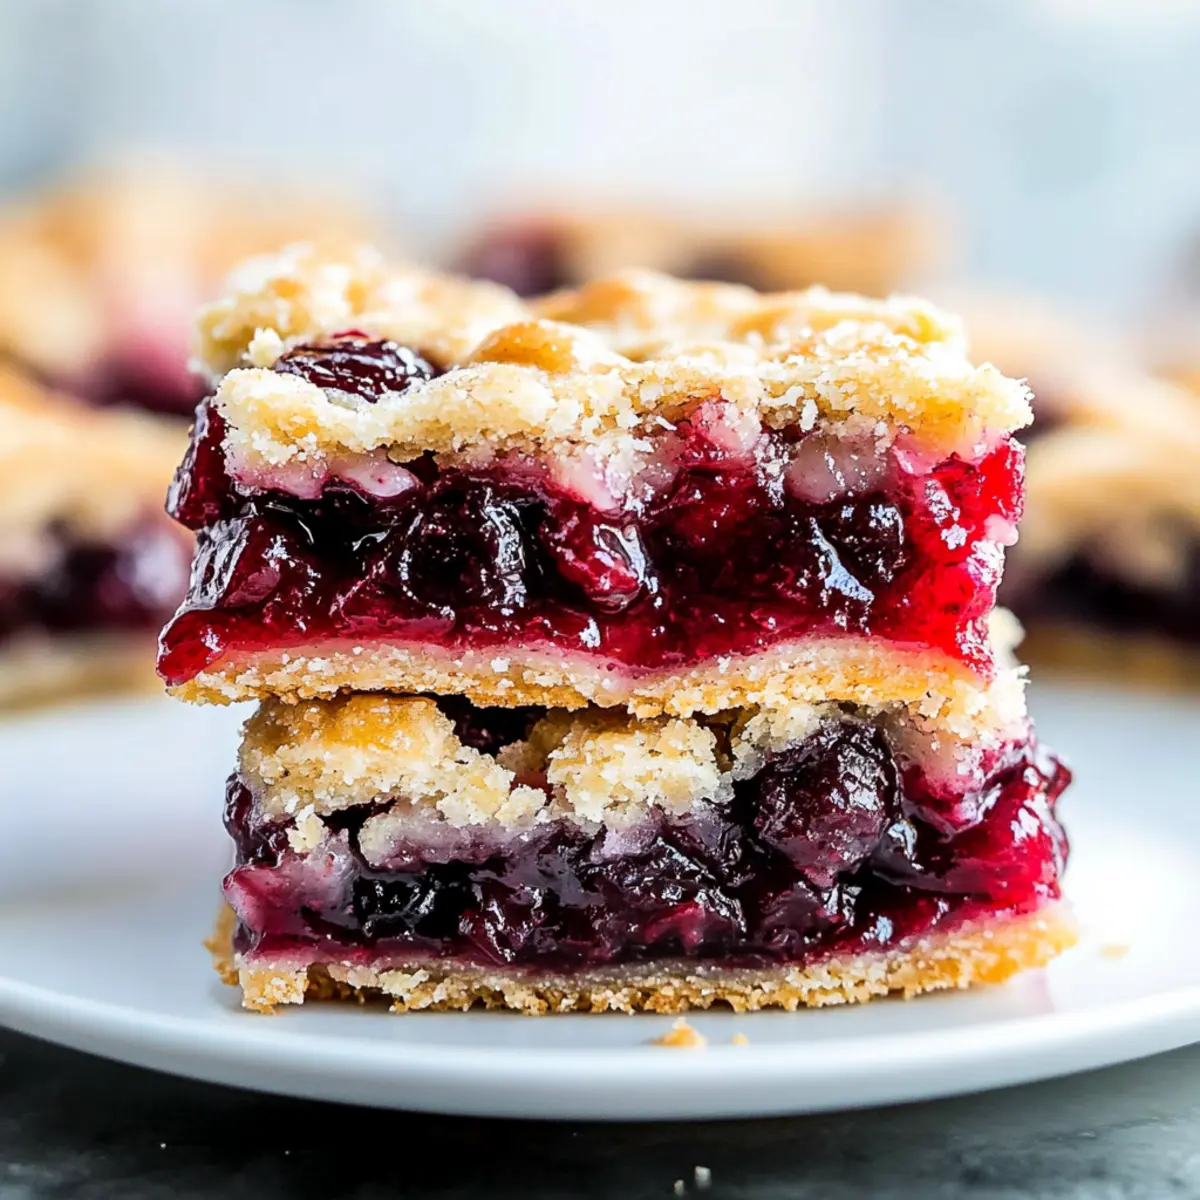
Unforgettable Flavor: The sweet and tart cherry filling is perfectly balanced, offering a burst of flavor in every bite.
Adaptable Options: With the liberty to use different pie fillings like blueberry or strawberry, you can enjoy these bars year-round!
Quick and Easy: This recipe is designed for busy bakers, allowing you to whip up a batch in no time—perfect for spontaneous gatherings or holiday celebrations.
Visual Appeal: Beautifully golden-brown with an almond drizzle, these bars are not only delicious but also stunning on any dessert table.
Perfect for Sharing: Bring them to your next potluck or family gathering and watch the crowd go wild; nobody can resist these delightful treats! Don’t forget to check out my Christmas Rice Krispie Treat Bites for another festive dessert idea!
Christmas Cherry Bars Ingredients
• Here’s everything you need for festive cherry bliss!
For the Crust and Topping
- All-Purpose Flour – Provides the essential structure for your delightful cherry bars; no substitutions necessary.
- Oats – Adds a wonderful texture; feel free to use whole rolled or quick oats, and save 2 tablespoons for the topping.
- Brown Sugar – Contributes the perfect sweetness and moisture; you can replace it with granulated sugar for a lighter touch.
- Baking Powder – Ensures your bars have a light, airy texture; no substitutes recommended.
- Salt – Balances all the sweetness; don’t skip this key ingredient!
- Melted Butter – Binds everything together, adding richness; you can use margarine for a dairy-free option.
For the Filling
- Frozen Sour Cherries – The star of your bars, providing a tart, jam-like filling; fresh cherries can be used too, but make sure to pit them first!
For the Drizzle
- Confectioners’ Sugar – Base for your smooth and sweet icing; ensure it’s sifted for a lump-free finish.
- Almond Extract – Elevates the flavor of your icing; can be swapped with vanilla extract for a different taste.
- Milk – Helps achieve the perfect drizzling consistency; feel free to use any milk of your choice!
With these ingredients, your Christmas Cherry Bars will become a cherished holiday tradition for family and friends. Get ready to impress!
Step‑by‑Step Instructions for Delicious Christmas Cherry Bars
Step 1: Preheat Your Oven
Start by preheating your oven to 350°F (175°C). This ensures a perfectly baked crust for your Christmas Cherry Bars. While the oven warms up, gather your ingredients and prepare a 15x10x1-inch baking pan by leaving it ungreased, as this will help the crust to crisp beautifully.
Step 2: Cream the Butter and Sugar
In a large mixing bowl, combine melted butter and brown sugar. Use a hand mixer or whisk to cream them together until smooth and well incorporated. This will create a rich, moist base for your bars. Aim for a creamy texture, which usually takes about 2 minutes of mixing.
Step 3: Mix in Dry Ingredients
Add the baking powder and salt to the butter-sugar mixture, blending until fully combined. Next, fold in the oats and flour, being careful not to overmix. You want the dough to come together without being tough, as this will preserve the tenderness of your Christmas Cherry Bars.
Step 4: Separate the Dough
Once your dough is ready, reserve approximately 1½ cups of it for the topping. Spread the remaining dough evenly across the bottom of the prepared baking pan. Use your fingers or a spatula to press it down firmly, creating a strong, stable crust for the cherry filling.
Step 5: Bake the Crust
Place the crust in your preheated oven and bake for about 12 minutes, or until it looks lightly golden. Keep an eye on it as it bakes, ensuring the edges don’t over-brown. Once done, remove the pan from the oven and let it cool slightly before adding the cherry filling.
Step 6: Add the Cherry Filling
Spread the frozen sour cherries evenly over the baked crust, making sure to cover it entirely for a balanced flavor in every bite. The tartness will beautifully complement the sweetness of the crust. Gently press down on the cherries to secure them in place.
Step 7: Crumble the Reserved Dough
Take the reserved dough and drop it in small mounds over the cherry filling, allowing some of the cherry layer to peek through. This will create a delightful crumbly topping for your Christmas Cherry Bars. Don’t worry if it doesn’t cover every inch; the rustic look adds charm!
Step 8: Bake Until Golden
Return the pan to the oven and bake for an additional 30 minutes, or until the topping is golden brown and the filling is bubbling slightly. The aroma will fill your kitchen, making it hard to resist. Keep an eye on it to avoid overbaking.
Step 9: Cool and Drizzle
Once baked, remove the pan from the oven and let the bars cool in the pan for about 10 minutes. This step is crucial for setting the filling, making it easier to cut. While they cool, prepare the icing for your irresistible Christmas Cherry Bars.
Step 10: Prepare the Icing
To create the almond drizzle, mix sifted confectioners’ sugar, almond extract, and a splash of milk in a small bowl until smooth and creamy. Adjust the milk as needed to achieve a drizzle-able consistency. This adds a decadent finish to your bars.
Step 11: Drizzle and Serve
Once your bars have cooled slightly, use a spoon to drizzle the almond icing over the top. The sweet almond flavor will enhance the overall taste of your Christmas Cherry Bars. Allow the icing to set for a few minutes before cutting them into squares to serve.
Christmas Cherry Bars Variations & Substitutions
Feel free to make these Christmas Cherry Bars your own with these exciting twists and swaps!
-
Blueberry Bliss: Swap the sour cherries for blueberries to create a delightful burst of flavor. This fruity alternative is perfect for summer picnics or gatherings.
-
Strawberry Surprise: Substitute the cherry filling with strawberries for a fresh and sweet take. The strawberries will provide a lovely pink hue that’s visually stunning.
-
Nutty Crunch: Add chopped pecans or walnuts to the crumble topping for an extra layer of texture. The nuts will provide a satisfying crunch that complements the soft fruit filling.
-
Spiced Up: Incorporate a teaspoon of cinnamon or nutmeg into the crust for a warm, spiced flavor. This festive addition will remind you of cozy holiday baking.
-
Coconut Twist: Toss in shredded coconut along with the oats for a delightful tropical flair. The coconut will add a chewy texture and a hint of sweetness.
-
Egg-Free Option: For a vegan version, replace the melted butter with coconut oil and omit any eggs from the recipe. This keeps the bars just as tasty while accommodating dietary preferences.
-
Maple Drizzle: Swap the almond extract in the icing with pure maple syrup for a rich, sweet touch. This is an excellent way to elevate your icing with a different flavor profile.
Make your holiday celebrations even sweeter! And if you’re looking for more festive treat ideas, check out my delicious Christmas Cupcakes Deliciously or my festive Ingredient Christmas Jello for delightful options. Enjoy customizing!
Make Ahead Options
These Christmas Cherry Bars are perfect for meal prep! You can prepare the crust and topping up to 24 hours in advance by mixing the ingredients and storing the dough wrapped in plastic wrap in the refrigerator to maintain its freshness. Additionally, you can spread the frozen sour cherries over the crust and crumble the reserved dough on top, then refrigerate the assembled pan up to 3 days ahead of baking. When you’re ready to enjoy these delightful bars, simply bake until golden brown, drizzle with icing, and you’ll have an impressive dessert with minimal effort—just as delicious as if made fresh that day!
What to Serve with Irresistible Cherry Pie Bars with Almond Drizzle?
As you slice into those warm bars, consider how to enhance this delightful dessert experience for your family and friends.
-
Vanilla Ice Cream: A scoop of creamy vanilla ice cream brings a rich, cold contrast to the warm, fruity bars, creating an irresistible combination.
-
Fresh Whipped Cream: Light and airy, a dollop of fresh whipped cream adds a luxurious touch that balances the cherry’s tartness beautifully.
-
Almond Cookies: Crunchy almond cookies add a complementary nutty flavor and extra texture, making each bite even more delightful.
-
Sliced Strawberries: Fresh, juicy strawberries on the side lend a bright, juicy pop that enhances the dessert’s fruity essence while offering refreshing notes.
-
Coffee or Espresso: Pairing your cherry bars with a cup of robust coffee or espresso elevates your dessert experience, especially with the almond drizzle, creating an indulgent moment.
-
Sparkling Water: A refreshing sparkling water adds fizz and lightness, cleansing the palate between bites of sweet bars, making it a perfect match.
With these pairings, your Christmas Cherry Bars will shine even brighter at any gathering or cozy family night!
How to Store and Freeze Christmas Cherry Bars
Room Temperature: Allow bars to cool completely, then cover them with plastic wrap or store in an airtight container at room temperature for up to 3 days.
Fridge: For longer freshness, store Christmas Cherry Bars in an airtight container in the refrigerator where they will keep for up to 1 week.
Freezer: To freeze, wrap individual portions of the bars in plastic wrap, then place them in a freezer-safe container or bag. They can be frozen for up to 3 months.
Reheating: When ready to enjoy, simply thaw the bars in the fridge overnight, then reheat slightly in the microwave for a few seconds to regain their delicious texture.
Helpful Tricks for Christmas Cherry Bars
-
Butter Temperature: Ensure your melted butter is warm but not hot to avoid cooking the eggs, which can affect the texture of your bars.
-
Don’t Overmix: Mix the flour just until combined to keep your Christmas Cherry Bars tender and nicely crumbly; overmixing can lead to toughness.
-
Cool Before Cutting: Allow your bars to cool completely in the pan before slicing to achieve clean, even squares. This step prevents the filling from spilling out.
-
Filling Variations: Feel free to swap the sour cherries with other fillings like blueberries or strawberries for fun twists that suit your palate!
-
Icing Consistency: Adjust your almond drizzle with more milk if it’s too thick or add powdered sugar if it’s too runny; it should flow beautifully without losing shape.
Christmas Cherry Bars Recipe FAQs
What type of cherries should I use for the filling?
Absolutely! I recommend using frozen sour cherries for convenience and a jam-like consistency, but fresh cherries can work beautifully too. Just remember to pit them first! This will ensure you get that sweet-tart balance in every delightful bite.
How long can I store Christmas Cherry Bars?
After cooling completely, store the bars in an airtight container at room temperature for up to 3 days. If you want to keep them for longer, they can be refrigerated for up to a week or frozen for up to 3 months!
How do I freeze Christmas Cherry Bars for later?
Here’s how you can freeze them: wrap individual portions tightly in plastic wrap to prevent freezer burn. Then place them in a freezer-safe container or a zip-top bag. When you’re ready to enjoy, simply thaw in the fridge overnight and warm them slightly in the microwave for a comforting treat.
Can I modify this recipe for dietary restrictions?
Very! To create an egg-free version, you can use a flaxseed meal substitute—mix 1 tablespoon of ground flaxseed with 2.5 tablespoons of water and let it sit for a few minutes until it thickens. Also, for a dairy-free option, swap melted butter with margarine and you’re good to go!
What if my dough is too crumbly?
If the dough feels too crumbly, it might need a bit more moisture. Try adding a tablespoon of milk at a time until it holds together better. This will help create a nice, cohesive mixture for your Christmas Cherry Bars.
Can I use other pie fillings besides cherry?
Definitely! The beauty of this recipe lies in its versatility. Swap out the sour cherries for blueberries, strawberries, or even a mix of your favorites. Each variation brings a new flavor profile that makes these bars exciting year-round!
Delicious Christmas Cherry Bars That Wow Every Taste Bud
Ingredients
Equipment
Method
- Preheat your oven to 350°F (175°C) and prepare a 15x10x1-inch baking pan.
- Cream together melted butter and brown sugar until smooth.
- Mix in baking powder and salt, then fold in oats and flour until combined.
- Reserve 1½ cups of dough for topping and spread the remaining in the baking pan.
- Bake the crust for about 12 minutes until lightly golden.
- Spread frozen sour cherries over the baked crust evenly.
- Crumble reserved dough over the cherry filling.
- Bake for an additional 30 minutes until golden brown and filling is bubbly.
- Cool in the pan for 10 minutes, then prepare the icing.
- Mix confectioners' sugar, almond extract, and milk until smooth.
- Drizzle icing over the cooled bars and let it set before cutting into squares.
Leave a Reply