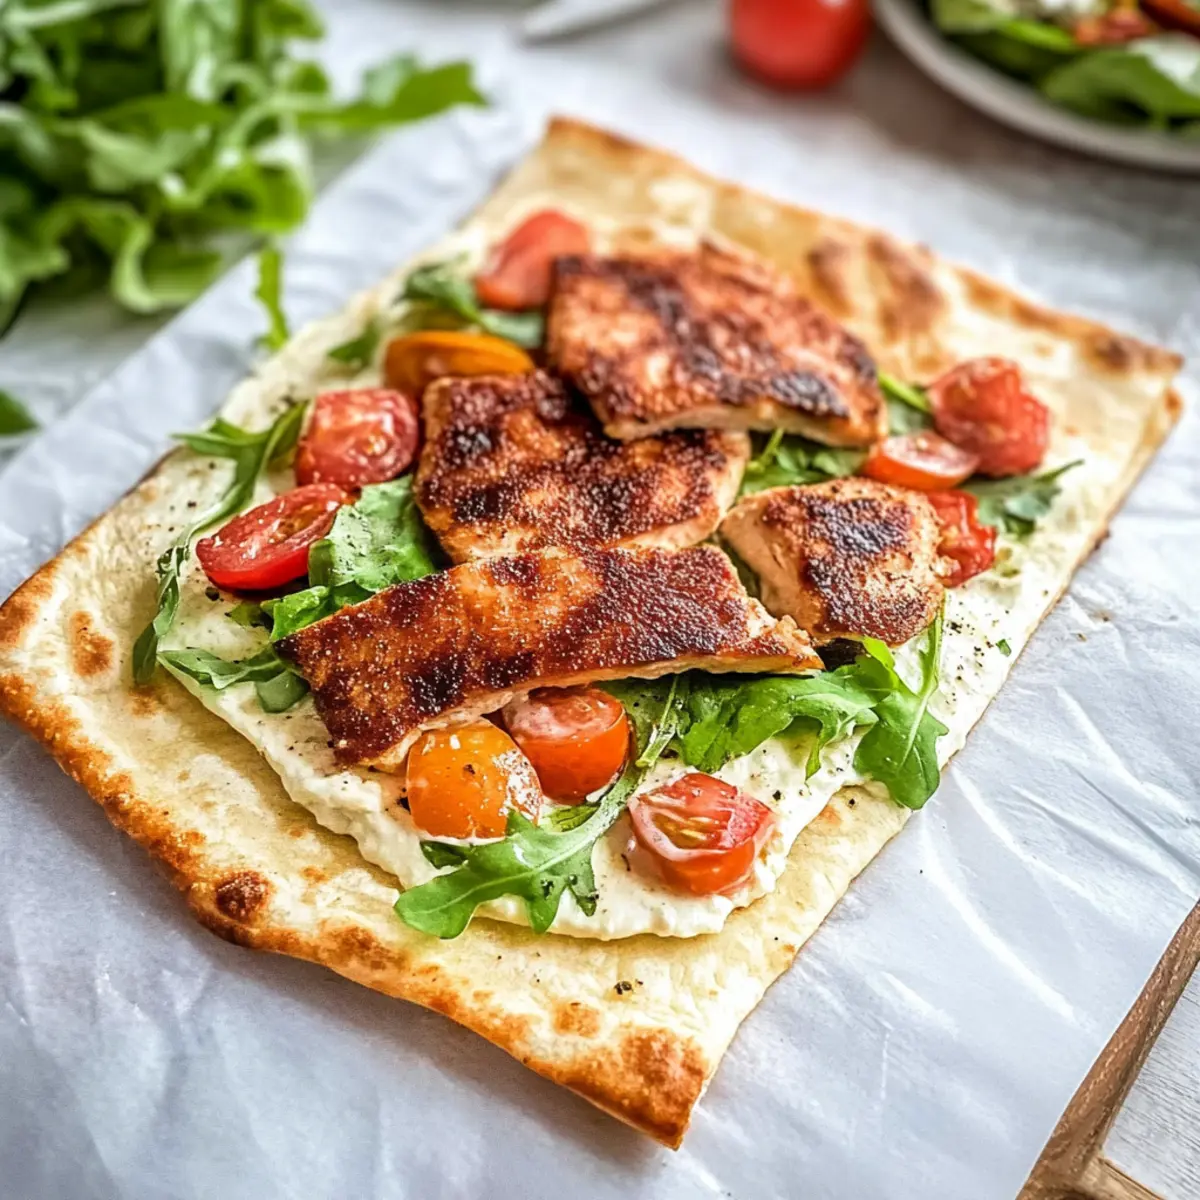
As I stood in my kitchen, the smell of warm, freshly baked wraps danced through the air, instantly transporting me to a place of comfort and nourishment. Today, I’m excited to share my latest culinary gem: Cottage Cheese Wraps. These aren’t just your average flatbreads; they offer a delightful blend of soft texture and high protein, packed into a low-carb delight that’s as versatile as it is satisfying. Whipping them up is a breeze, making them an ideal option for those busy mornings or meal prep sessions throughout the week. Plus, with a foundation that’s gluten-free and free of flour, you can enjoy a guilt-free indulgence that’s both healthy and delightful. Are you ready to dive into a world of tasty fillings and endless possibilities? Let’s roll!

Why Are Cottage Cheese Wraps a Game-Changer?
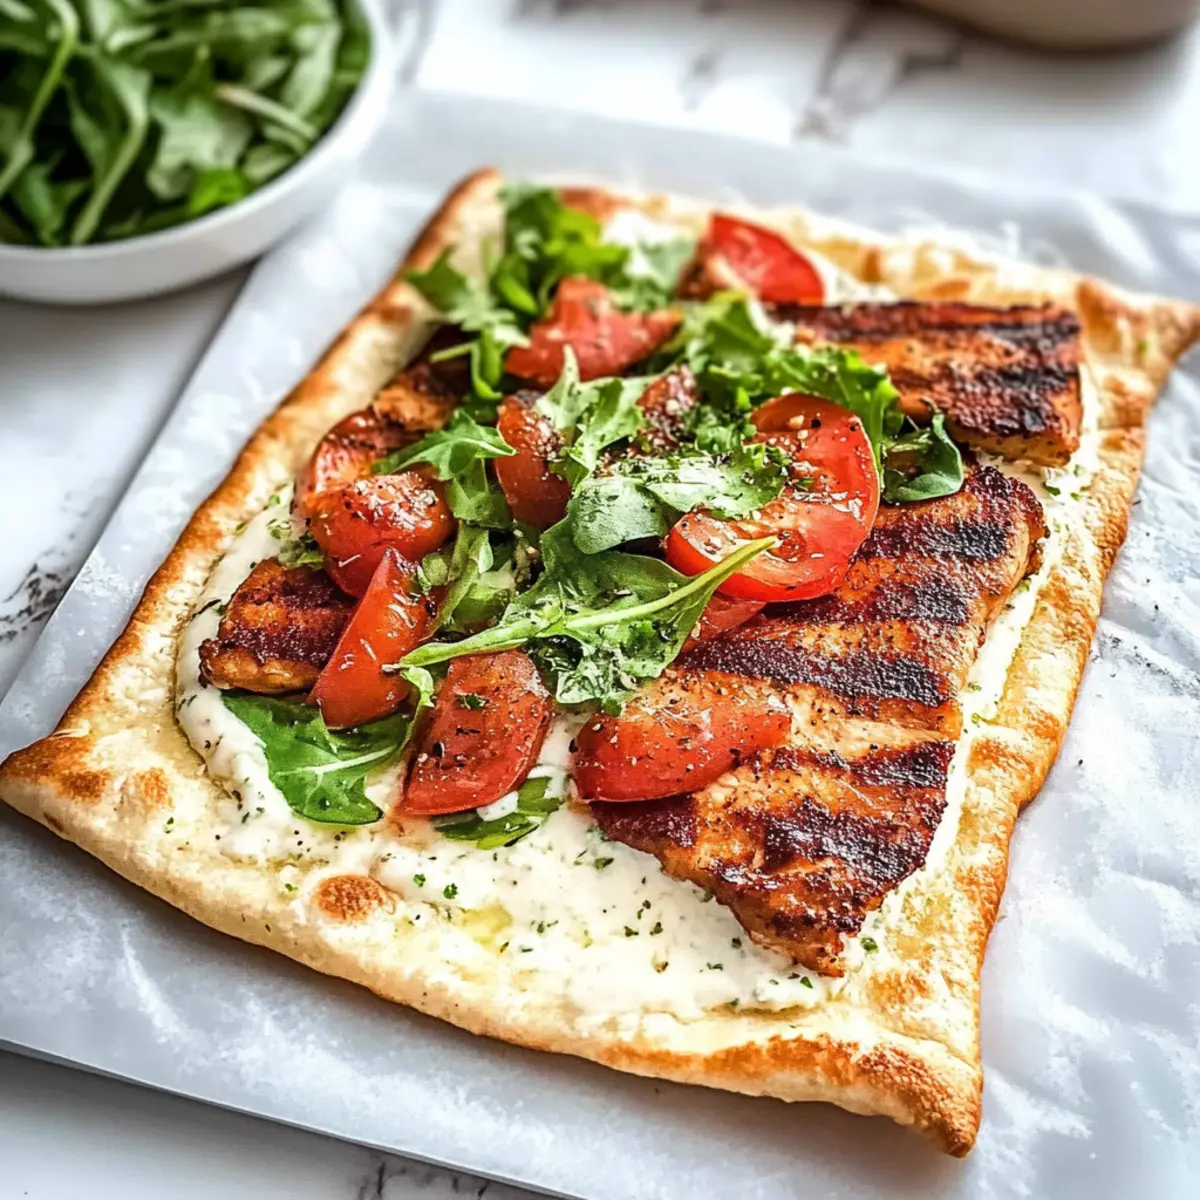
Deliciously Versatile: These wraps can be filled with anything from grilled chicken to fresh veggies, making them perfect for both lunch and dinner!
High in Protein: With over 21 grams of protein per serving, they’re a fantastic choice for fueling your day.
Simple Prep: Just blend, bake, and roll—this recipe is a breeze for all skill levels.
Meal Prep Friendly: Make a batch ahead of time and have wraps ready for quick meals throughout the week. Try pairing them with options like Baked Cream Cheese for an extra treat!
Guilt-Free Indulgence: Gluten-free and low-carb, these wraps keep you satisfied without the carbs. Enjoy a wholesome meal that feels indulgent without the guilt!
Cottage Cheese Wraps Ingredients
• Delicious wraps in no time!
For the Wrap
- Full-fat Cottage Cheese – Adds protein and moisture; for a lighter option, substitute with low-fat cottage cheese, but the texture may be drier.
- Large Eggs – Essential for binding the ingredients together, providing both structure and richness.
- Grated Parmesan Cheese – Gives flavor and texture; can easily be swapped with finely grated mozzarella or a melted dairy-free cheese alternative.
- Garlic Powder – Brings in savory notes; feel free to skip it if you prefer a milder flavor.
- Italian Seasoning – Elevates the flavor profile of the wraps; adjust the amount based on your personal taste.
Optional Fillings
- Grilled Chicken – A great protein source to fill your wraps; pairs beautifully with creamy sauces or fresh veggies.
- Fresh Vegetables – Any combination of peppers, spinach, or cucumbers can add crunch and nutrients to your wrap.
- Cream Cheese – Perfect for a rich, flavorful spread; combine with crispy bacon or herbs for delightful variations.
- Avocado – Offers creaminess and healthy fats; try it with a sprinkle of lime for a zesty boost!
These Cottage Cheese Wraps are the perfect foundation for a world of delicious possibilities!
Step‑by‑Step Instructions for Cottage Cheese Wraps
Step 1: Preheat the Oven
Preheat your oven to 350°F (175°C) while you prepare the wraps. Line a baking sheet with parchment paper and lightly grease it to ensure your Cottage Cheese Wraps don’t stick. This step is crucial for easy removal later, so make sure you cover the entire surface uniformly.
Step 2: Blend the Mixture
In a blender, combine the full-fat cottage cheese, large eggs, grated Parmesan cheese, garlic powder, and Italian seasoning. Blend the mixture for about 1 minute, or until it achieves a smooth and creamy consistency. The vibrant mixture signals it’s ready when it has no lumps, creating a lush base for your wraps.
Step 3: Prepare the Baking Tray
Pour the blended mixture onto the prepared baking tray, spreading it evenly into a thin rectangle. Aim for about 1/4 inch thickness to ensure the Cottage Cheese Wraps bake uniformly. Use a spatula to smooth the top; the evenness of the spread is key for consistent cooking throughout.
Step 4: Bake the Wraps
Carefully place the tray in the preheated oven and bake for 30–35 minutes. Keep an eye on them, as you’ll know they’re done when the top is set and lightly golden. Some ovens may take up to 40 minutes, so allow yourself to check on them around the 30-minute mark.
Step 5: Cool the Wraps
Once baked, remove the tray from the oven and let the wraps cool completely on the tray. This cooling step is essential to achieve the right texture; it helps firm them up, making it easier to handle and fill your Cottage Cheese Wraps without tearing.
Step 6: Fill and Roll
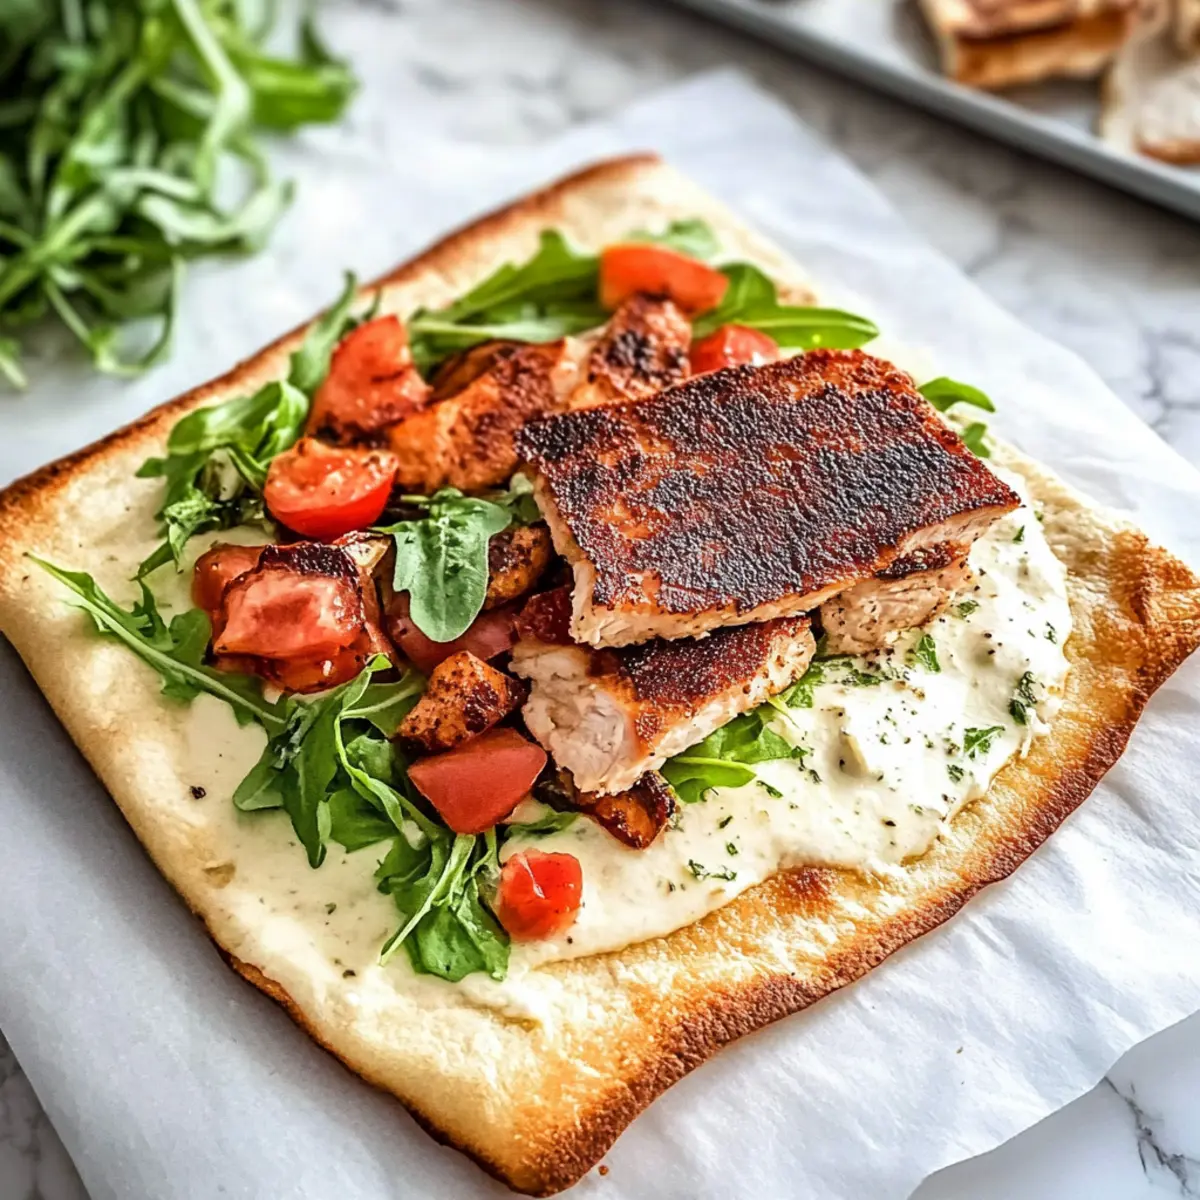
Once the wraps have cooled, cut them into the desired sections. Use your favorite fillings such as grilled chicken, fresh vegetables, or creamy spreads. Roll each filled section tightly; your Cottage Cheese Wraps are now ready for a delightful meal option, ensuring each bite is filled with flavor!
How to Store and Freeze Cottage Cheese Wraps
Fridge: Store leftover Cottage Cheese Wraps in an airtight container for up to 5 days. Place parchment paper between each wrap to prevent sticking and maintain their delightful texture.
Freezer: For longer storage, freeze the wraps flat, separated by parchment paper. They can last up to 2 months in the freezer. When ready to enjoy, thaw in the fridge overnight.
Reheating: Reheat wraps gently in a microwave or a non-stick skillet over low heat until warmed through, ensuring they remain soft and pliable for filling.
Meal Prep: Prepare multiple batches at once; these wraps are fantastic for quick, healthy meals throughout the week. Simply reheat and fill for a satisfying snack or meal!
What to Serve with High-Protein Cottage Cheese Wraps
As you prepare to fill these delightful wraps, consider bundling your meal with complementary sides that elevate your dining experience.
-
Fresh Garden Salad: Crisp greens with a tangy vinaigrette brighten up your meal, balancing the richness of the wraps.
-
Spicy Roasted Vegetables: A medley of bell peppers, zucchini, and carrots adds a smoky flavor that contrasts beautifully with soft wraps. The charred edges provide a delightful crunch!
-
Zesty Salsa: This fresh, vibrant topping can elevate your wraps, adding a burst of flavor and freshness that tantalizes the taste buds. Perfect for those who love a bit of kick!
-
Creamy Guacamole: Smooth and rich, guacamole pairs perfectly with the wraps, complementing their texture while offering healthy fats.
-
Chilled Gazpacho: A refreshing cold soup brings a unique twist to your meal, providing a light contrast to the warm wraps; ideal for hot summer days!
-
Herbed Quinoa: Fluffy quinoa tossed in herbs complements the protein-rich wraps, turning your dish into a wholesome feast. Plus, it enhances heartiness without overwhelming!
Indulge in these delightful pairings that not only enhance the flavors of your Cottage Cheese Wraps but also create a fulfilling dining experience.
Cottage Cheese Wraps Variations & Substitutions
Feel free to flex your culinary creativity and personalize your Cottage Cheese Wraps with these delightful tweaks and swaps!
- Dairy-Free: Replace full-fat cottage cheese with a plant-based alternative like almond or cashew cheese for a vegan option. This will yield a lovely, creamy texture without the dairy!
- Herby Bliss: Try substituting Italian seasoning with fresh herbs like basil, dill, or cilantro to brighten up your wraps. Fresh herbs can really elevate the flavors and add a wonderful aroma!
- Spicy Kick: Add a pinch of red pepper flakes to the batter for a flavorful, spicy twist that will tickle your taste buds without overwhelming the dish. It’s perfect for those who love a little heat!
- Extra Crunch: Mix in some finely chopped bell peppers or spinach leaves into the wrap mixture for added texture and nutrition. This addition brings vibrant color and a fresh crunch to every bite.
- Savory Bacon: Incorporate crumbled crispy bacon into your fillings for a deliciously savory profile. The smoky flavor of bacon pairs perfectly with creamy fillings like the Cream Cheese Danish.
- Sweet Treats: Swap savory fillings for a sweet approach; consider cream cheese and fruit like strawberries or blueberries for a delightful dessert wrap. Who says wraps can’t be sweet?
- Protein Boost: Mix in some cooked, shredded chicken or turkey into your chosen filling for even more protein and heartiness. You can pair it with any fresh veggies for a satisfying meal.
- Vegetarian Delight: Fill with roasted vegetables, herbs, and a sprinkle of feta cheese for a satisfying vegetarian option. The combination of roasted flavor and creamy cheese is simply irresistible!
These variations are just the beginning—your Cottage Cheese Wraps can take on countless new flavors and textures, so let your culinary imagination run free! Want more filling ideas? Check out this tasty link for options like Thanksgiving Mac Cheese for a comforting addition!
Make Ahead Options
These Cottage Cheese Wraps are a fantastic option for meal prep enthusiasts! You can prepare the base wrap mixture up to 24 hours in advance, simply blend and spread it onto your baking tray, then refrigerate it until you’re ready to bake. If you want to save even more time, bake the wraps and store them in an airtight container in the fridge for up to 3 days—make sure to stack them with parchment paper between to prevent sticking. When it’s time to enjoy your wraps, simply fill them with your favorite ingredients, roll them up, and savor a quick, nutritious meal that tastes just as delicious as fresh!
Expert Tips for Cottage Cheese Wraps
-
Grease Properly: Ensure your baking sheet is well-greased to prevent the wraps from sticking. A light spray of oil works wonders!
-
Cool Completely: Allow the wraps to cool fully before removing them from the parchment. This helps them firm up and prevents tearing during filling.
-
Thickness Matters: Spread the mixture to about 1/4 inch; this ensures even baking and prevents the wraps from being too thick or chewy.
-
Filling Ideas: Get creative with fillings! Think outside the box with smoked salmon, avocado, or even a breakfast-inspired combo like eggs and cheese.
-
Storage Savvy: Keep leftover Cottage Cheese Wraps fresh in an airtight container for up to 5 days, stacking them with parchment to avoid sticking.
Cottage Cheese Wraps Recipe FAQs
What type of cottage cheese should I use for the wraps?
I recommend using full-fat cottage cheese for the best moisture and texture, which provides that creamy satisfaction. If you prefer a lighter option, low-fat cottage cheese can be used, but keep in mind that it may yield a drier wrap.
How should I store leftover Cottage Cheese Wraps?
After you’ve enjoyed your wraps, store any leftovers in an airtight container in the fridge for up to 5 days. To keep them from sticking together, place pieces of parchment paper between each wrap—this little trick helps maintain their delightful texture!
Can I freeze Cottage Cheese Wraps?
Absolutely! To freeze, lay your wraps flat, ensuring to place parchment paper between each one to prevent sticking. They can last up to 2 months in the freezer. When you want to enjoy them, simply thaw them overnight in the fridge and reheat gently before filling.
What if my wraps are too thick after baking?
If you find your wraps are too thick, try spreading the mixture thinner next time—aim for about 1/4 inch thick. This ensures they bake evenly and gives you that perfect pliable texture. If they are already baked and too thick, slice them in half horizontally and fill them carefully to prevent tearing.
Are Cottage Cheese Wraps suitable for people with dietary restrictions?
Yes! These wraps are gluten-free and low-carb, making them an excellent choice for those with gluten sensitivities or following a keto diet. Just be sure to double-check your filling ingredients to accommodate any allergies or dietary needs.
What are some filling ideas for my Cottage Cheese Wraps?
The more the merrier when it comes to fillings! You might try grilled chicken with fresh veggies, smoked salmon with cream cheese, or even a breakfast version with eggs and cheese. Feel free to get creative with anything you enjoy—it’s all about finding that perfect combo!
Delicious Cottage Cheese Wraps: Low-Carb Meal Prep Delight
Ingredients
Equipment
Method
- Preheat your oven to 350°F (175°C) and line a baking sheet with parchment paper.
- In a blender, combine cottage cheese, eggs, Parmesan cheese, garlic powder, and Italian seasoning. Blend until smooth.
- Pour the mixture onto the baking tray, spreading it into a thin rectangle.
- Bake for 30–35 minutes until the top is set and lightly golden.
- Let the wraps cool completely on the tray to achieve the right texture.
- Cut the wraps into sections and fill with your favorite ingredients. Roll tightly and enjoy!
Leave a Reply