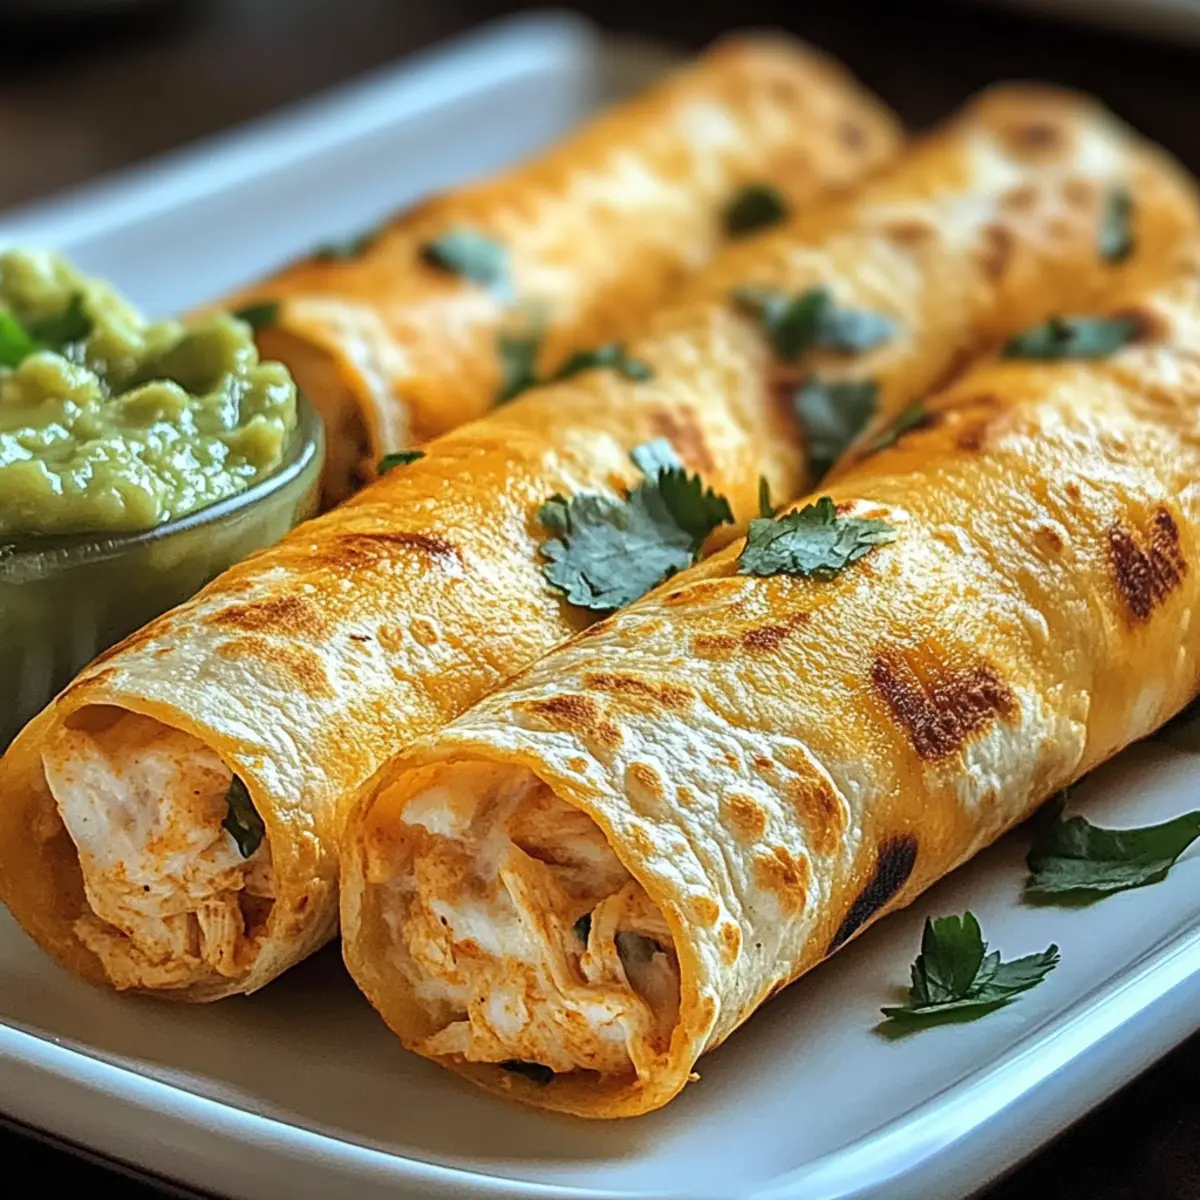
As I pulled a tray of Crispy Chicken Taquitos from the oven, the delightful sizzle and golden hue transported me to a cozy Mexican eatery, where every bite tells a story. These little bundles of joy are not just a feast for the eyes; they’re a quick and easy way to enjoy a homemade snack that will impress family and friends alike. With their creamy, spiced shredded chicken filling and variations that allow for a baked or air-fried option, they’re the perfect solution for a bustling weeknight dinner or a festive game day treat. Plus, you can customize the toppings to match your mood or the occasion. So, what’s stopping you from making these irresistible taquitos a regular in your kitchen?
Why You’ll Crave These Taquitos
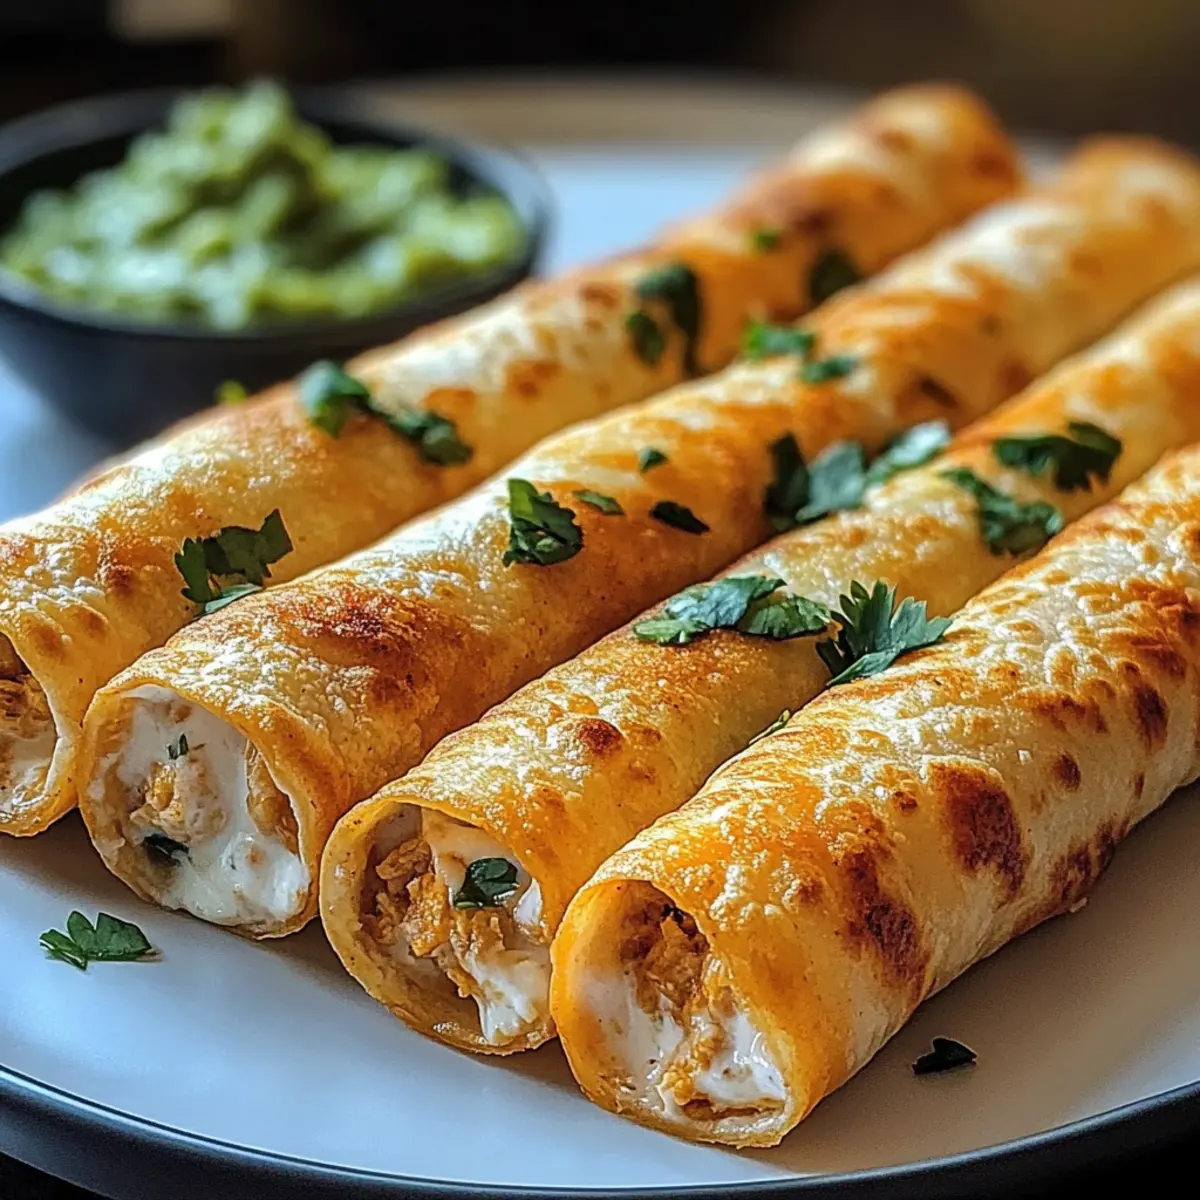
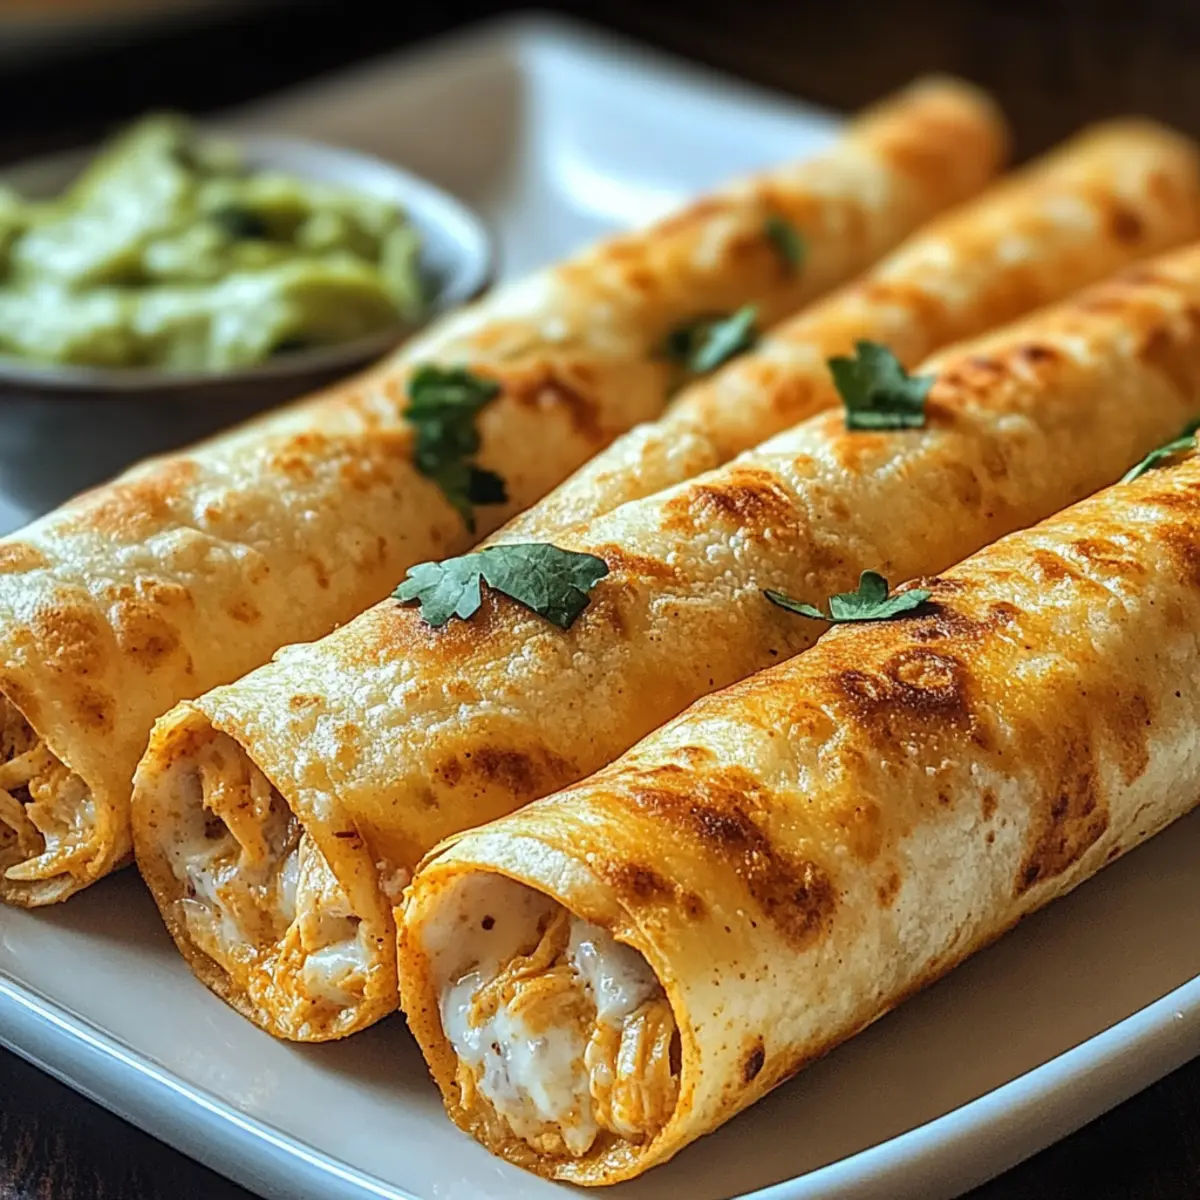
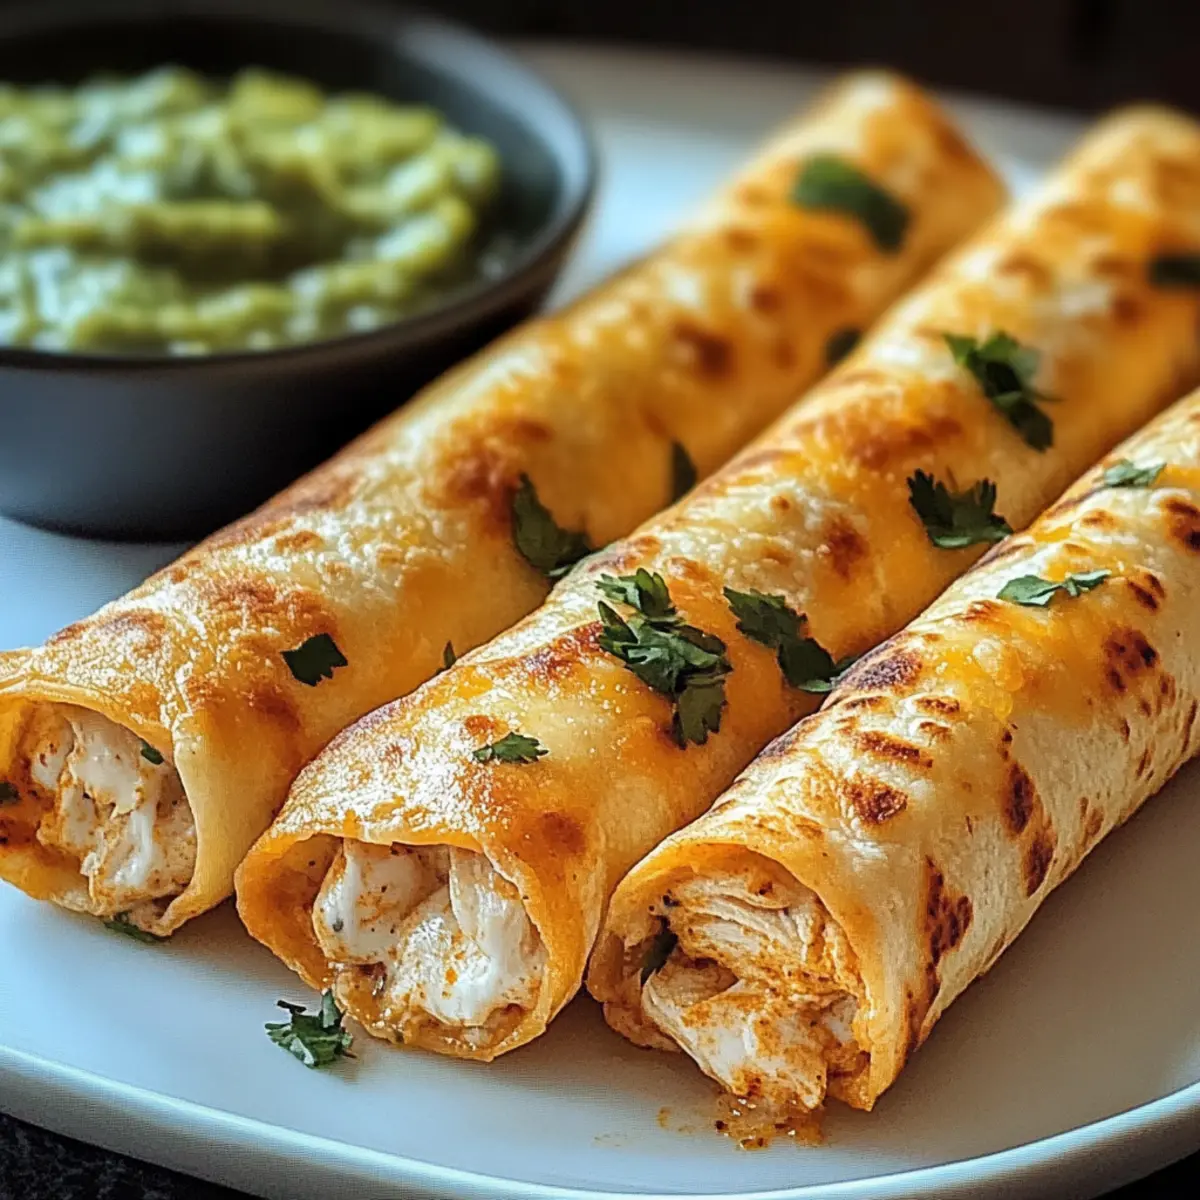
Crispy, Golden Goodness: Every bite of these Crispy Chicken Taquitos delivers a satisfying crunch that’s hard to resist.
Customizable Flavors: Add your favorite toppings like guacamole or freshly chopped cilantro for a personal touch.
Quick to Make: Whip these up in just 30 minutes – a fantastic time-saver for busy weeknights!
Family-Friendly: These taquitos are a surefire hit, bringing smiles to both kids and adults during game nights or casual gatherings.
Versatile Cooking Methods: Whether you prefer the crispy texture from the oven or the quick efficiency of an air fryer, this recipe suits any cooking style.
Crispy Chicken Taquitos Ingredients
• Dive into the delightful world of Crispy Chicken Taquitos with these essential ingredients!
For the Filling
• Cooked Shredded Chicken – Adds protein and essential flavor; using rotisserie chicken makes it a breeze.
• Cream Cheese – Delivers creaminess and richness; substitute with Greek yogurt for a lighter twist.
• Shredded Cheese (Cheddar or Mexican Blend) – Provides extra flavor and texture; try Monterey Jack for a delightful melt.
• Salsa – Introduces moisture and a flavor kick; opt for mild or spicy according to your preference.
• Garlic Powder – Enhances overall flavor; fresh minced garlic can bring a bolder taste if you prefer.
• Chili Powder & Cumin – Adds warmth and depth; feel free to adjust these spices to your liking.
• Salt and Black Pepper – Essential for elevating and balancing all flavors.
For the Wrapping
• Tortillas (Flour or Corn) – The perfect vessel for the filling; corn tortillas are great for gluten-free options. Warm them before rolling to avoid cracking.
For Crispiness
• Cooking Spray or Oil – Brush lightly for that irresistible crunchy finish when baking or air frying.
Step‑by‑Step Instructions for Crispy Chicken Taquitos
Step 1: Preheat the Oven
Begin by preheating your oven to 425°F (220°C). While that’s warming up, prepare a baking sheet by lining it with parchment paper or giving it a light coat of cooking spray. This will help your Crispy Chicken Taquitos emerge golden brown and prevent sticking during baking.
Step 2: Mix the Filling
In a large mixing bowl, combine your cooked shredded chicken, cream cheese, and shredded cheese along with the salsa, garlic powder, chili powder, cumin, salt, and pepper. Use a fork or spatula to blend these ingredients thoroughly until they form a creamy, well-mixed filling. The mixture should have a vibrant, cohesive appearance, reflecting the flavors you’ll enjoy.
Step 3: Warm the Tortillas
To make rolling easier, warm the tortillas in the microwave for about 20 seconds. This slight heating will soften the tortillas, making them flexible and less likely to crack as you start assembling your Crispy Chicken Taquitos. Keep them covered with a clean towel to maintain warmth as you prepare the rest.
Step 4: Fill and Roll the Taquitos
Take a warmed tortilla and spoon 2-3 tablespoons of the chicken filling onto one edge. Carefully roll the tortilla tightly around the filling, creating a neat cylinder. Repeat this for each tortilla, placing the rolled taquitos seam-side down on your prepared baking sheet to keep them secure while baking.
Step 5: Arrange on Baking Sheet
Once all taquitos are rolled, arrange them neatly on the baking sheet, making sure they’re spaced apart to allow air circulation. This will help each Crispy Chicken Taquito achieve that irresistible crunch. If you have any excess filling, you can sprinkle it on top for added flavor.
Step 6: Add Oil for Crispness
Lightly brush or spray the tops of the taquitos with oil for that extra crispy texture. Each taquito should glisten slightly; this will enhance the golden color as they bake. Be sure to coat every side facing up to achieve an evenly crispy batch of taquitos.
Step 7: Bake the Taquitos
Place the baking sheet in your preheated oven and bake the taquitos for about 15-20 minutes. Keep an eye on them; you’re looking for a lovely golden brown coloration on the outside. If you prefer an even crispier finish, broil them for 1-2 minutes at the end, watching closely to prevent burning.
Step 8: Serve and Garnish
Once out of the oven, let the Crispy Chicken Taquitos cool for a few minutes before serving. This waiting time helps reset the heat, preventing any burnt tongues. Pair your taquitos with a side of sour cream, guacamole, or a sprinkle of fresh cilantro for a vibrant finish, and enjoy the delicious crunch!
What to Serve with Crispy Chicken Taquitos
As the alluring aroma wafts through your kitchen, it’s time to think about what delightful sides will complement these crunchy delights.
-
Creamy Guacamole: This buttery dip provides a refreshing contrast, adding a smooth texture that balances the crunch of the taquitos.
Enjoy it with crispy chips as a pre-dinner snack or slathered on the taquitos for a rich flavor. -
Zesty Salsa Fresca: A vibrant mix of chopped tomatoes, onions, and cilantro brings a burst of freshness. Its acidity cuts through the richness of the filling, making each bite even more enjoyable.
-
Spicy Black Beans: Hearty seasoned black beans add a nutritious, savory element to your meal. Their slight smokiness harmonizes beautifully with the spicy notes in the taquitos.
-
Mexican Street Corn Salad: Bright and colorful, this salad brings in grilled corn, cotija cheese, cilantro, and a hint of lime. It’s a delightful and vibrant complement that offers a sweet contrast to the spicy taquitos.
-
Crispy Potato Wedges: These golden nuggets add a substantial bite and can be seasoned in a similar style to the taquitos. Serve them with your favorite dipping sauce for a satisfying crunch.
-
Chilled Lime Agua Fresca: A refreshing drink made of fresh lime juice, water, and a hint of sweetness. The zesty flavor perfectly quenches your thirst and complements the bold flavors of the taquitos.
-
Mini Churros: For dessert, these sugary, cinnamon-sprinkled treats add a sweet finish to your meal. Their crispy exterior and soft inside make them a perfect pairing for the savory taquitos.
-
Crispy Kale Chips: For a lighter touch, these crunchy chips provide a nutritious and crunchy contrast, allowing you to indulge without guilt. Their salty flavor pulls the whole plate together.
How to Store and Freeze Crispy Chicken Taquitos
Room Temperature: Taquitos should not be left at room temperature for more than 2 hours to prevent spoilage.
Fridge: Store leftover Crispy Chicken Taquitos in an airtight container for up to 3 days. Reheat in the oven for a crispier texture.
Freezer: Assemble taquitos without baking, then place them in an airtight container or freezer bag. They can be frozen for up to 3 months and baked directly from frozen, adding a few extra minutes to the cooking time.
Reheating: To reheat, place thawed or frozen taquitos in a preheated oven at 400°F (200°C) for 10-15 minutes, until heated through and crispy.
Make Ahead Options
Crispy Chicken Taquitos are perfect for meal prepping and can save you time on busy weeknights! You can assemble the taquitos up to 24 hours in advance by filling and rolling them but hold off on baking. Place the prepared taquitos in a single layer on a lined baking sheet, cover with plastic wrap, and refrigerate. This will keep them fresh and avoid sogginess. When you’re ready to enjoy them, simply bake straight from the fridge for about 20-25 minutes, adding a few minutes if they’re chilled, to achieve that golden crunch. Enjoy fresh, homemade taquitos with minimal fuss!
Expert Tips for Crispy Chicken Taquitos
-
Cooling Time: Allow 5-10 minutes to cool before serving to avoid mouth burns. Crispy Chicken Taquitos are perfectly safe and delicious once they’ve settled a bit.
-
Freezer-Friendly: Want to prep ahead? Assemble the taquitos without baking them, then store in an airtight container. Bake directly from the freezer, adding a few minutes to the cooking time.
-
Chicken Choice: For optimal flavor, use fresh or rotisserie chicken. Canned chicken can lead to a mushy texture, so please avoid that for these crispy delights.
-
Leftover Love: Enjoy leftovers within 3 days by storing them in the refrigerator. Reheat in the oven for the best crunchy texture—a microwave won’t do them justice!
-
Spice It Up: For an extra kick, mix diced jalapeños or hot sauce into the filling. Adjust the spices according to your taste for perfect seasoning in every batch.
Crispy Chicken Taquitos Variations
Feel free to get creative with your taquitos and make them your own with these fun and delicious twists!
-
Spicy Kick: Mix in diced jalapeños or a splash of your favorite hot sauce to the filling for an extra zing that’ll wake up your taste buds. Spice levels can be tailored to your heat threshold for the perfect bite.
-
Vegetarian Delight: Swap the chicken for black beans or refried beans to cater to vegetarian guests. The same aromatic spices add depth, ensuring every bite is satisfying and packed with flavor.
-
Cheese Lovers Unite: Experiment with different cheeses like Pepper Jack for a kick or a rich Swiss for creaminess. Mixing cheeses brings a wonderful melty texture that enhances each taquito.
-
Veggie Boost: Add sautéed vegetables, such as spinach, corn, or bell peppers into your filling. This not only packs in nutrition but also adds vibrant color and taste to each crunchy roll.
-
Corn Tortillas: For a gluten-free option, use corn tortillas instead of flour. They bring a lovely texture and can be just as delicious when warm and rolled tightly.
-
Crispy Air Fryer: If you’re short on time, air fry your taquitos! They cook faster while ensuring that delightful crunch and golden perfection that everyone loves in taquitos.
-
Salsa Variations: Try using different types of salsas, like mango or pineapple salsa, for a sweet contrast that complements the savory filling beautifully.
And if you’re in the mood for more Mexican-inspired flavors, check out the Mexican Lime Chicken or the delightful Moo Shu Chicken for your next culinary adventure!
Crispy Chicken Taquitos Recipe FAQs
What type of chicken should I use for the filling?
Absolutely! I recommend using cooked shredded chicken, and for ease, a rotisserie chicken works perfectly. It brings incredible flavor without the fuss. If you prefer, you can use leftover chicken from a previous meal; just ensure it’s well-shredded for even distribution throughout the taquitos.
How should I store leftover Crispy Chicken Taquitos?
Store any leftover Crispy Chicken Taquitos in an airtight container in the refrigerator for up to 3 days. To maintain their delightful crunch, reheat them in the oven at 400°F (200°C) for about 10-15 minutes until heated through and crispy again. Avoid the microwave, as it can make them soggy.
Can I freeze taquitos before baking them?
Very much so! You can prepare your taquitos ahead of time. Just assemble them without baking, then place them in an airtight container or a freezer bag. They can be frozen for up to 3 months. When you’re ready to enjoy them, bake directly from the freezer, adding about 5-10 extra minutes to the usual cooking time.
How can I ensure my tortillas don’t crack while rolling?
To prevent your tortillas from cracking, warming them in the microwave for about 20 seconds does wonders! This makes them soft and pliable. Additionally, keeping them covered with a clean kitchen towel while you work can help maintain their warmth.
What are some dietary considerations for the Crispy Chicken Taquitos?
If you’re looking to cater to different dietary needs, consider using gluten-free corn tortillas instead of flour ones for those with gluten sensitivities. For a vegetarian version, substitute the shredded chicken with black beans or refried beans mixed with the same spices. It’s a delicious option that everyone can enjoy!
Can I add extra spices to customize the flavor?
The more the merrier! Feel free to adjust the spices according to your taste by adding more chili powder, cumin, or even diced jalapeños for a spicy kick. You can also experiment with other herbs and spices to create a flavor profile that resonates with your crowd. Enjoy the cooking adventure!
Crispy Chicken Taquitos: Quick, Flavor-Packed Family Snack
Ingredients
Equipment
Method
- Preheat your oven to 425°F (220°C) and prepare a baking sheet by lining it with parchment paper or a light coat of cooking spray.
- In a large bowl, mix the cooked shredded chicken, cream cheese, shredded cheese, salsa, garlic powder, chili powder, cumin, salt, and pepper until well combined.
- Warm the tortillas in the microwave for about 20 seconds to make them more pliable.
- Place 2-3 tablespoons of the filling on one edge of a warmed tortilla and roll it tightly.
- Arrange the rolled taquitos seam-side down on the prepared baking sheet.
- Lightly brush or spray the tops of the taquitos with oil.
- Bake the taquitos in the oven for about 15-20 minutes until golden brown, broiling for 1-2 minutes for extra crispness if desired.
- Allow cooling for a few minutes before serving with sour cream, guacamole, or cilantro.
Leave a Reply