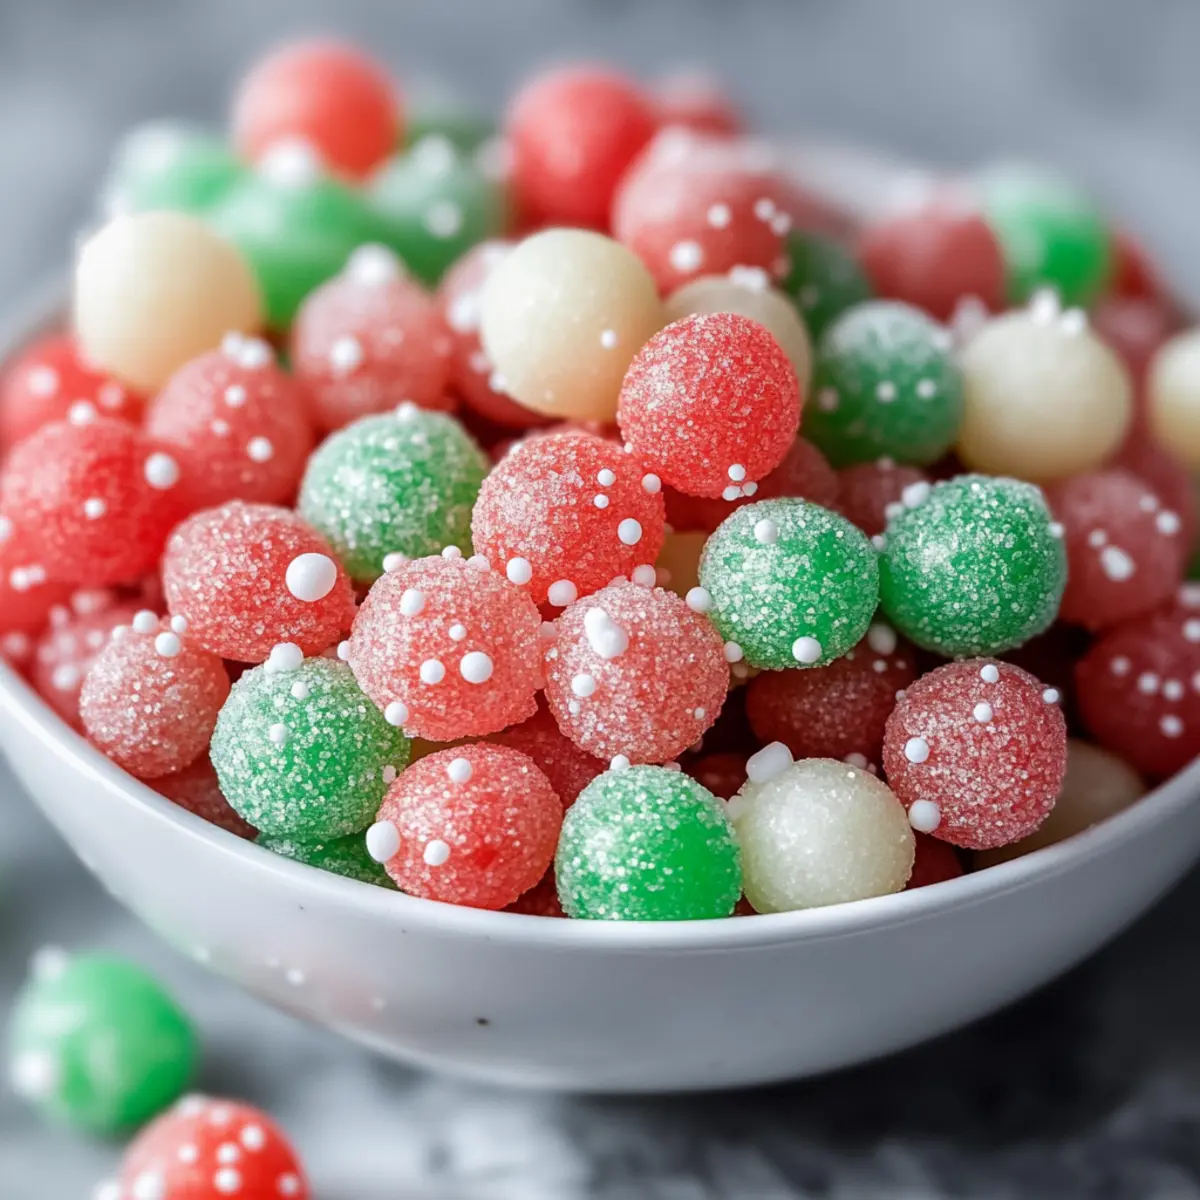
As I rummaged through my kitchen, I stumbled upon a nostalgic recipe that instantly transported me back to my childhood—DIY Christmas Bubble Gum. This delightful homemade candy isn’t just any sweet treat; it’s a festive adventure waiting to unfold! In just 15 minutes, I create these chewy, unique bubbles that are perfect for sharing during the holiday season. Not only do they add a fun twist to the typical Christmas candies, but they’re also gluten-free and fat-free, making them a guilt-free indulgence! Imagine the joy of packaging these colorful gum balls as special gifts, or enjoying them at holiday gatherings where everyone can join in the fun. Curious about how to create your own batch of festive bubble gum? Let’s dive into this sweet holiday project together!
Why Make Your Own Bubble Gum?
Joyful experience: Creating DIY Christmas Bubble Gum transforms an ordinary day into a cheerful memory. Perfect for kids and adults alike, it’s a festive activity everyone can enjoy together.
Customize your flavors: Add a personal twist by experimenting with unique flavors like gingerbread or cinnamon, keeping everyone intrigued.
Guilt-free treat: With its gluten-free and fat-free nature, this delightful gum allows you to indulge without the extra calories.
Gift-giving made special: Package these cheerful gum balls in charming bags for a thoughtful homemade gift that friends and family will cherish this holiday season!
For more treat ideas, don’t miss out on my delightful Joy Christmas Fudge or explore fun variations like Tiramisu Christmas Cookies. Happy chewing!
DIY Christmas Bubble Gum Ingredients
For the Gum Base
• Gum Base – Essential for holding the gum’s form and ensuring a chewy texture.
• Corn Syrup – Acts as both a sweetener and a moisture maintainer, creating the perfect chew.
For Sweetening
• Powdered Sugar – Adds sweetness while reducing stickiness during the kneading process.
For Flavor
• Flavor Oils (peppermint, spearmint) – Provides concentrated holiday flavors without affecting the gum’s texture, making each chew delightful.
For Color
• Food Coloring – Offers festive visual appeal, allowing you to customize your gum according to holiday themes and personal preferences.
Step‑by‑Step Instructions for DIY Christmas Bubble Gum
Step 1: Gather Ingredients
Begin by assembling all your ingredients for the DIY Christmas Bubble Gum. You’ll need gum base, corn syrup, powdered sugar, flavor oils like peppermint, and festive food coloring. Prepare a clean workspace and ensure your equipment, such as a microwave-safe bowl, mixing spatula, and powdered sugar for dusting, are within reach. This setup will make your bubble gum-making experience smooth and enjoyable.
Step 2: Melt the Gum Base
Place the gum base into a microwave-safe bowl, breaking it into smaller pieces for even melting. Heat it in the microwave on medium power in 20-second intervals, stirring after each burst, until the gum base is fully melted and glossy. This process should take about 1 to 2 minutes. Be careful not to overheat, as this can make the gum chewy instead of soft and pliable.
Step 3: Incorporate Ingredients
Once melted, add the corn syrup to the gum base and mix thoroughly with a spatula. Gradually sift in the powdered sugar while stirring continuously until a sticky dough forms. The mixture should start to come together but remain slightly tacky. This step ensures your bubble gum achieves the right texture, making it delightful to chew once finished.
Step 4: Knead the Gum
Dust your hands and work surface with powdered sugar to prevent sticking, then transfer the sticky gum mixture onto the surface. Begin kneading it for about 5 minutes, folding and pressing until the gum becomes smooth and manageable. This process allows the sugar to integrate fully, resulting in the perfect consistency for your DIY Christmas Bubble Gum.
Step 5: Color and Flavor
Create a cheerful holiday twist by adding your selected flavor oils and food coloring to the kneaded gum. Start with a few drops of peppermint oil or your chosen flavor and mix in a drop or two of food coloring. Continue kneading until the colors and flavors are uniformly distributed, ensuring each piece of bubble gum encapsulates the festive spirit.
Step 6: Form Gum Balls
Once your gum is well-mixed, pinch off small sections and roll them into balls, or shape them using a cookie cutter for fun forms. Aim for a size that is easy to chew, about one inch in diameter. Place the shaped gum onto a parchment-lined tray to cool down and set. This step allows your bubble gum to hold its festive shapes.
Step 7: Package for Presentation
After the gum balls have completely cooled, you can store them in an airtight container to maintain freshness or get creative with your presentation. Consider placing each piece into decorative bags or jars tied with colorful ribbons. This thoughtful touch makes your DIY Christmas Bubble Gum a delightful gift for friends and family during the holiday season.
Make Ahead Options
These festive DIY Christmas Bubble Gum treats are perfect for meal prep, saving you valuable time during the busy holiday season! You can prepare the gum base up to 24 hours in advance—simply complete steps 1 through 5 (gathering ingredients, melting, incorporating, kneading, and flavoring) and store the kneaded gum in an airtight container at room temperature. This way, the flavors will mingle beautifully overnight. When you’re ready to make the gum balls, just roll the mixture into your desired shapes and package them for gifts or parties. Maintaining the gum’s quality is crucial, so ensure it’s completely cooled before storing and use parchment paper between layers if stacking. Enjoy the delight of having your festive gum ready to share with loved ones!
What to Serve with DIY Christmas Bubble Gum?
Imagine the vibrant holiday atmosphere accompanied by delightful treats that complement your bubbly creation.
-
Hot Cocoa:
A warm mug of rich hot cocoa enhances the nostalgic joy, perfect for sipping while chewing gum. -
Peppermint Bark:
The crunchy chocolate and refreshing peppermint flavors pair beautifully, creating a dreamy holiday dessert duo. -
Festive Fruit Salad:
Bright, fresh fruits add a refreshing contrast to the sweet gum, balancing out the richness of holiday treats. -
Spiced Cookies:
A plate of warm spiced cookies offers a wonderful texture and flavor contrast, inviting delightful bites with each chew. -
Eggnog:
This creamy holiday favorite adds a luxurious touch to your treat-filled celebrations, creating a festive drink pairing. -
Christmas Punch:
A vibrant, fruit-filled punch provides a fun seasonal drink option that perfectly complements the playful nature of bubble gum.
DIY Christmas Bubble Gum Variations
Get ready to explore exciting ways to customize your bubble gum treat with these fun and festive ideas!
-
Cinnamon Swirl: Substitute peppermint flavor with cinnamon oil for a warm, holiday spice that will wrap you in cozy vibes.
-
Gingerbread Twist: Infuse your gum with gingerbread flavor oil, adding festive warmth that will evoke the spirit of holiday baking.
-
Bold Color Combos: Mix classic red and white colors for a candy cane effect, or opt for green and gold to create a modern holiday showstopper.
-
Savory Surprise: For adventurous palates, try adding maple flavor combined with a hint of bacon for a quirky, sweet-savory twist that will surprise and thrill.
-
Fruit Festivity: Swap in fruit-flavored oils like cherry or strawberry for a cheerful candy explosion that brings a fruity flair to your festive gatherings.
-
Peppermint Crunch: Fold in tiny candy cane pieces into the gum before shaping for a delightful crunch and extra festive flavor.
-
Chocolate Mint Delight: Combine peppermint flavor with a touch of chocolate oil for a decadent twist that echoes classic holiday treats.
-
Spicy Heat: Add a drop of cayenne or chili oil to your gum for those who enjoy a little kick to contrast with the sweetness.
For more candy inspiration, don’t forget to check out my Christmas Spice Cake or indulge in some delightful Tiramisu Christmas Cookies. Happy experimenting!
Expert Tips for DIY Christmas Bubble Gum
-
Keep It Cool: Allow the gum to cool adequately before handling it; this ensures it retains its shape and chewiness.
-
Watch the Heat: When melting the gum base, use short bursts in the microwave to avoid overheating, preserving the ideal texture.
-
Kneading Techniques: If the gum becomes too sticky, dust your hands and surface with powdered sugar regularly to prevent adhesion.
-
Flavor Choices Matter: Opt for oil-based flavorings over alcohol-based extracts; the former won’t alter the gum’s consistency, ensuring a perfect flavor profile.
-
Presentation Counts: Package your DIY Christmas Bubble Gum in festive jars or bags to make gift-giving special and memorable!
How to Store and Freeze DIY Christmas Bubble Gum
Room Temperature: Store the gum in an airtight container at room temperature for up to 2-3 weeks, allowing you to enjoy your festive treat fresh and flavorful.
Freezer: If you want to store it for longer, wrap the gum tightly in plastic wrap and place it in a freezer-safe bag. It can last up to 3 months in the freezer without losing its delightful texture.
Thawing: When ready to enjoy your frozen DIY Christmas Bubble Gum, let it thaw at room temperature for about 15-20 minutes before chewing for optimal softness.
Reheating: Do not microwave the gum after freezing, as this can alter its texture; just let it come back to room temperature naturally.
DIY Christmas Bubble Gum Recipe FAQs
What is the best way to select and use ripe ingredients?
Absolutely! When it comes to the ingredients, the gum base you choose should be fresh and free from any discoloration or hard bits. For flavor oils, look for high-quality, oil-based varieties; these will offer richer and more concentrated flavors essential for making the most out of your DIY Christmas Bubble Gum. The fresher your flavor oils, the more vibrant the taste!
How should I store leftover gum, and how long does it last?
To keep your gum fresh, store it in an airtight container at room temperature. This method ensures it remains chewable and flavorful for 2-3 weeks. Just remember, the humidity in your kitchen can affect its texture, so a cool, dry spot is ideal for storing your delightful treats.
Can I freeze my DIY Christmas Bubble Gum, and how do I do it?
Certainly! To freeze your bubble gum, wrap each piece tightly in plastic wrap and place them in a freezer-safe bag. This method prevents freezer burn and keeps the gum in perfect condition. The gum can be stored for up to 3 months in the freezer. When you’re ready to enjoy your frozen gum, simply let it thaw at room temperature for about 15-20 minutes before chewing for that perfect soft texture!
What should I do if my gum turns out too sticky?
If your DIY Christmas Bubble Gum ends up sticky, don’t worry! Dust your hands and work surface with powdered sugar as you knead it; this will help absorb the excess moisture. If it remains sticky after kneading, you may need to incorporate a little more powdered sugar until you achieve your desired consistency. Just be sure to go easy, adding a teaspoon at a time to avoid making it too dry.
Can dogs eat bubble gum, and are there any allergy concerns?
It’s important to note that pets should not consume bubble gum, as it can contain xylitol, which is toxic to dogs. Always check your ingredients if sharing treats with others, especially those with allergies. This homemade gum is gluten-free and fat-free, but individuals with specific sensitivities should always confirm ingredient lists to ensure everything is safe for their consumption.
Festive DIY Christmas Bubble Gum: A Sweet Holiday Adventure
Ingredients
Equipment
Method
- Gather your ingredients and setup your workspace.
- Melt the gum base in a microwave-safe bowl until glossy.
- Incorporate corn syrup and sift in powdered sugar to form dough.
- Knead the mixture for about 5 minutes until smooth.
- Add flavor oils and food coloring, mixing until uniform.
- Shape into gum balls and place on a parchment-lined tray.
- Package cooled gum balls in decorative bags or jars.
Leave a Reply