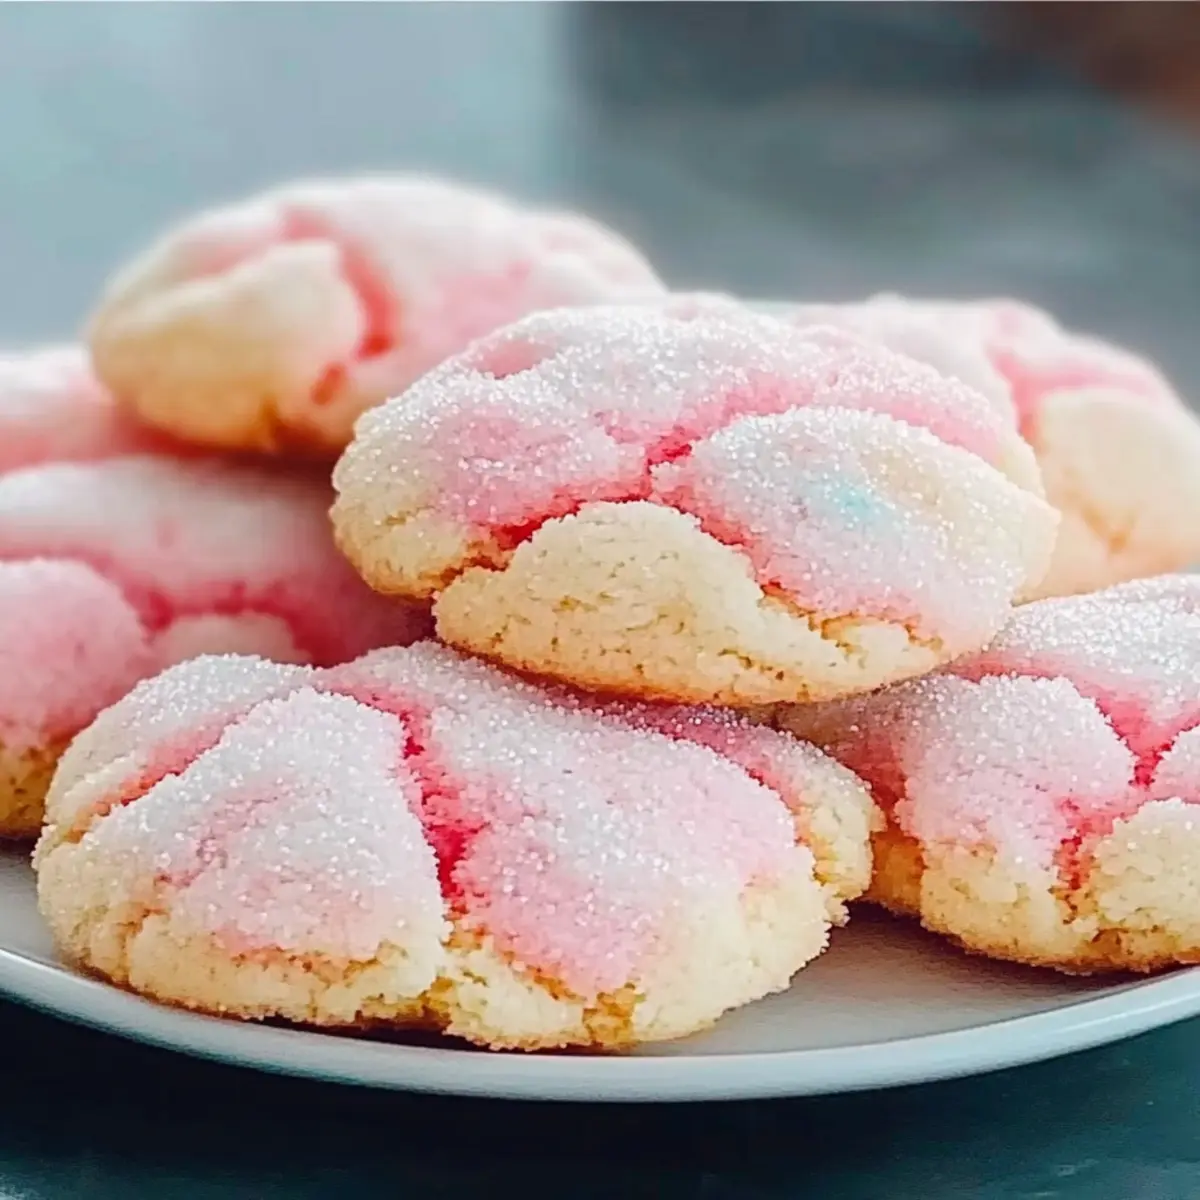
As I stood peering into my mixing bowl, I felt like a kid again, transported back to those vibrant summer days at the fair. The Magical Cotton Candy Cookies are a delightful tribute to that nostalgic treat and they’re just as fun to make! With a soft and chewy texture that melts in your mouth, these cookies also pack a punch of whimsy with their colorful hues and airy flavor. Best of all, they come together in just 25 minutes, making them the perfect sweet treat for gatherings or casual family snacks. Whether you’re celebrating a special occasion or simply crave a touch of joy, these cookies are guaranteed to uplift spirits and spark smiles. Ready to bring the magic to your kitchen? Let’s dive into this playful recipe!

Why Are Magical Cotton Candy Cookies Special?
Whimsy and Nostalgia: These delightful cookies revive childhood memories of summer fairs with their unique cotton candy flavor.
Quick and Easy: You can whip up these treats in just 25 minutes, perfect for unexpected guests or a spontaneous sweet craving.
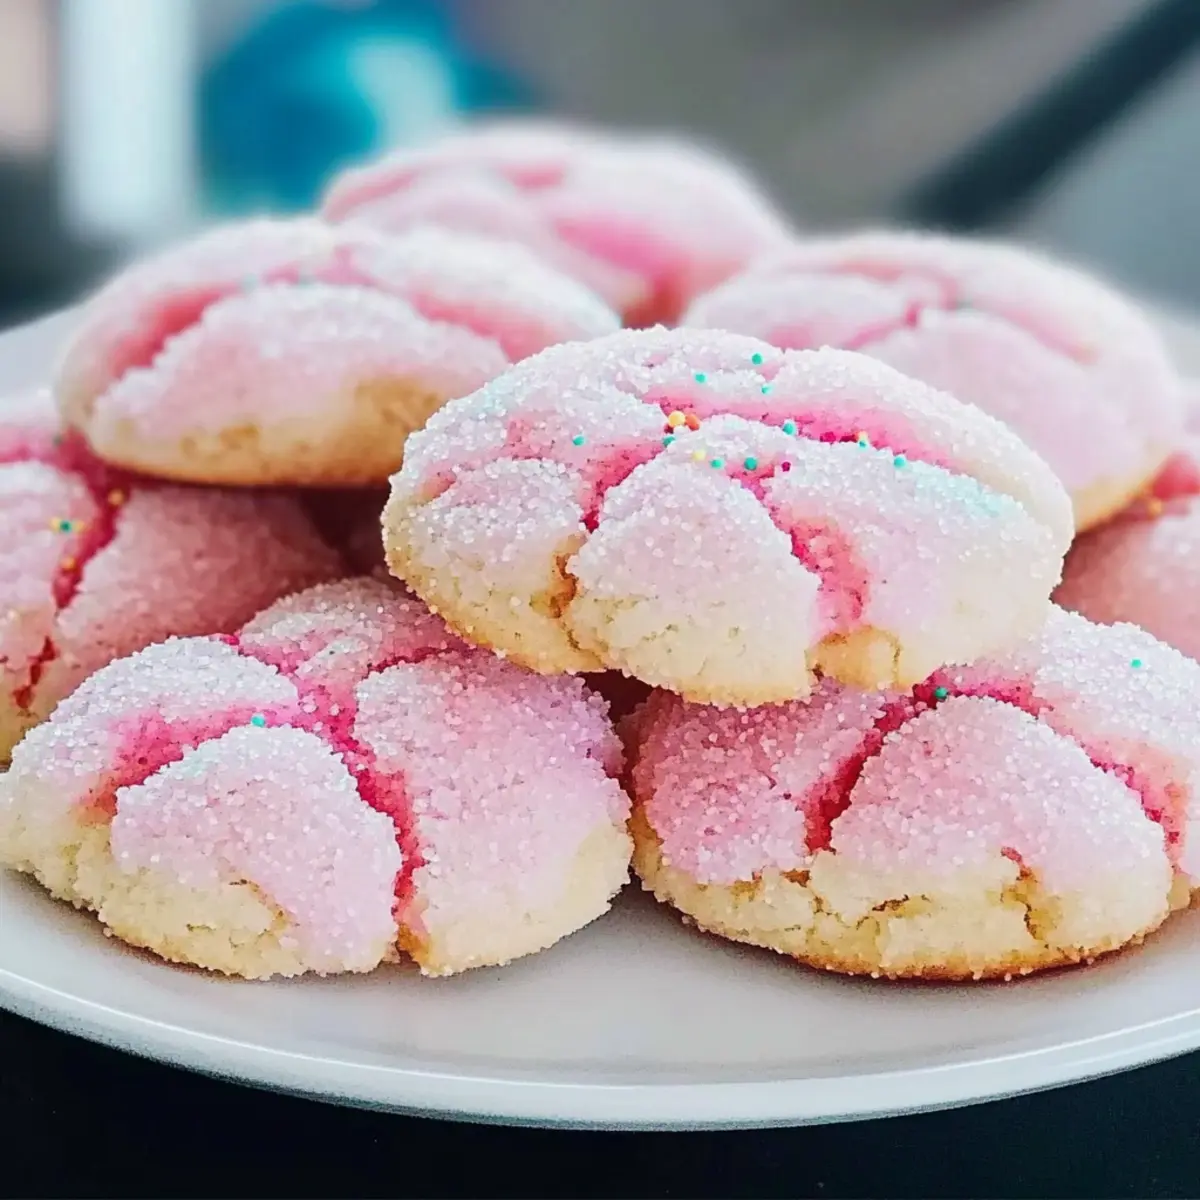
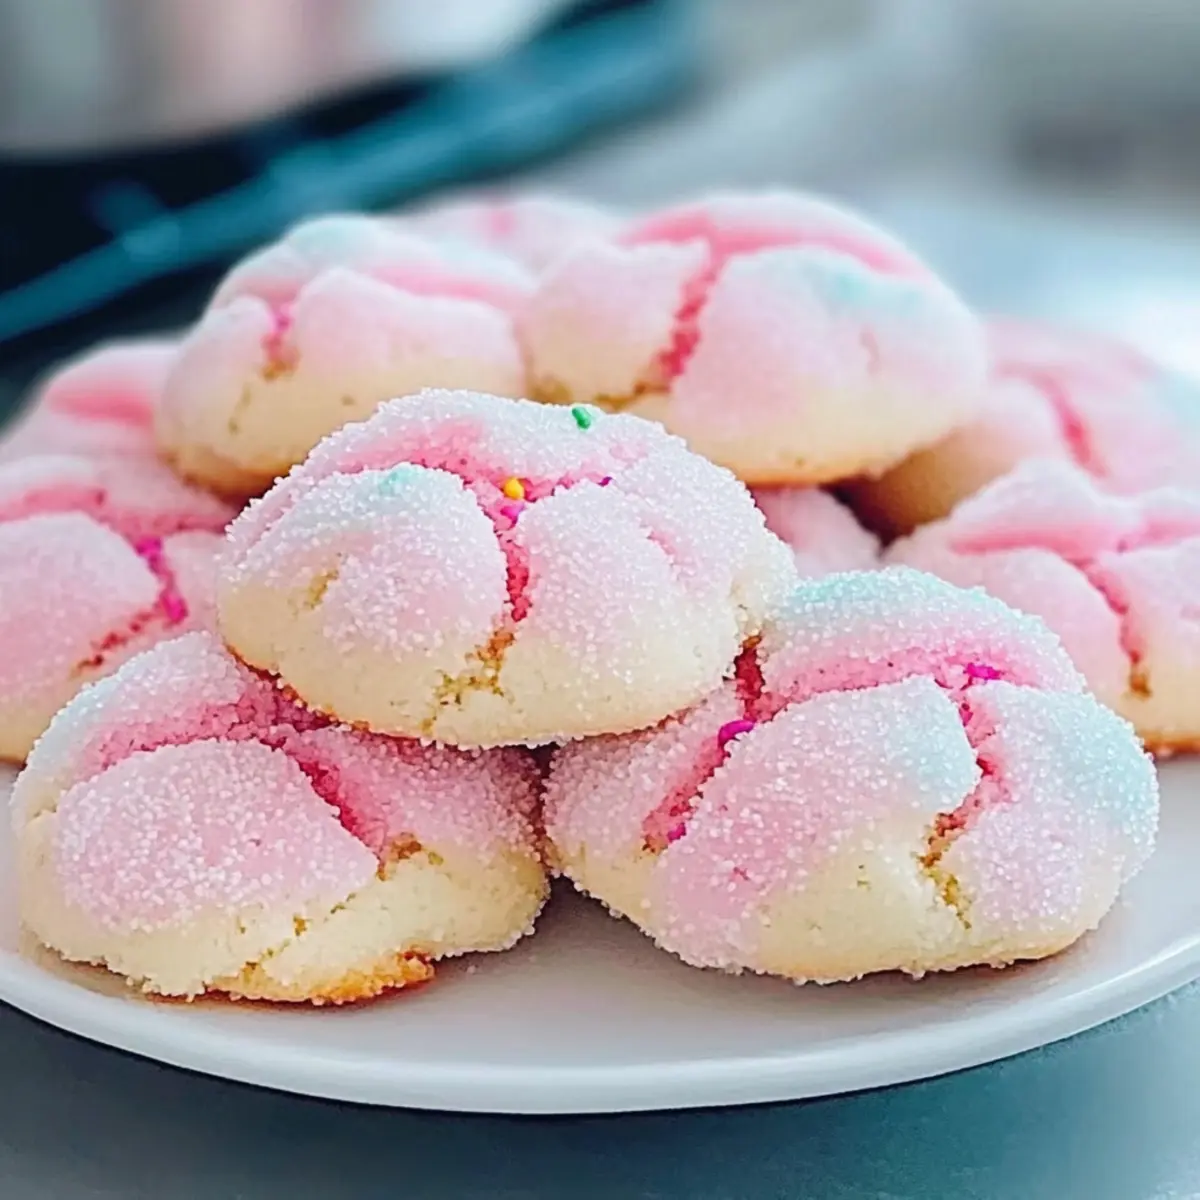
Colorful Appeal: Add vibrant food coloring to make them visually stunning, ideal for parties or holiday celebrations.
Versatile Remixing: Experiment with flavors like bubblegum or raspberry; creativity knows no bounds!
Crowd-Pleasing Treat: Whether kids or adults, everyone will adore these fun cookies, making them a popular choice for gatherings. For more sweet options, check out my delicious Tiramisu Christmas Cookies and Christmas Mini Cookies!
Magical Cotton Candy Cookies Ingredients
For the Cookie Dough
- Butter – Adds richness and moisture; substitute with vegan butter for a dairy-free option.
- Granulated Sugar – Provides sweetness and helps achieve a crispy edge; brown sugar can add extra moisture if desired.
- Eggs – Bind ingredients and contribute to the cookie’s structure; use a flax egg for a vegan alternative.
- All-Purpose Flour – Forms the base and gives structure; a gluten-free flour blend can be used as a substitute.
- Baking Powder – Helps cookies rise for a light texture; ensure it’s fresh for optimal leavening.
- Salt – Balances sweetness and enhances flavor; can be omitted for low-sodium diets.
- Cotton Candy Flavoring – Infuses the cookies with a nostalgic flavor; vanilla extract can replace it, but the taste will change.
- Food Coloring (optional) – Adds fun visual appeal; gel colors work best for vibrant hues.
Step‑by‑Step Instructions for Magical Cotton Candy Cookies
Step 1: Preheat the Oven
Begin by preheating your oven to 350°F (175°C). This ensures that your Magical Cotton Candy Cookies bake evenly and achieve that perfect golden edge. While the oven is heating, you can prepare your baking sheets by lining them with parchment paper, making cleanup a breeze.
Step 2: Mix Wet Ingredients
In a large mixing bowl, cream together 1 cup of softened butter and 1 cup of granulated sugar using a hand mixer or stand mixer. Mix until the mixture is light and fluffy, about 2-3 minutes. Then, add in 2 large eggs and 2 teaspoons of cotton candy flavoring, blending until fully incorporated for a sweet, playful foundation.
Step 3: Combine Dry Ingredients
In another bowl, whisk together 2 ½ cups of all-purpose flour, 1 teaspoon of baking powder, and ½ teaspoon of salt. This dry mixture is essential for adding structure to your cookies, so make sure the baking powder is fresh for optimal rise. Gradually incorporating the dry mixture will give you fluffy, soft Magical Cotton Candy Cookies.
Step 4: Blend Together
With the dry ingredients mixed, gradually add them to the wet mixture, stirring gently until just combined. Be careful not to overmix your dough, as this can lead to tough cookies. You want a soft and slightly sticky consistency, perfect for shaping into cookies shortly.
Step 5: Add Food Coloring
If you’re feeling adventurous, now is the time to add a few drops of gel food coloring to the dough. Mix in the coloring until you achieve the desired vibrant hue. This step is all about adding visual whimsy to your Magical Cotton Candy Cookies, so feel free to get creative!
Step 6: Scoop Cookies
Using a cookie scoop or spoon, drop tablespoon-sized balls of dough onto your lined baking sheets, spacing them about 2 inches apart. This allows room for spreading while baking, ensuring each cookie maintains its soft, chewy texture that reminds you of delightful fair treats.
Step 7: Bake
Place the baking sheets in the preheated oven and bake for 10-12 minutes. You’ll know they are ready when the edges are golden brown but the centers still appear soft. It’s important not to overbake them to maintain that perfect chewy texture.
Step 8: Cool
Once baked, remove the cookies from the oven and let them cool on the baking sheets for about 2 minutes. Then, transfer them carefully to a wire rack to cool completely. This cooling step allows them to set properly while keeping their delightful sweetness and flavor intact.
Make Ahead Options
These Magical Cotton Candy Cookies are perfect for meal prep enthusiasts! You can make the cookie dough up to 24 hours in advance by mixing all the ingredients, then wrapping the dough tightly in plastic wrap and refrigerating it. This preserves the freshness and prevents any browning of the dough. Alternatively, you can scoop the cookie dough onto baking sheets and freeze the individual cookie dough balls for up to 3 months. When you’re ready to bake, simply transfer the frozen dough balls to a lined baking sheet and bake straight from the freezer, adding an extra minute to the baking time. This way, you’ll have delightful cookies that are just as fresh and delicious, ready for any occasion!
What to Serve with Magical Cotton Candy Cookies
Treat yourself and your loved ones to an enchanting dessert experience that will brighten any gathering!
-
Cold Glass of Milk: This classic pairing balances the sweetness of the cookies, making each bite feel like nostalgia wrapped in warmth. The creamy texture enhances the airy flavors, providing a soothing contrast.
-
Fruit Punch: A refreshing fruit punch adds a burst of freshness that complements the playful cotton candy flavor. Guests will love sipping on the vibrant beverage while indulging in these whimsical treats.
-
Vanilla Ice Cream Sundae: Scoop your favorite vanilla ice cream on top of a cookie for an irresistible dessert that melds soft, chewy goodness with cool creaminess. Drizzle with chocolate or caramel for an extra touch of delight.
-
Sparkling Lemonade: The citrusy zing of sparkling lemonade beautifully offsets the sugary taste of the cookies, creating a lively contrast perfect for playful gatherings. This light drink adds a bubbly touch to your dessert table.
-
Whipped Cream Topping: A dollop of fluffy whipped cream elevates the cookie experience. The lightness of the cream mirrors the airy cookie texture while adding a creamy richness that enhances every bite.
-
Candy Melts for Dipping: Melted candy melts can offer a fun, colorful dip for your cookies. Guests can personalize their treats while indulging in that magic of cotton candy flavor.
Let your imagination soar as you choose from these delicious serving ideas to create a memorable dessert spread!
Magical Cotton Candy Cookies Variations & Substitutions
Feel free to put your own spin on these delightful treats with these fun and easy variations!
- Flavor Swaps: Replace cotton candy flavoring with bubblegum, raspberry, or mint extract for a fun twist.
- Gluten-Free: Use a gluten-free flour blend to make these cookies suitable for gluten-sensitive friends.
- Vegan Delight: Substitute butter with vegan butter and eggs with flax eggs for a delicious vegan version.
- Texture Boost: Mix in mini marshmallows or crunchy nuts for an exciting textural element.
- Colorful Sprinkles: Add rainbow sprinkles to the dough for an even more festive appearance!
- Stuffed Surprise: Create a surprise center by placing a small chocolate or caramel candy inside each cookie ball before baking.
- Choco-Cotton Candy Cookies: Add chocolate chips to the dough for a chocolatey delight that adds richness to the sweetness.
Let your creativity shine with these variations! And if you’re in the mood for other sweet treats, don’t forget to check out my easy-to-make Chocolate Churro Cookies that are sure to please any cookie lover!
How to Store and Freeze Magical Cotton Candy Cookies
Room Temperature: Store cookies in an airtight container at room temperature for up to one week. This helps maintain their soft and chewy texture.
Fridge: If you’d like to keep them a bit longer, place them in the fridge for up to two weeks. Just ensure they’re in a sealed container to prevent drying out.
Freezer: For longer storage, freeze the cookies in a single layer on a baking sheet, then transfer to an airtight container. They can be frozen for up to three months.
Reheating: To enjoy cookies from the freezer, thaw at room temperature or microwave for 10-15 seconds until soft. These Magical Cotton Candy Cookies are best enjoyed fresh!
Expert Tips for Magical Cotton Candy Cookies
- Room Temperature Butter: Ensure butter is softened to room temperature for easier creaming, resulting in a lighter texture for your Magical Cotton Candy Cookies.
- Don’t Overmix: Avoid overmixing once you combine dry and wet ingredients; this helps keep your cookies soft and chewy instead of tough.
- Baking Time Vigilance: Watch the cookies closely while baking; they can quickly shift from perfect to overbaked in just a minute.
- Cool on Wire Racks: Let cookies cool on wire racks after baking to maintain their texture; cooling on the sheets can lead to excess moisture.
- Customize Flavor: Feel free to experiment with alternative flavorings or add-ins, like sprinkles or chocolate chips, to give your Magical Cotton Candy Cookies a unique twist!
Magical Cotton Candy Cookies Recipe FAQs
What type of butter should I use for Magic Cotton Candy Cookies?
You can use unsalted butter for the best flavor; just make sure it’s soft and at room temperature for easy creaming. If you’re looking for a dairy-free option, vegan butter works wonderfully as a substitute.
How should I store Magical Cotton Candy Cookies?
These delightful cookies can be stored in an airtight container at room temperature for up to one week. To extend their freshness, simply pop them in the fridge where they’ll last up to two weeks. Just remember to seal them well to prevent drying out!
Can I freeze Magical Cotton Candy Cookies?
Absolutely! To freeze them, arrange the cookies in a single layer on a baking sheet for about an hour until they are firm. Then, transfer them to an airtight container. They can be kept in the freezer for up to three months. When you’re ready to enjoy, thaw at room temperature or microwave for 10-15 seconds until soft.
What if my cookie dough is too sticky?
If your dough feels overly sticky, you might consider chilling it in the fridge for about 30 minutes. This makes it easier to handle. Additionally, you can sprinkle a bit of extra flour while scooping, but be cautious not to add too much which could alter the texture.
Are Magical Cotton Candy Cookies safe for people with allergies?
Always check the specific ingredients you use! The recipe contains eggs and flour, which are common allergens. For a nut-free version, make sure any flavorings and substitutes you use are also allergy-friendly. If making for others, it’s prudent to ask about their dietary restrictions to ensure safety.
Magical Cotton Candy Cookies
Ingredients
Equipment
Method
- Preheat your oven to 350°F (175°C) and line baking sheets with parchment paper.
- Cream together 1 cup of softened butter and 1 cup of granulated sugar until light and fluffy.
- Add in 2 large eggs and 2 teaspoons of cotton candy flavoring, blending until fully incorporated.
- In another bowl, whisk together 2 ½ cups of all-purpose flour, 1 teaspoon of baking powder, and ½ teaspoon of salt.
- Gradually add the dry mixture to the wet mixture, stirring gently until just combined.
- Add food coloring if desired, mixing until you achieve the desired hue.
- Drop tablespoon-sized balls of dough onto lined baking sheets, spacing them about 2 inches apart.
- Bake for 10-12 minutes until edges are golden brown but centers appear soft.
- Let the cookies cool on the baking sheets for about 2 minutes, then transfer to a wire rack.
Leave a Reply