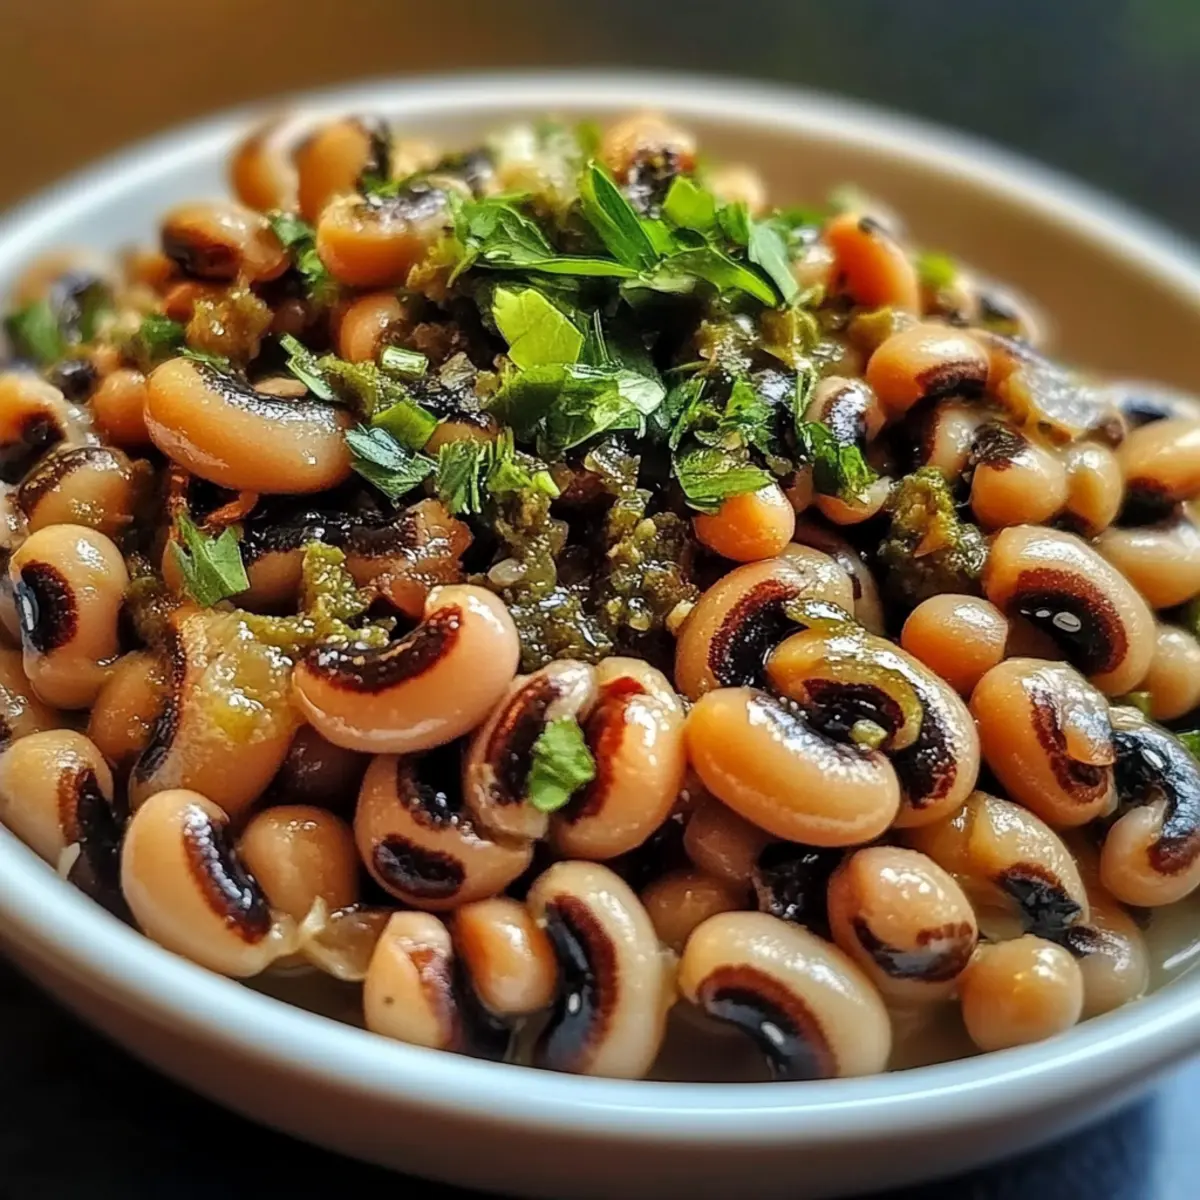
As I stood in my kitchen, the aroma of sautéed onions and garlic filled the air, conjuring memories of family gatherings and Southern comfort. That’s when I decided to whip up a batch of Quick and Delicious Canned Black Eyed Peas—an effortless dish that captures warmth and nostalgia in every bite. In just 20 minutes, these humble peas transform into a hearty meal, making them perfect for busy weeknights or spontaneous gatherings. Not only are they budget-friendly, but they also pack a punch of flavor and nourishment. Whether you serve them as a delightful side or a satisfying main dish, I guarantee they will become a go-to favorite in your recipe rotation. Ready to bring some soul to your table with this delightful dish? Let’s dive into the recipe!

Why are Black Eyed Peas a Must-Try?
Quick and Easy: This recipe needs just 20 minutes, making it a lifesaver for busy evenings.
Flavor Explosion: Enjoy the mouthwatering blend of spices like smoked paprika and garlic that elevate simple canned peas into a culinary delight.
Versatile Delight: Serve them as a hearty main dish or a complement to cornbread or collard greens, creating a festive Southern spread.
Budget-Friendly: With only a few affordable ingredients, you can whip up delicious meals without breaking the bank!
Meal Prep Hero: Perfect for making ahead, these peas taste even better the next day—ideal for easy lunches!
Once you try this dish, you’ll understand why it’s a staple—don’t forget to check out my recipe for Vegetarian Black Bean enchiladas when you need another quick meal option!
Quick and Delicious Canned Black Eyed Peas Ingredients
For the Base
• Olive Oil – Adds richness and aids in sautéing; substitute with any neutral oil if desired.
• Onion (0.5 medium, finely chopped) – Provides depth of flavor; can be swapped with shallots for a milder taste.
• Garlic (2 cloves, minced) – Enhances aroma and flavor profile; fresh garlic is recommended, but garlic powder can be used if needed.
• Canned Black Eyed Peas (15 oz, drained and rinsed) – The star of the dish, packed with protein and fiber; opt for low-sodium varieties for better salt control.
For Flavor
• Smoked Paprika (0.5 tsp) – Contributes a smoky flavor; substitute with sweet paprika or chili powder for a different taste.
• Cayenne Pepper (0.25 tsp, optional) – Adds heat; omit if you prefer a milder dish.
• Salt and Black Pepper to taste – Enhances overall flavor; adjust according to seasoning preferences.
For Cooking Liquid
• Chicken Broth (0.25 cup) or Water – Provides moisture and added flavor; use vegetable broth for a vegetarian version.
• Apple Cider Vinegar (1 tbsp) – Balances flavors with acidity; lemon juice or white wine vinegar can be used as alternatives.
• Sugar (0.5 tsp, optional) – Helps to balance acidity; can be omitted if desired.
For Garnish
• Fresh Herbs (chopped parsley or green onion) – Adds freshness and color, enhancing the final dish’s appeal.
This vibrant combination of ingredients makes for quick and delicious canned black eyed peas that you’ll want to share with family and friends!
Step‑by‑Step Instructions for Quick and Delicious Canned Black Eyed Peas
Step 1: Heat the Oil
In a medium skillet, heat 2 tablespoons of olive oil over medium heat. Allow the oil to shimmer slightly, indicating it’s hot enough for the next step. This will help create a rich base for your Quick and Delicious Canned Black Eyed Peas by sautéing the onions to perfection.
Step 2: Sauté the Onions
Add 0.5 medium finely chopped onion to the skillet, stirring occasionally for about 3 minutes. Cook until the onion becomes translucent and softens, releasing a beautiful aroma. This step builds a warm, inviting flavor profile that’s essential for your dish.
Step 3: Add Garlic
Stir in 2 minced garlic cloves and let them cook for an additional 30 seconds. Keep stirring until the garlic is fragrant but not browned, as burning it can introduce bitterness. This fragrant addition enhances the flavor, making your Quick and Delicious Canned Black Eyed Peas truly special.
Step 4: Incorporate Spices
Sprinkle in 0.5 teaspoon smoked paprika, 0.25 teaspoon cayenne pepper (if using), salt, and black pepper to taste. Stir well to coat the onions and garlic, which will release their flavors. This step is crucial for building the exciting taste profile of your black eyed peas.
Step 5: Add Black Eyed Peas
Gently fold in the drained and rinsed 15 oz can of black eyed peas using a spatula. Ensure the peas are well-coated in the spiced mixture. Cook for about 2 minutes, allowing the beans to warm up and soak in the flavors from the spices and the sautéed base.
Step 6: Pour in the Liquid
Add 0.25 cup of chicken broth (or water) to the skillet, ensuring everything is well combined. Let the mixture come to a simmer, which should take about 1-2 minutes. This will create a comforting environment for the black eyed peas, enhancing their taste as they absorb the broth.
Step 7: Simmer and Let Flavors Meld
Reduce the heat to low and let it simmer for about 8-10 minutes uncovered. Stir occasionally until the broth thickens slightly and the black eyed peas become tender. This step develops a harmonious blend of flavors perfect for your Quick and Delicious Canned Black Eyed Peas.
Step 8: Add Final Touches
Once the simmering time is up, remove the skillet from heat. Stir in 1 tablespoon of apple cider vinegar and optional 0.5 teaspoon sugar to balance the flavors. Taste and adjust seasoning as needed; the dish should sing with well-rounded flavors.
Step 9: Garnish and Serve
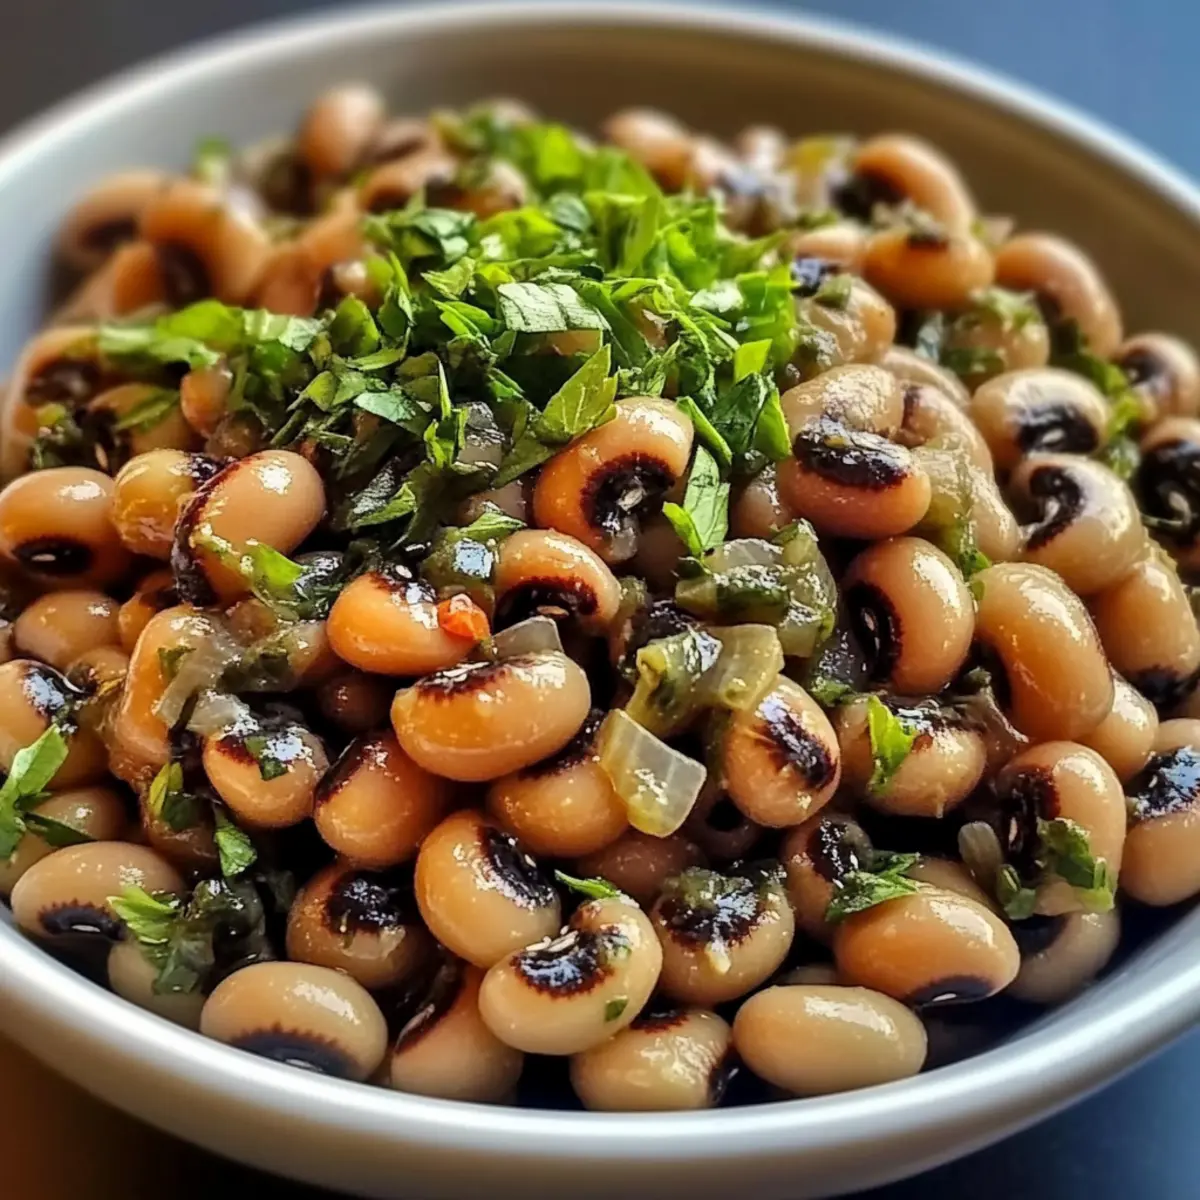
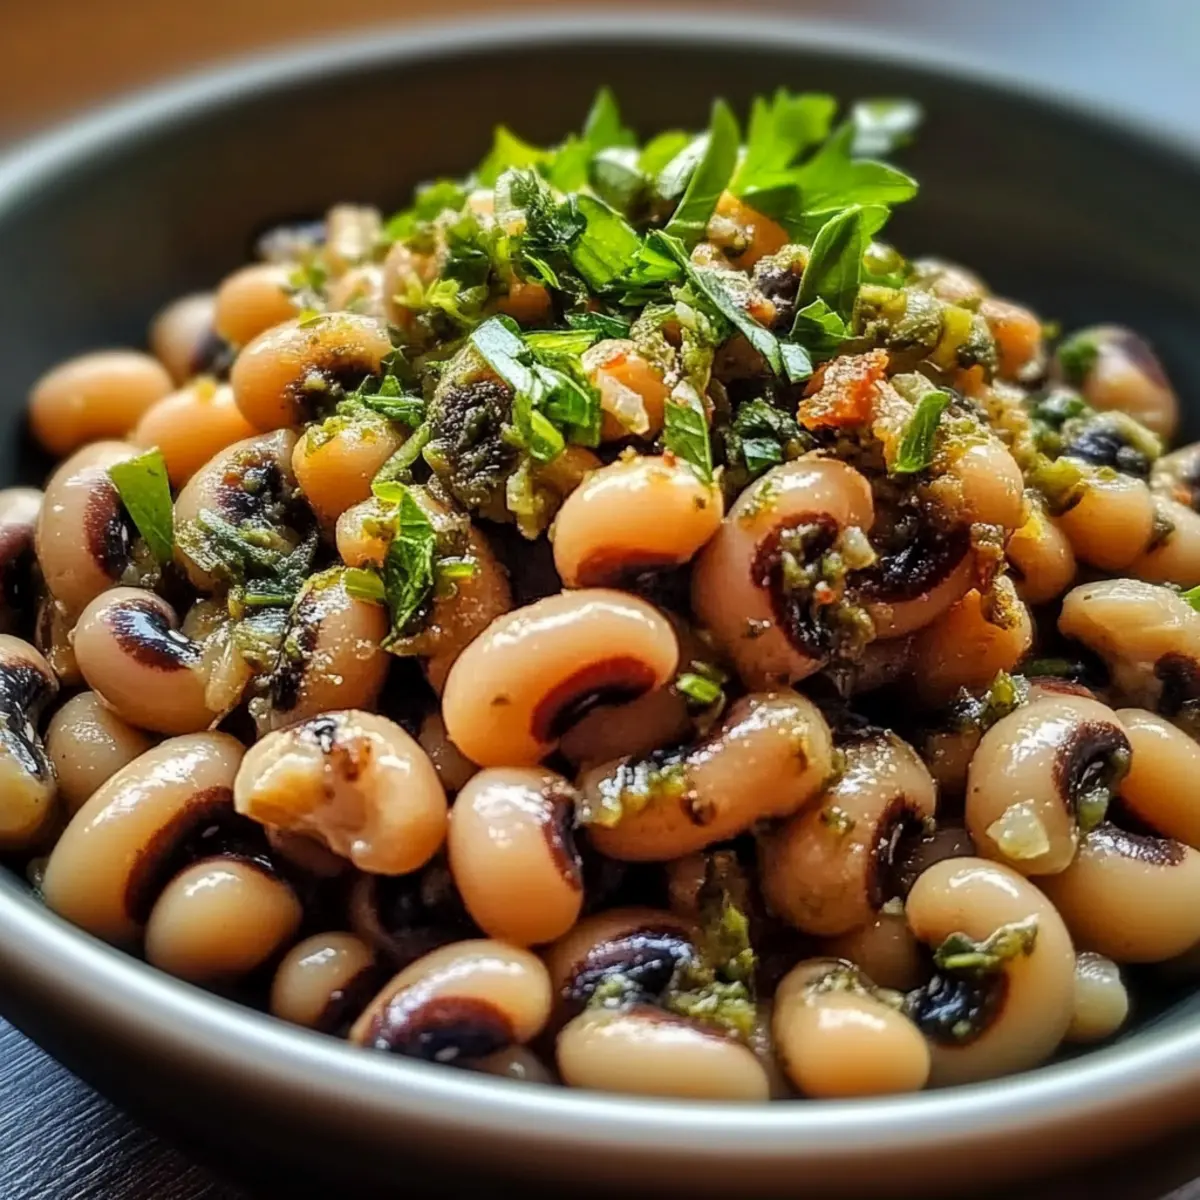
Serve your Quick and Delicious Canned Black Eyed Peas warm, garnished with freshly chopped parsley or green onions for a pop of color. This final touch adds freshness and elevates the dish, making it visually appealing and ready to be shared with your loved ones.
Make Ahead Options
These Quick and Delicious Canned Black Eyed Peas are perfect for meal prep enthusiasts! You can chop the onions and mince the garlic up to 24 hours in advance, storing them in an airtight container to maintain their freshness. Additionally, the seasoned black eyed peas can be prepared and stored in the fridge for up to 3 days before serving. To preserve their wonderful flavor and avoid sogginess, reheat them gently on the stovetop with a splash of broth just before serving. When ready to enjoy, simply simmer the mixture and finish with apple cider vinegar and sugar, ensuring a delightful meal with minimal effort!
How to Store and Freeze Quick and Delicious Canned Black Eyed Peas
Fridge: Store leftovers in an airtight container for up to 4 days to maintain freshness. Simply reheat gently on the stovetop or microwave with a splash of broth for the best results.
Freezer: If you have extra servings, freeze your black eyed peas in a freezer-safe container for up to 2 months. Thaw in the refrigerator overnight before reheating.
Reheating: For optimal flavor and texture, reheat your Quick and Delicious Canned Black Eyed Peas on the stove over low heat, stirring occasionally to warm evenly.
Meal Prep Tip: Prepare ahead of time for full weeknight convenience! These peas can be made in batches, allowing the flavors to deepen and mellow overnight.
What to Serve with Quick and Delicious Canned Black Eyed Peas
Bring warmth and comfort to your dining table with mouthwatering sides that perfectly complement these flavorful peas.
- Fluffy White Rice: The perfect canvas for soaking up the rich flavors of the peas, adding a satisfying texture to each bite.
- Cornbread Muffins: These sweet, buttery bites bring a delightful contrast to the savory peas, creating a classic Southern meal.
- Collard Greens: Tender, sautéed greens balance the dish with freshness, making it a nourishing and vibrant side option.
- Grilled Chicken: A protein-packed partner, the smoky, succulent flavor of grilled chicken enhances the meal while keeping it hearty.
- Garlic Bread: Crisp, buttery slices infused with garlic add a crunchy element, perfect for scooping up every last bit of deliciousness.
- Refreshing Salad: A light mixed green salad with a zesty vinaigrette offers a refreshing contrast and keeps the meal bright and airy.
- Sweet Potato Wedges: Roasted sweet potatoes provide a touch of sweetness and nutrition, complementing the savory depth of the peas beautifully.
- Iced Tea: This classic Southern beverage is perfect for washing down your meal and adding a refreshing note to each sip.
- Lemon Meringue Pie: Cap off your Southern spread with a creamy, tangy dessert that will leave your guests smiling and satisfied.
Quick and Delicious Canned Black Eyed Peas Variations
Feel free to mix things up! These simple twists will create a dish that’s uniquely yours.
-
Vegetarian Delight: Swap chicken broth for vegetable broth for a purely plant-based version. This keeps the flavors bold without sacrificing taste.
-
Extra Heat: Increase cayenne pepper or add diced jalapeños for an exciting kick. If you enjoy a bit of spice, this variation will awaken your taste buds!
-
Creative Pairing: Serve the black eyed peas over creamy grits or rice for added texture. This delicious combination creates a comforting dish that your family will love.
-
Flavorful Twist: Incorporate diced tomatoes or a splash of hot sauce for a zesty boost. This twist adds freshness and a tangy punch that brightens each bite.
-
Herb-Infused: Mix in chopped fresh cilantro or thyme for an aromatic flair. These vibrant herbs will enhance the dish, giving it a garden-fresh taste.
-
Southern Comfort: Pair with fresh collard greens or cornbread for a classic Southern meal. When served together, they create a truly hearty feast that feels like home!
-
Savory Addition: Stir in sautéed bell peppers or corn for extra color and sweetness. This variation not only looks vibrant on the plate but also adds delightful textures.
-
Garnish Upgrade: Top with crumbled feta or sliced avocado just before serving for a creamy finish. This last touch transforms the experience, making it feel indulgent while still nutritious.
Feeling inspired? Don’t forget to check out my Mediterranean Ground Fry for another beautiful meal that’s quick and hearty!
Expert Tips for Quick and Delicious Canned Black Eyed Peas
-
Choose Wisely: Opt for low-sodium canned peas to control salt levels; rinsing them can help further reduce sodium content for your dish.
-
Spice It Up: Adjust the cayenne pepper to your heat preference; for a milder version, simply omit it and enjoy a flavor-packed meal without the spice.
-
Perfect Pairings: Serve the black eyed peas over steamed rice or alongside cornbread for a more filling meal. This adds texture and complements Southern cuisine beautifully.
-
Meal Prep Magic: This dish tastes even better the next day, so feel free to double the recipe for easy lunches packed with protein and fiber.
-
Storage Tips: Store leftovers in an airtight container for up to 4 days, ensuring a quick reheat on busy nights when you crave something hearty and satisfying.
Enjoy your journey with these Quick and Delicious Canned Black Eyed Peas, and let every bite take you home!
Quick and Delicious Canned Black Eyed Peas Recipe FAQs
How do I choose the right canned black eyed peas?
Absolutely! When selecting canned black eyed peas, check for low-sodium varieties to help manage your salt intake. Look for cans without dents or bulging, as these may indicate spoilage. The peas should be firm and plump, so avoid any with dark spots or unusual discoloration.
What’s the best way to store leftovers?
Very! Store your leftover Quick and Delicious Canned Black Eyed Peas in an airtight container in the refrigerator for up to 4 days. Make sure they cool down completely before sealing to prevent condensation, which can make them soggy. You can reheat them gently on the stovetop or in the microwave with a splash of broth for extra moisture.
Can I freeze black eyed peas?
Of course! To freeze your Quick and Delicious Canned Black Eyed Peas, place them in a freezer-safe container, ensuring to leave some space at the top for expansion. They can be kept for up to 2 months. Remember to label the container with the date, and when you’re ready to enjoy them, simply thaw in the refrigerator overnight before reheating on the stove.
What should I do if my peas turn mushy?
Don’t worry! If you find your peas are turning mushy, this may occur if they’re cooked too long. To prevent this next time, keep an eye on the simmering time—about 8-10 minutes should keep them tender yet firm. If it happens, you can repurpose them by mashing them slightly to make a delicious dip or spread!
Are black eyed peas safe for pets?
Definitely! While black eyed peas are safe for pets in moderation, always make sure they aren’t seasoned with garlic or onions, as these can be harmful to animals. A small portion as a treat can be nutritious, but check with your vet to ensure it’s suitable for your pet’s dietary needs.
Can I adjust the spice level in this recipe?
Oh, absolutely! Feel free to modify the cayenne pepper to suit your taste—just omit it if you prefer a milder flavor. You can also add a pinch of chili powder or hot sauce before serving for an extra kick. The more the merrier when it comes to dialing in flavors to your liking!
Quick and Delicious Canned Black Eyed Peas for Busy Nights
Ingredients
Equipment
Method
- In a medium skillet, heat 2 tablespoons of olive oil over medium heat. Allow the oil to shimmer slightly.
- Add 0.5 medium finely chopped onion to the skillet, stirring occasionally for about 3 minutes.
- Stir in 2 minced garlic cloves and let them cook for an additional 30 seconds.
- Sprinkle in 0.5 teaspoon smoked paprika, 0.25 teaspoon cayenne pepper (if using), salt, and black pepper to taste.
- Gently fold in the drained and rinsed 15 oz can of black eyed peas using a spatula.
- Add 0.25 cup of chicken broth (or water) to the skillet, ensuring everything is well combined.
- Reduce the heat to low and let it simmer for about 8-10 minutes uncovered.
- Remove the skillet from heat. Stir in 1 tablespoon of apple cider vinegar and optional 0.5 teaspoon sugar.
- Serve warm, garnished with freshly chopped parsley or green onions.
Leave a Reply