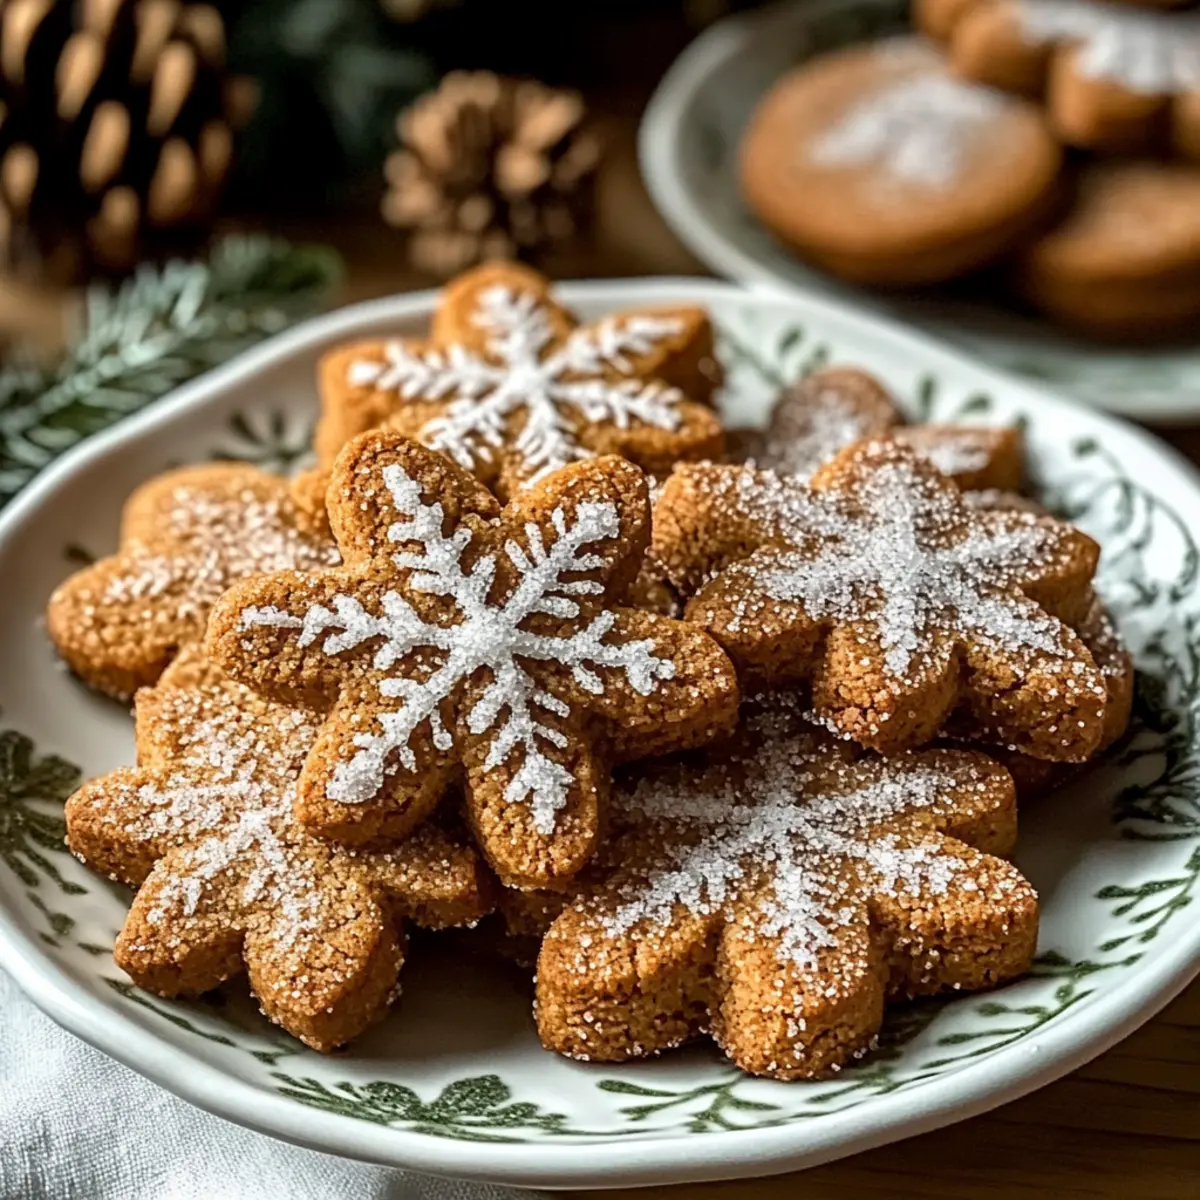
As the first snowflakes blanket the ground, the warm, spicy aroma of holiday baking fills the air, and it’s time to whip up a batch of my beloved Spiced Christmas Cookies with Nutmeg. These delectable treats are not only incredibly easy to make but also customizable to fit your dietary needs, making them a true crowd-pleaser at festive gatherings. With the cozy flavors of nutmeg, cinnamon, and ginger, each bite evokes fond memories of family traditions and cozy nights by the fire. Whether you’re sharing them with loved ones or savoring them with a rich mug of cocoa, these cookies are sure to bring a touch of holiday magic to your table. Ready to fill your kitchen with the spirit of Christmas? Let’s dive into this delightful recipe!
Why Are These Cookies a Must-Bake?
Irresistible Flavor: The warm notes of nutmeg, cinnamon, and ginger unite to create a harmonious blend that instantly transports you to a winter wonderland.
Customizable Joy: Whether you’re gluten-free or vegan, these cookies easily adapt to fit your dietary preferences without sacrificing taste.
Easy to Prepare: With straightforward instructions, even beginner bakers can whip up a delicious batch in no time!
Perfect for Sharing: These cookies are a beautiful addition to any holiday gathering, making them a delightful treat to share with friends and family. Pair them with some Christmas Cupcakes Deliciously for a festive dessert spread!
Long-Lasting Memories: The enchanting aroma will fill your kitchen, evoking sweet memories of holiday traditions and cozy nights spent together.
Spiced Christmas Cookies with Nutmeg Ingredients
For the Dough
- All-purpose flour – Provides structure to the cookies; consider gluten-free flour for a gluten-free version.
- Baking soda – Acts as a leavening agent; ensure it’s fresh for optimal rise.
- Baking powder – Works together with baking soda for a light texture.
- Ground cinnamon – Adds a warm, spiced flavor that enhances the holiday spirit.
- Ground nutmeg – Imparts a unique, aromatic taste that makes these cookies festive.
- Ground ginger – Contributes zesty warmth that complements the other spices.
- Ground cloves – Enhances the spiced flavor profile with sweetness.
- Salt – Balances sweetness and elevates overall flavor.
For the Wet Ingredients
- Unsalted butter – Provides richness and moisture; substitute coconut oil or margarine for a dairy-free option.
- Granulated sugar – Sweetens and helps create a crisp exterior.
- Brown sugar – Adds moisture and deeper flavor from its molasses content.
- Large egg – Binds ingredients together; for a vegan alternative, use a flax egg (1 tablespoon ground flaxseed + 2.5 tablespoons water).
- Vanilla extract – Enhances the flavors with a touch of warmth.
For Finishing
- Additional granulated sugar (for rolling) – Creates a sugary crust that adds delightful texture to each bite.
Step‑by‑Step Instructions for Spiced Christmas Cookies with Nutmeg
Step 1: Preheat the Oven and Prepare Baking Sheets
Begin by preheating your oven to 350°F (175°C). While it heats, line two baking sheets with parchment paper to prevent the cookies from sticking. This step is essential for achieving the perfect texture, ensuring that your Spiced Christmas Cookies with Nutmeg bake evenly and release easily.
Step 2: Combine Dry Ingredients
In a medium mixing bowl, whisk together the all-purpose flour, baking soda, baking powder, ground cinnamon, ground nutmeg, ground ginger, ground cloves, and salt. This aromatic blend will create the delightful spice profile that defines your cookies. Make sure to mix thoroughly to evenly distribute the spices throughout the flour.
Step 3: Cream Butter and Sugars
In a large mixing bowl, use an electric mixer to beat the softened unsalted butter, granulated sugar, and brown sugar on medium speed until the mixture becomes light and fluffy, about 3 to 4 minutes. This process incorporates air into the dough, helping your Spiced Christmas Cookies with Nutmeg achieve a delightful texture.
Step 4: Add Egg and Vanilla
Crack in a large egg and pour in the vanilla extract, continuing to beat until fully combined. This addition enriches the dough, providing moisture and enhancing the flavor profile. You’ll know it’s ready when the mixture appears smooth and creamy, with no lumps remaining.
Step 5: Mix Wet and Dry Ingredients
Gradually incorporate the dry ingredients into the wet mixture, stirring gently until just combined. Be careful not to overmix; you want a tender dough for your Spiced Christmas Cookies with Nutmeg. Stop mixing once you can no longer see any dry flour, as this will ensure your cookies remain soft and chewy.
Step 6: Chill the Dough
Cover the mixing bowl with plastic wrap and place it in the refrigerator for about 30 minutes. Chilling the dough allows it to firm up, making it easier to shape into uniform balls. This step also helps the flavors to meld, resulting in a more delicious cookie.
Step 7: Shape the Cookie Dough
After chilling, scoop tablespoon-sized portions of the dough and roll them into balls between your palms. Aim for consistency to ensure even baking. Place the cookie balls onto the prepared baking sheets, giving them space of about 2 inches apart as they will spread while baking.
Step 8: Roll in Sugar
Before baking, roll each dough ball in granulated sugar, ensuring an even coating. This creates a delightful sugary crust that contrasts beautifully with the chewy center of your Spiced Christmas Cookies with Nutmeg. It’s a small step that makes a significant difference in flavor and texture.
Step 9: Bake the Cookies
Pop the baking sheets into your preheated oven and bake for 8 to 10 minutes. Keep an eye on them; the edges should turn golden brown while the centers remain soft. The cookies will continue to firm up slightly as they cool, ensuring a perfect, tender bite.
Step 10: Cool and Transfer
Once baked, remove the cookies from the oven and let them cool on the baking sheets for about 5 minutes. Then, carefully transfer them to wire racks using a spatula to finish cooling completely. This step is essential for maintaining the ideal texture of your Spiced Christmas Cookies with Nutmeg.
Spiced Christmas Cookies with Nutmeg Variations
Ready to get creative in the kitchen? These cookies offer endless opportunities for customization, allowing you to design a treat that perfectly suits your taste buds!
-
Dairy-Free: Substitute the unsalted butter with coconut oil or margarine to make these cookies dairy-free without losing any rich flavor.
-
Gluten-Free: Use a 1:1 gluten-free flour blend in place of all-purpose flour for a cookie that everyone can enjoy, regardless of dietary needs. Baking is about inclusivity!
-
Nutty Delight: Add chopped nuts like walnuts or pecans to the dough for a delightful crunch that contrasts beautifully with the soft, chewy cookie texture.
-
Fruity Twist: Mix in dried fruits such as cranberries or raisins. Their sweetness will provide a lovely pop of flavor and chewy texture that complements the spices.
-
Citrus Zest: Incorporate the zest of an orange or lemon for a refreshing citrus twist, brightening the spice flavors and adding a fragrant element to every bite.
-
Choco-Lovers: Stir in chocolate chips or chunks into the dough for a richer flavor profile. The melted chocolate adds a luscious touch to the classic spiced cookies.
-
Pumpkin Spice: Blend in 1/4 cup of pumpkin puree to the wet ingredients for a fall-inspired twist that amplifies the spices and creates a softer cookie.
-
Spicy Kick: For those who like a bit of heat, add a pinch of cayenne pepper or crushed red pepper flakes to the dough. It’s a bold, festive twist that pairs surprisingly well with the sweet spices.
These delightful variations ensure that your cookie experience is as unique as your holiday spirit. Consider pairing these spiced cookies with some of your favorite festive treats, like Christmas Mini Cookies or a cozy cup of homemade hot cocoa!
Expert Tips for Spiced Christmas Cookies
• Don’t Overmix: Overmixing can lead to tough cookies. Be gentle when combining the wet and dry ingredients to maintain a tender texture.
• Chill Dough Well: Ensure the dough is adequately chilled to prevent it from spreading too much while baking. If too sticky, chill it longer!
• Consistent Sizes: For even baking, scoop the dough into uniform tablespoon-sized portions. This helps each cookie bake uniformly and look perfect.
• Use Fresh Leaveners: Make sure your baking soda and baking powder are fresh for the best rise in your Spiced Christmas Cookies with Nutmeg.
• Monitor Your Oven: Keep an eye on the cookies as they bake; they should be golden around the edges but soft in the middle for that perfect chewy texture.
Make Ahead Options
These Spiced Christmas Cookies with Nutmeg are perfect for meal prep, allowing you to enjoy the flavors of the season without the last-minute rush! You can prepare the cookie dough up to 24 hours in advance; simply wrap it tightly in plastic wrap and refrigerate. This chilling allows the flavors to deepen while keeping the dough easy to handle. If you need a longer timeframe, the dough can be frozen for up to 3 months—just thaw it in the fridge overnight before rolling and baking. To maintain quality, avoid rolling them in sugar until you’re ready to bake, ensuring that every bite remains perfectly sweet. When it’s time to bake, preheat the oven and simply roll the chilled dough balls in sugar before placing them on your baking sheets, and you’ll have freshly baked Spiced Christmas Cookies with Nutmeg ready in no time!
How to Store and Freeze Spiced Christmas Cookies
Airtight Container: Store cookies in an airtight container at room temperature for up to one week to keep them soft and fresh.
Refrigeration: If you live in a humid climate, it’s best to refrigerate them for added freshness. Ensure they’re in a sealed container to avoid absorbing odors.
Freezer: For longer storage, freeze the cookies in a single layer on a baking sheet until solid, then transfer them to a freezer-safe bag or container. They can be frozen for up to three months.
Reheating: To enjoy frozen cookies, thaw them at room temperature or pop them in the microwave for about 10-15 seconds for that fresh-baked warmth, making your Spiced Christmas Cookies with Nutmeg a delightful treat anytime!
What to Serve with Spiced Christmas Cookies with Nutmeg
Indulging in the cozy aroma and sweet flavors of these cookies is just the beginning; let’s create a festive feast!
- Hot Cocoa: A rich, chocolatey drink that perfectly complements the spices in the cookies, warming your soul on chilly nights.
- Eggnog: This creamy, spiced beverage enhances the holiday spirit, creating a nostalgic pairing that feels like a warm hug.
- Fresh Fruit Salad: Bright, juicy fruits add a refreshing contrast to the spices, balancing the sweetness of the cookies beautifully.
- Cream Cheese Frosting: Smooth and tangy, it makes a delightful dip for the cookies or even a decadent topping for a cookie platter.
- Chai Tea: The aromatic spices in chai echo the flavors in the cookies, creating a soothing and harmonious pairing perfect for winter evenings.
- Gingerbread Men: Keep the festive theme going with these classic cookies, adding an extra layer of holiday delight to your dessert spread.
- Vanilla Ice Cream: Creamy and cold, it complements the warm spices in the cookies, providing a delightful texture contrast and elevating the flavor experience.
- Mulled Wine: Spiced and warming, this cozy drink pairs wonderfully with the nutmeg flavors, enhancing the festive atmosphere of any gathering.

Spiced Christmas Cookies with Nutmeg Recipe FAQs
What type of flour works best for Spiced Christmas Cookies with Nutmeg?
For these delicious cookies, all-purpose flour is ideal as it provides the proper structure. If you’re looking for a gluten-free option, I highly recommend using a gluten-free all-purpose blend. Just make sure it contains xanthan gum for the best results!
How should I store my Spiced Christmas Cookies with Nutmeg?
Store your cookies in an airtight container at room temperature for up to one week. This will help retain their soft and delightful texture. If you live in a more humid area, you can store them in the fridge in a sealed container, but be cautious of odors, as cookies can absorb them like a sponge.
Can I freeze Spiced Christmas Cookies with Nutmeg?
Absolutely! To freeze these cookies, first place them in a single layer on a baking sheet to freeze until solid. Then, transfer them to a freezer-safe bag or container, sealing tightly. They can stay frozen for up to three months. When you’re ready to enjoy them, simply thaw at room temperature, or microwave for 10-15 seconds for that fresh-baked warmth!
Why are my cookies spreading too much while baking?
If your cookies are spreading too much, it could be due to your dough not being chilled enough before baking. To fix this, just pop the dough back in the refrigerator for an additional 15-30 minutes. Also, ensure that your butter isn’t too soft when mixing; it should be at room temperature but not melted. Keeping a consistently sized scoop also helps maintain shape!
Can I use other sweeteners instead of granulated sugar?
Yes! While I recommend following the recipe for the best flavor, you can try using coconut sugar or a sugar substitute if you’re looking for a healthier option. Keep in mind that some alternatives may affect the texture or the spread of your Spiced Christmas Cookies with Nutmeg, so adjust as necessary.
Are there any common allergies I should be aware of?
Great question! These cookies contain gluten (from all-purpose flour), dairy (from butter), and eggs. For gluten-free options, use gluten-free flour, substitute the butter with coconut oil or margarine for a dairy-free option, and replace the egg with a flax egg (1 tablespoon ground flaxseed mixed with 2.5 tablespoons water). Always check the labels of any substitutes you use to ensure they meet your dietary needs!
Delightful Spiced Christmas Cookies with Nutmeg for the Holidays
Ingredients
Equipment
Method
- Preheat your oven to 350°F (175°C) and line two baking sheets with parchment paper.
- In a medium mixing bowl, whisk together all the dry ingredients.
- In a large mixing bowl, cream butter with both sugars until light and fluffy.
- Add egg and vanilla extract, then mix until smooth.
- Gradually stir dry ingredients into the wet mixture until just combined.
- Cover the mixing bowl and refrigerate for 30 minutes.
- Scoop tablespoon-sized portions, roll into balls, and place on baking sheets 2 inches apart.
- Roll each ball in granulated sugar before baking.
- Bake for 8 to 10 minutes until golden brown around edges.
- Cool on baking sheets for 5 minutes and then transfer to wire racks to cool completely.
Leave a Reply